
A Year (of gear) in Review: My First Year Bikepacking
Miles tried a lot of gear during his first year bikepacking. He also explored a new route in Ontario, learned to sew, and found a new addiction. Read his year [of gear] in review…
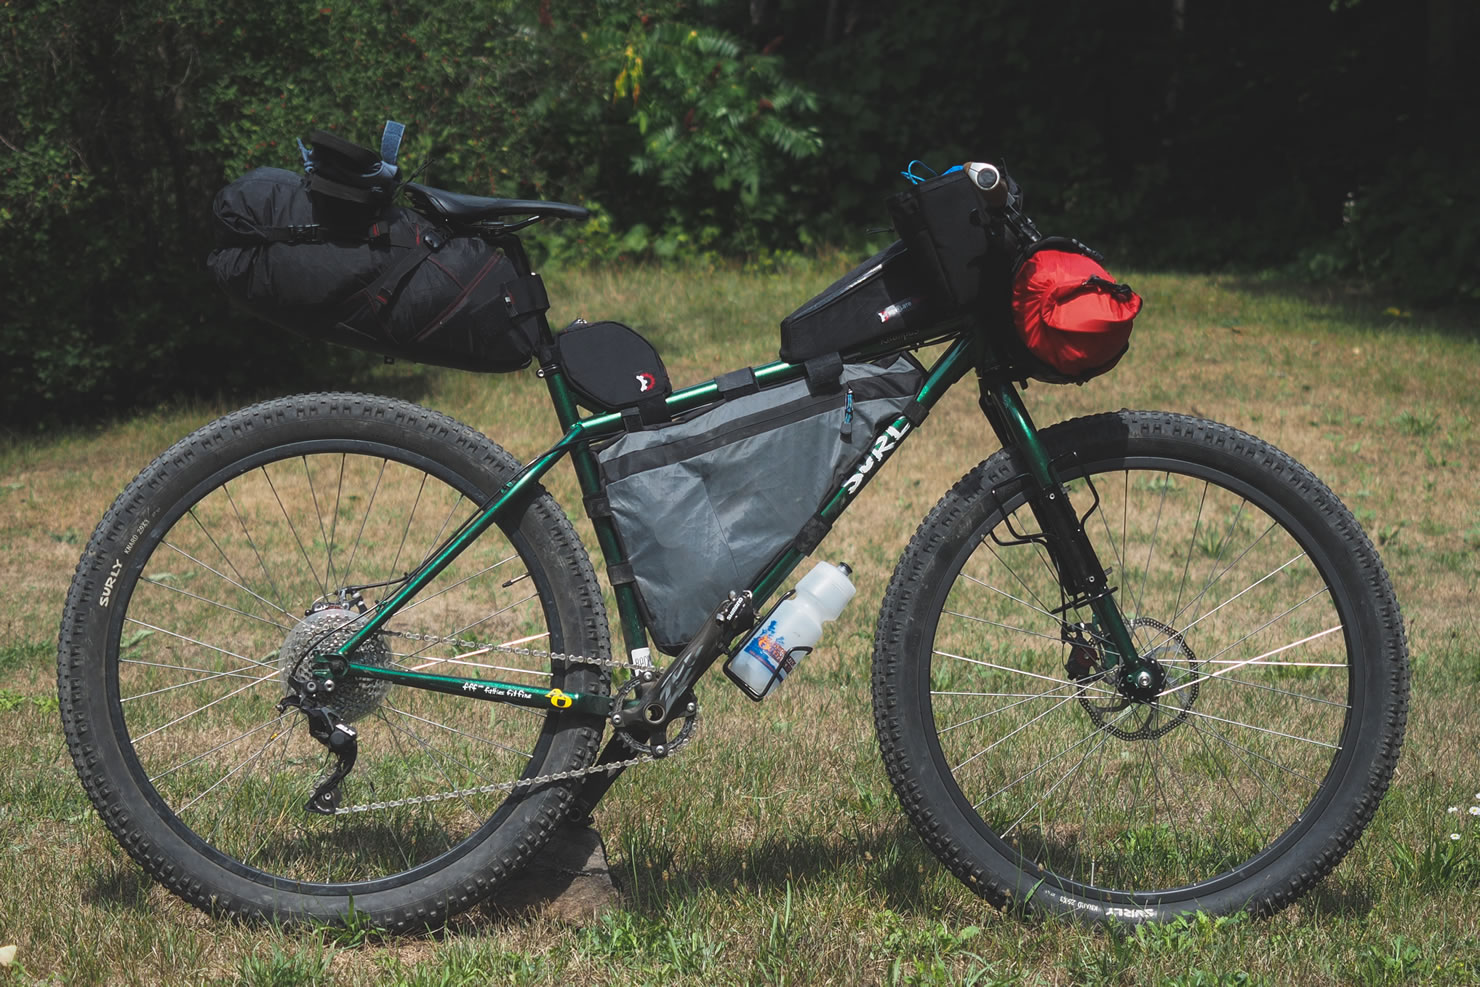
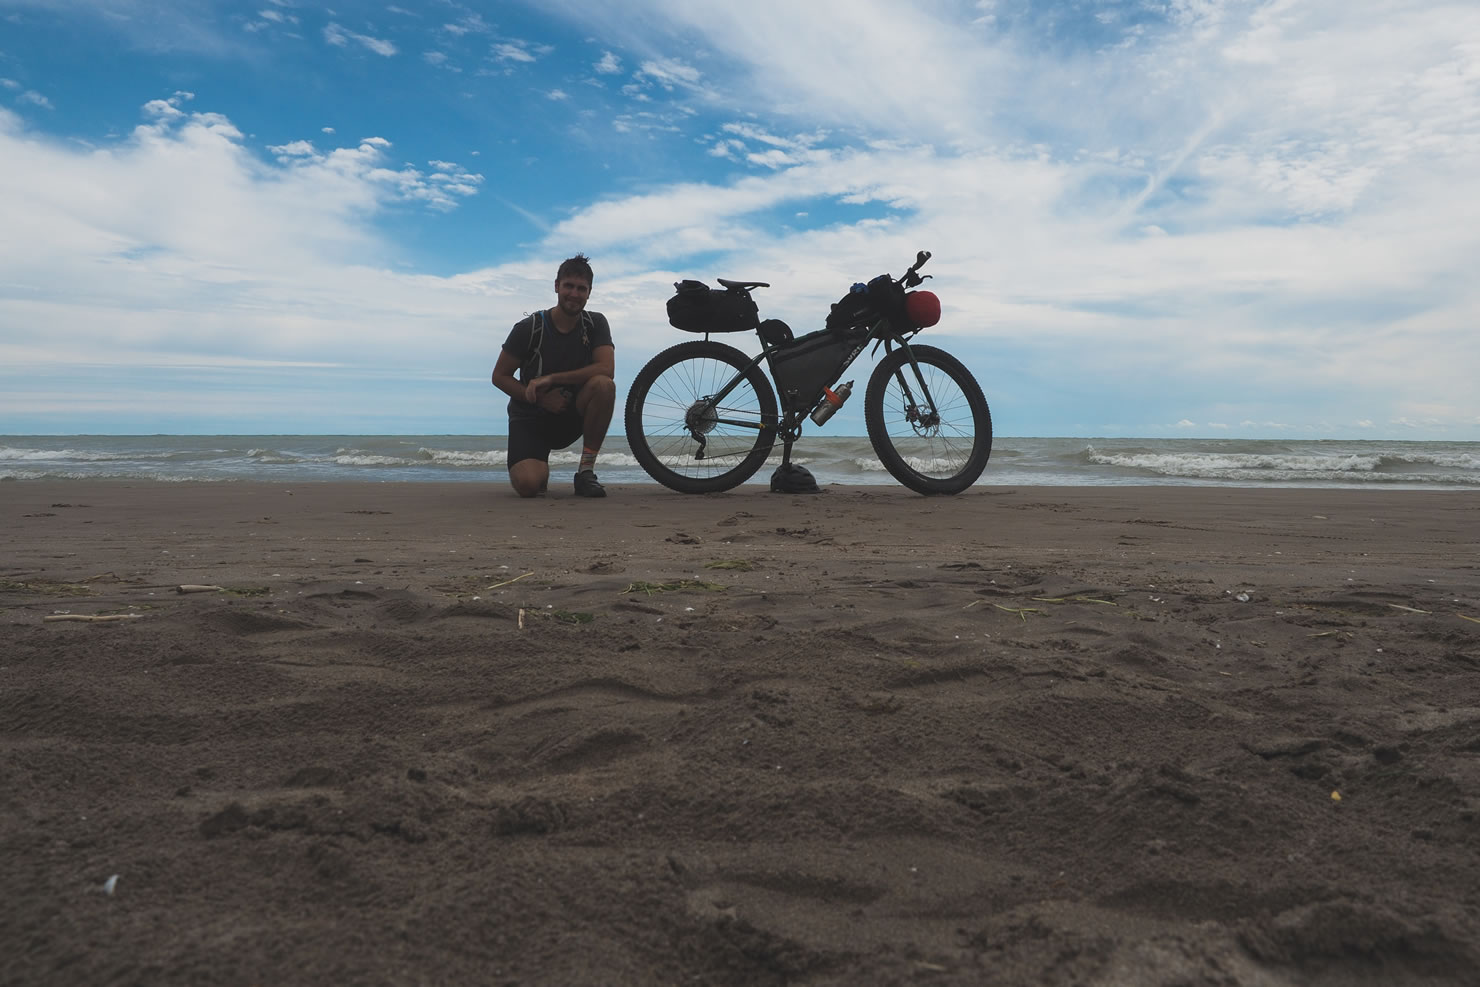
Like most cyclists that discover bikepacking, it didn’t take me long to start thinking about what gear I already owned that would work for trips, and what items I was going to purchase. I traded in my full- suspension Opus for a plus-sized Surly Krampus, found a local Revelate Designs retailer for some bags, and taught myself how to sew, before putting together a custom frame bag. Already owning plenty of lightweight camping gear made the transition much easier, it was just a matter of getting some miles under my belt.
In the past year I have completed the Kokopelli Trail, a few Ontario-based overnighters, and more day trips than I can count. My most recent accomplishment involved developing a 450km route that was given up on by Ontario tourism (COLT), and then riding the full route solo in an effort to get Ontario on the map. My first year of bikepacking has taken me to many new places, some across the country, but most have been in my own backyard. I think I’m hooked.
There are many options for gear choices, and the best thing to do is to try out as many options as possible, but eventually you’ll likely want to have a kit dialed in that you can count on. This will be a short review on a few pieces of gear I have learned to trust over the past 12 months… a gear review after my first year of bikepacking, if you will.
On My Feet: Specialized Rime Expert Shoes
Coming from a primarily road cycling background, I didn’t know what to look for in a bikepacking shoe at all. I know I wanted something comfortable enough to hike around in, and was hoping whatever I chose would hold up well during multi-day rides, dirt, rocks, and mud. I bought a used pair of Specialized Rime Experts that fit, found some SPD cleats to match both my Krampus and my cyclocross, and a year later they are holding up great and I honestly have no complaints.
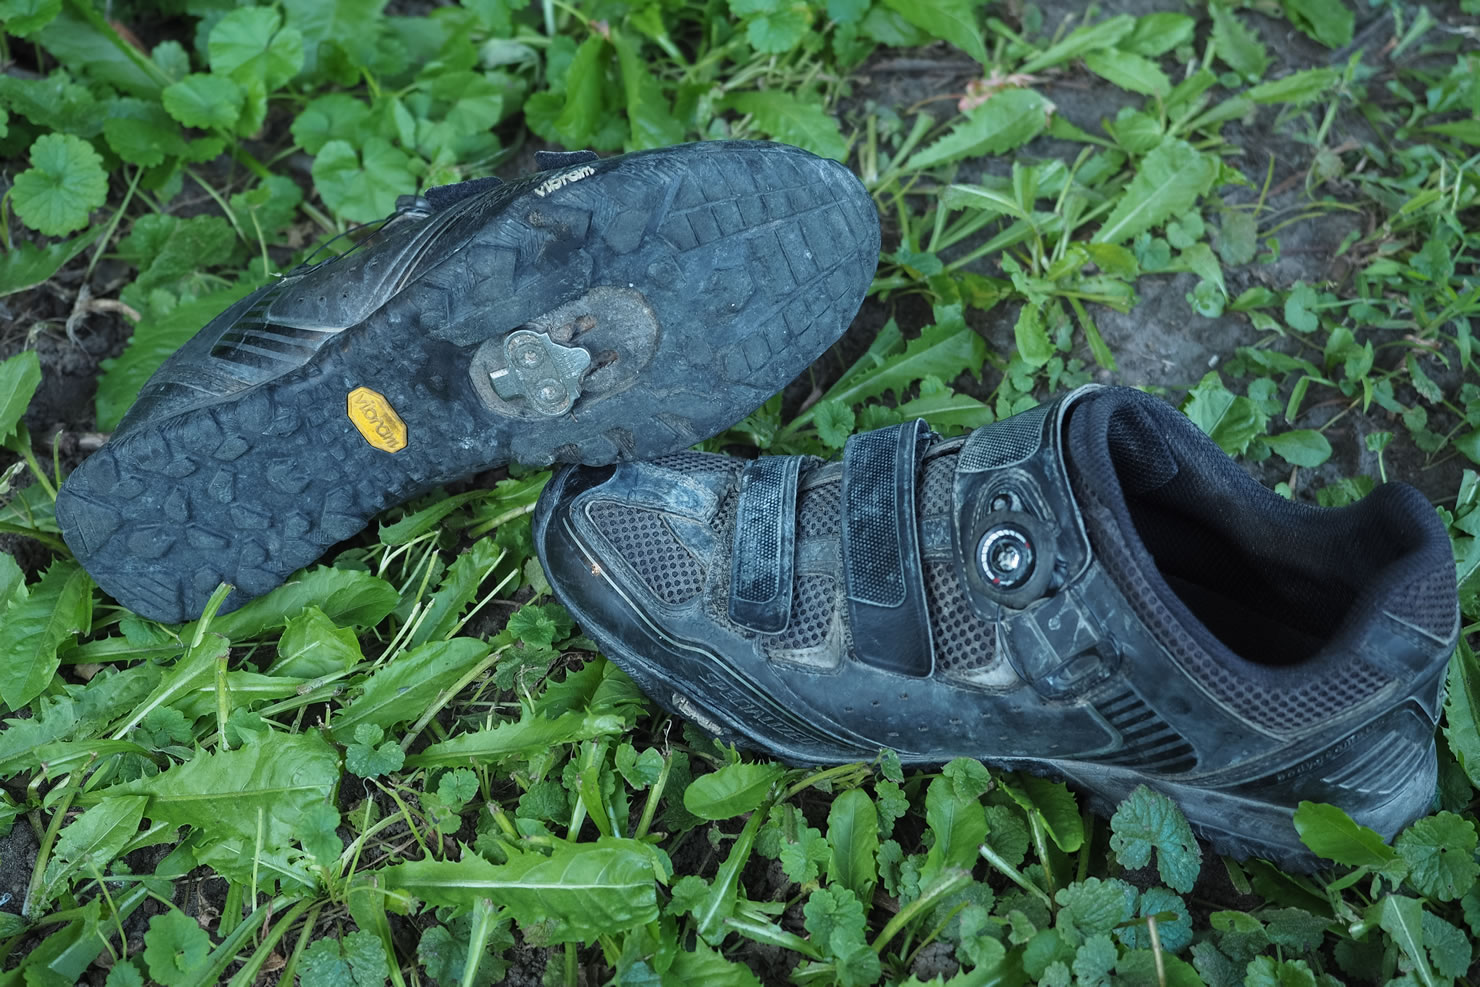
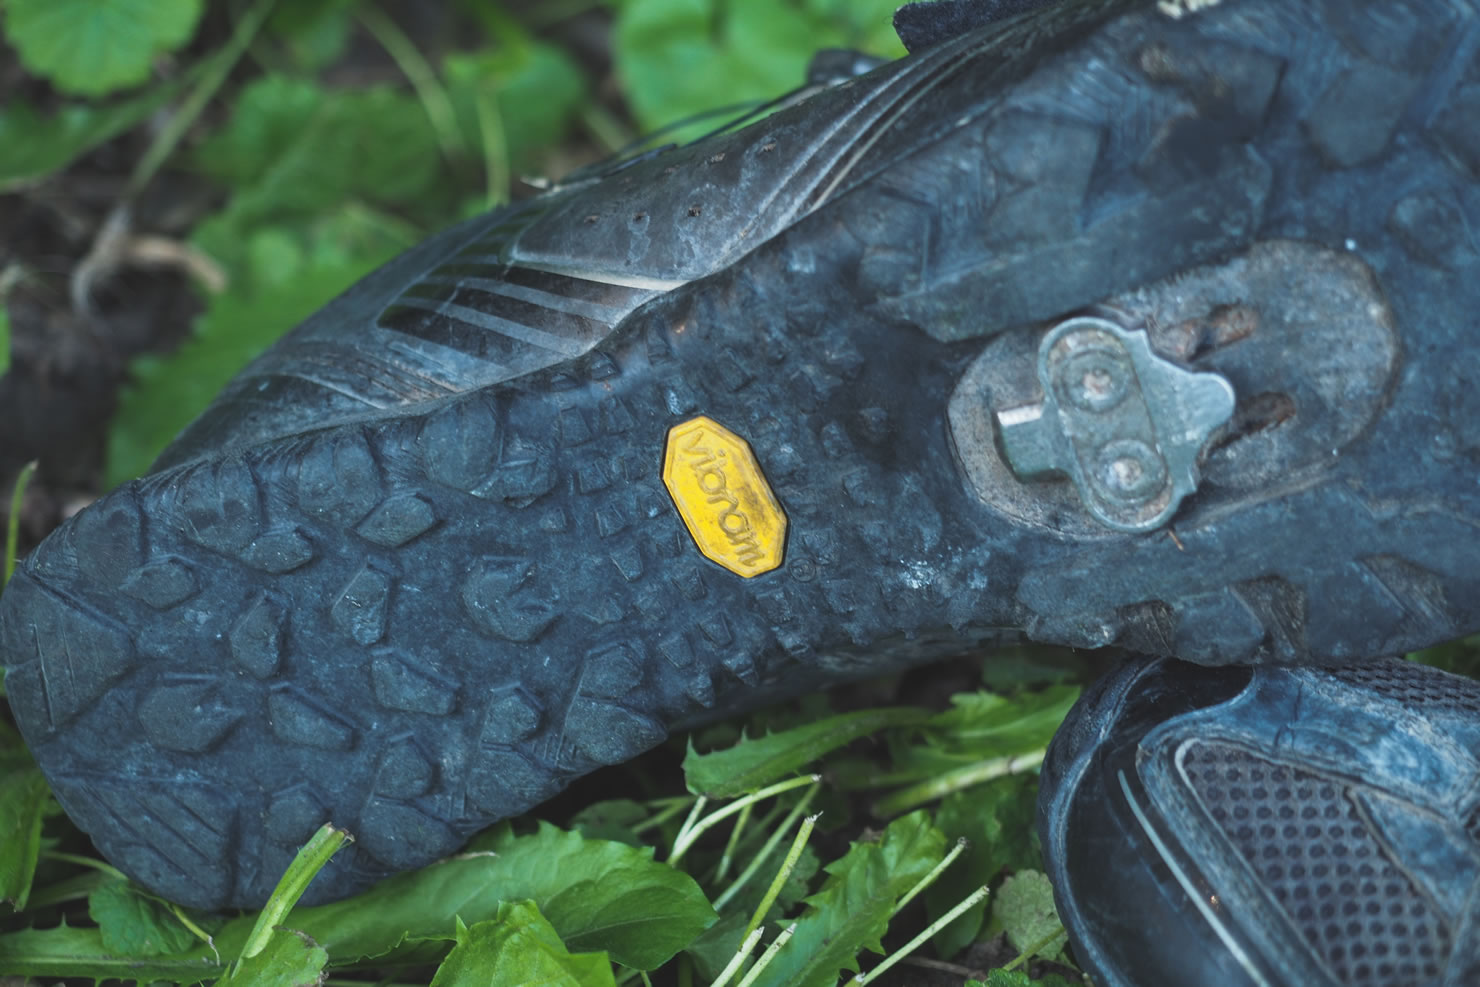
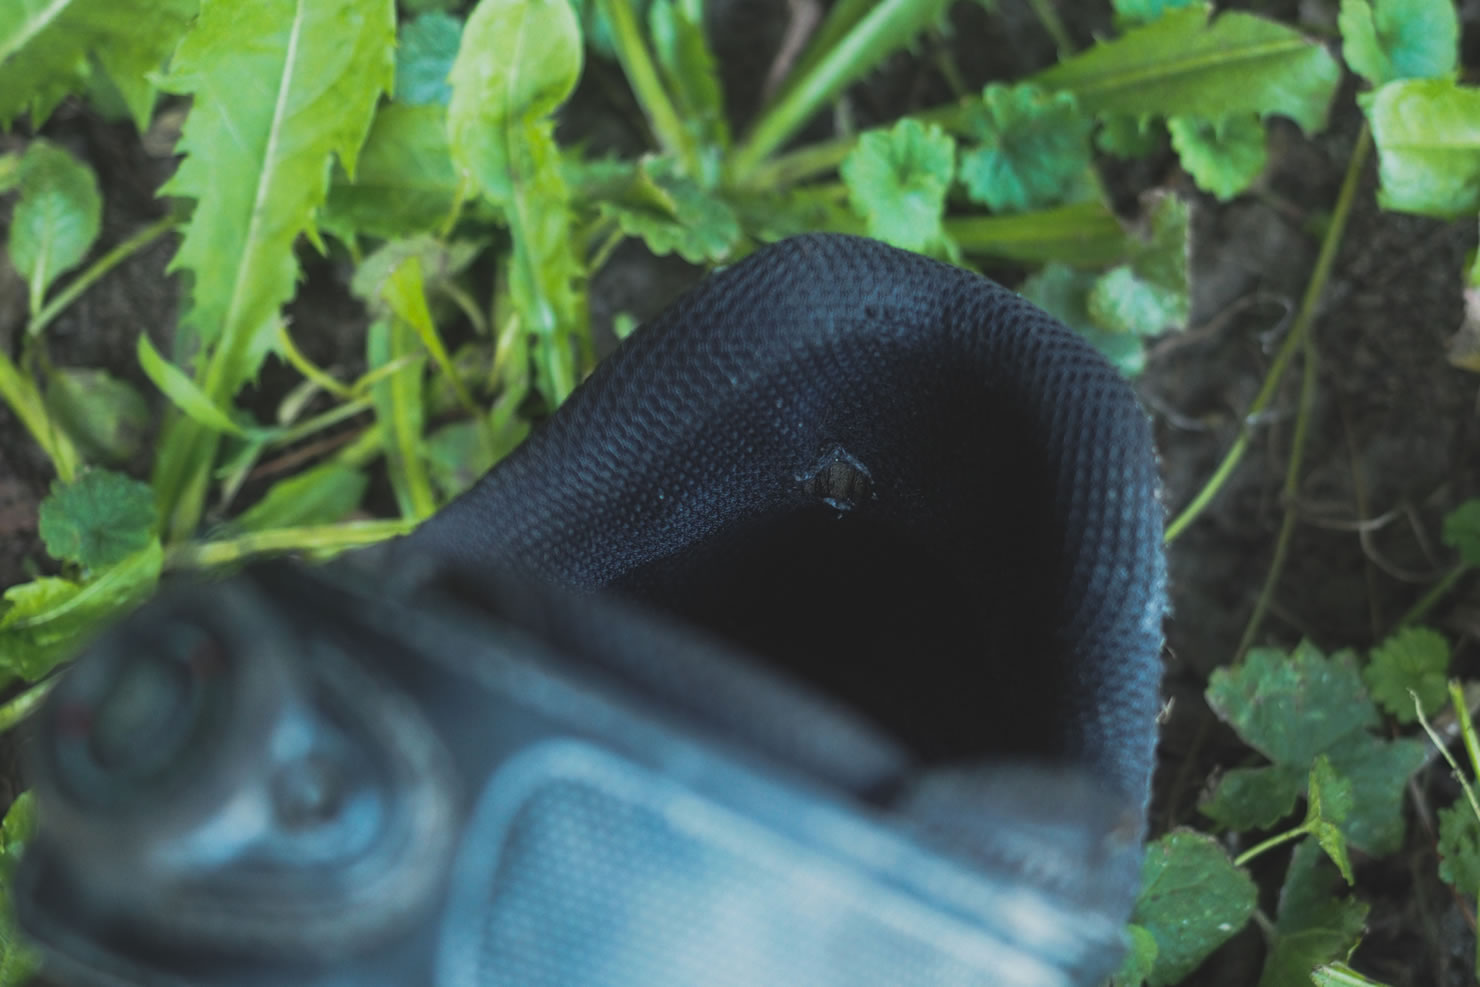
The exterior of the shoe has been used and abused all year, but has no rips or tears. The velcro straps are still grabbing nicely, which are great for adjusting throughout the day if your feet tend to swell. The Vibram sole is also a big plus, and was incredibly helpful during the rocky hike-a-bike sections of the Kokopelli Trail. The only noticeable wear can be seen on the heel of shoe, where my Achilles tendon rests, but is unnoticeable during normal use.
They breathe well on hot days, and after getting soaked (which happened a few times on my COLT ride), they dry out nicely with the insole removed. This particular model is a few years old, but it looks as if the current Rime models share many of the same characteristics, making a great bikepacking shoe.
On My Bike
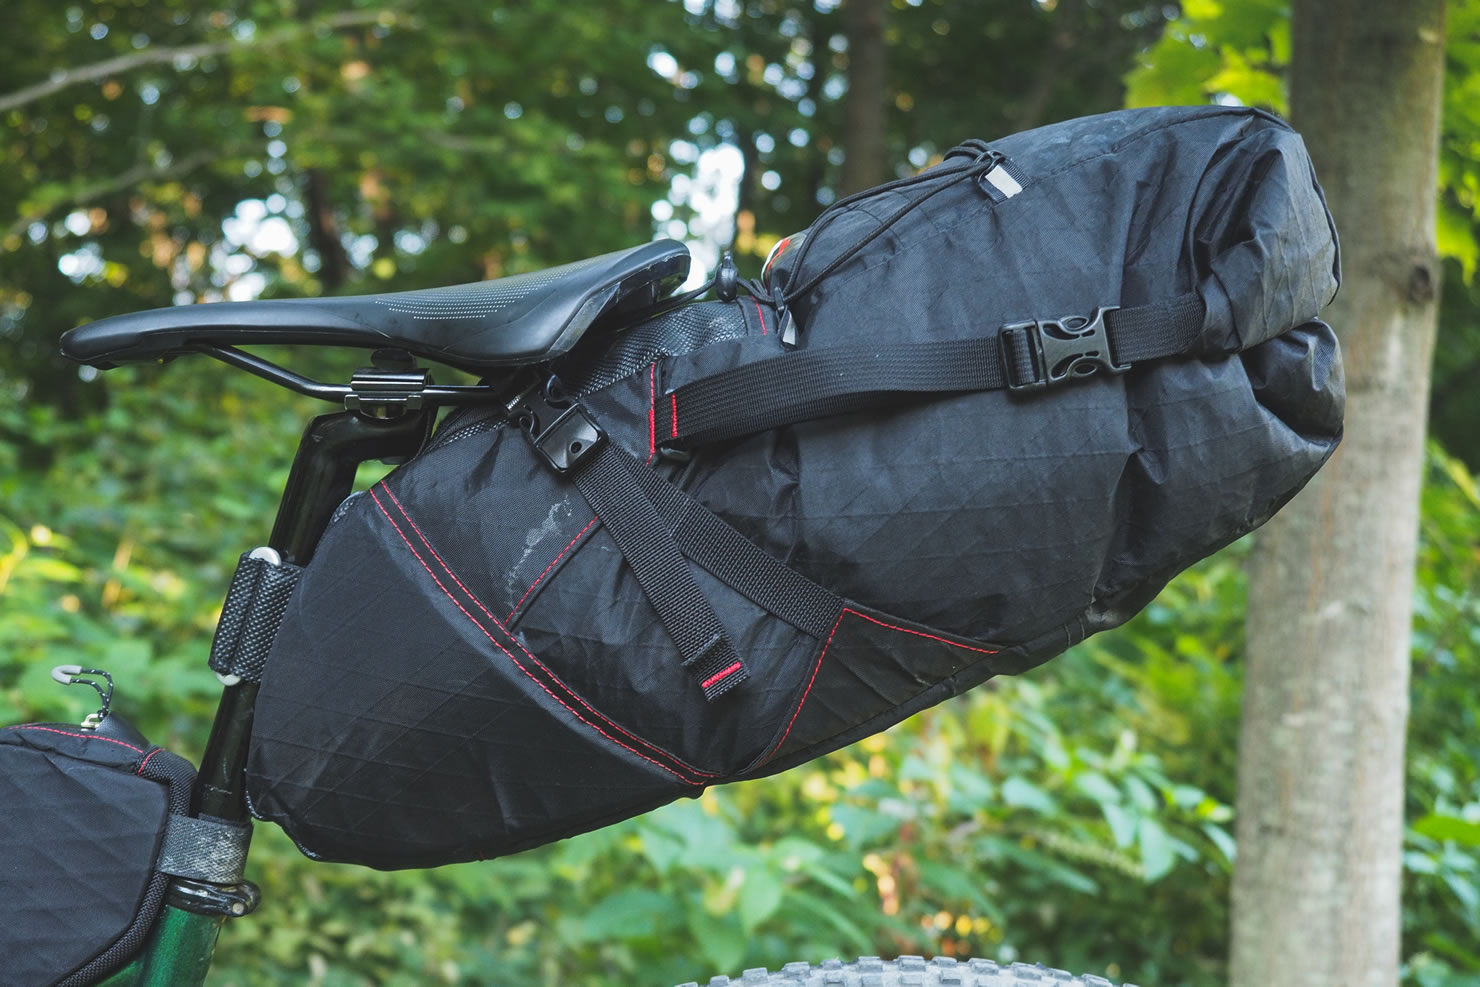
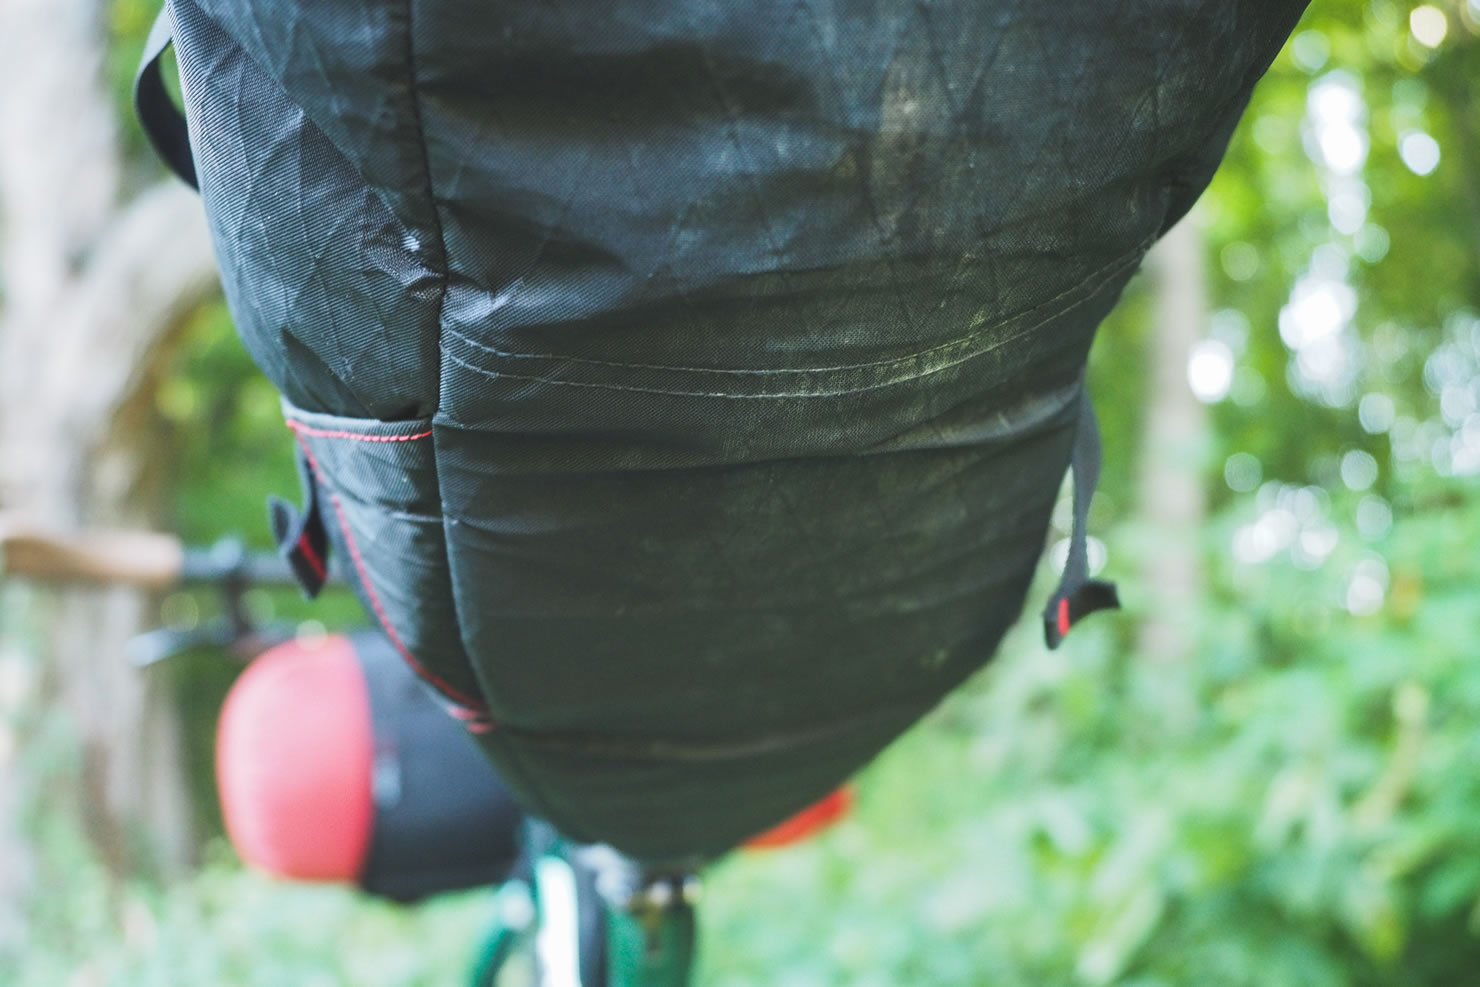
Revelate Designs Viscacha
There are a few areas where I decided to save money and pursue a DIY route; my saddlebag was not one of these. I’m happy with my decision to have invested in Revelate Designs’ Viscacha seat pack, simply because it works and has yet to disappoint me in any way. The Viscacha’s multiple attachment points and generous capacity has continuously made a great home for my tent, sleeping bag, and Therm-a-Rest.

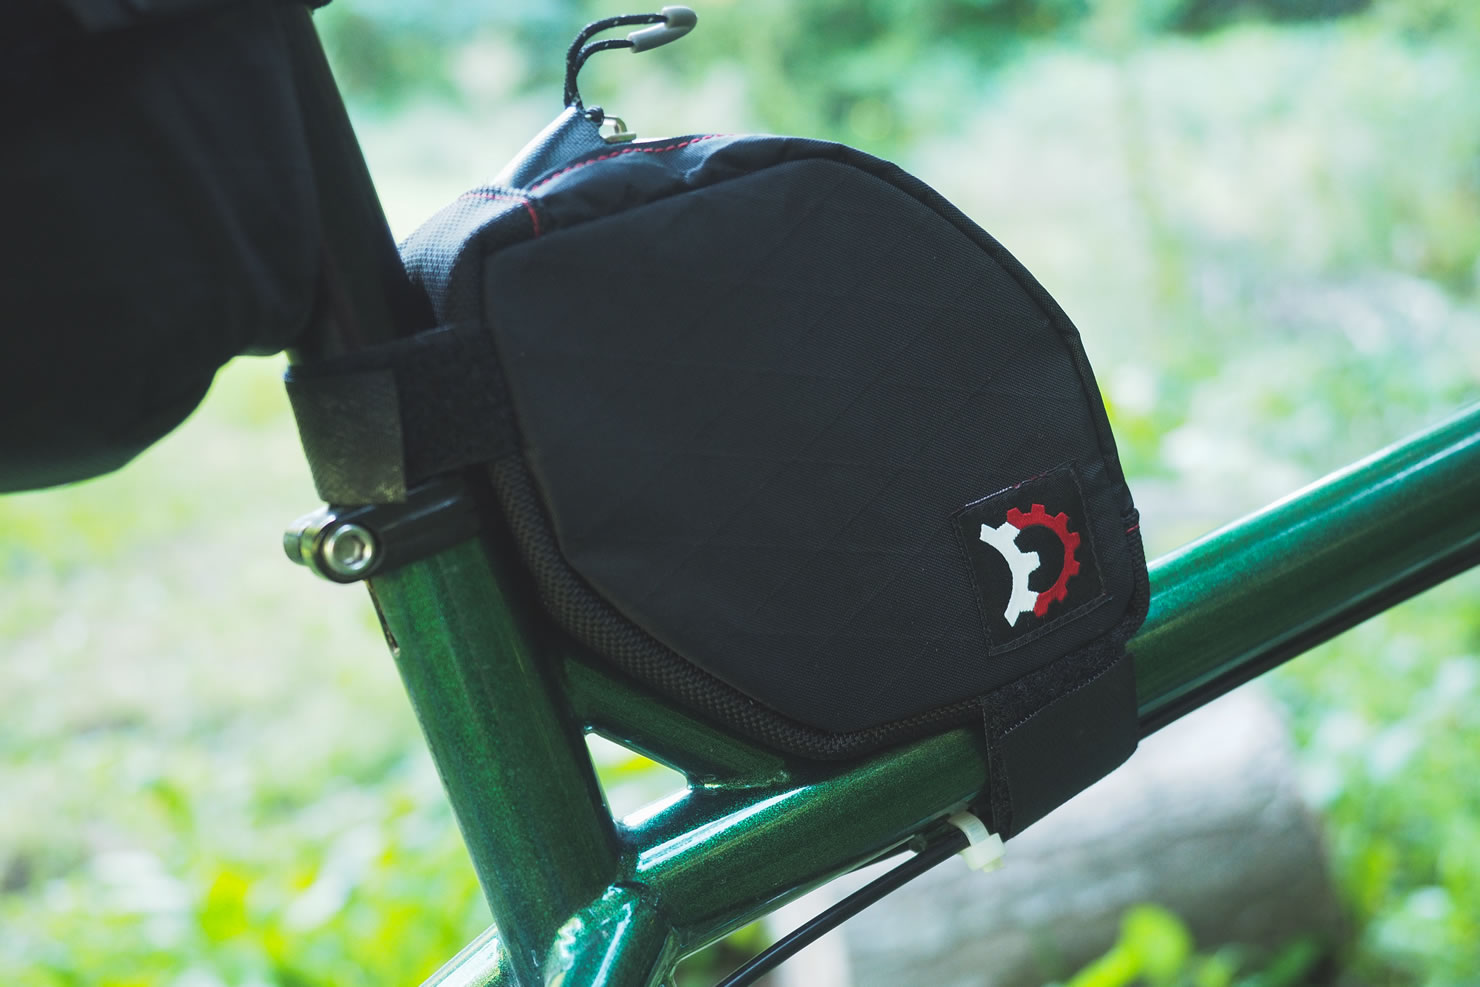
Revelate Designs Jerry Can & Gas Tank
Not much to say about the Gas Tank and Jerry Can. They fit perfectly on the Surly Krampus, giving a perfect place for essentials I may need during the day and my repair kit. I’ve trusted these bags to keep my phone dry during heavy downpours and my phone continues to work, so they must be doing something right.
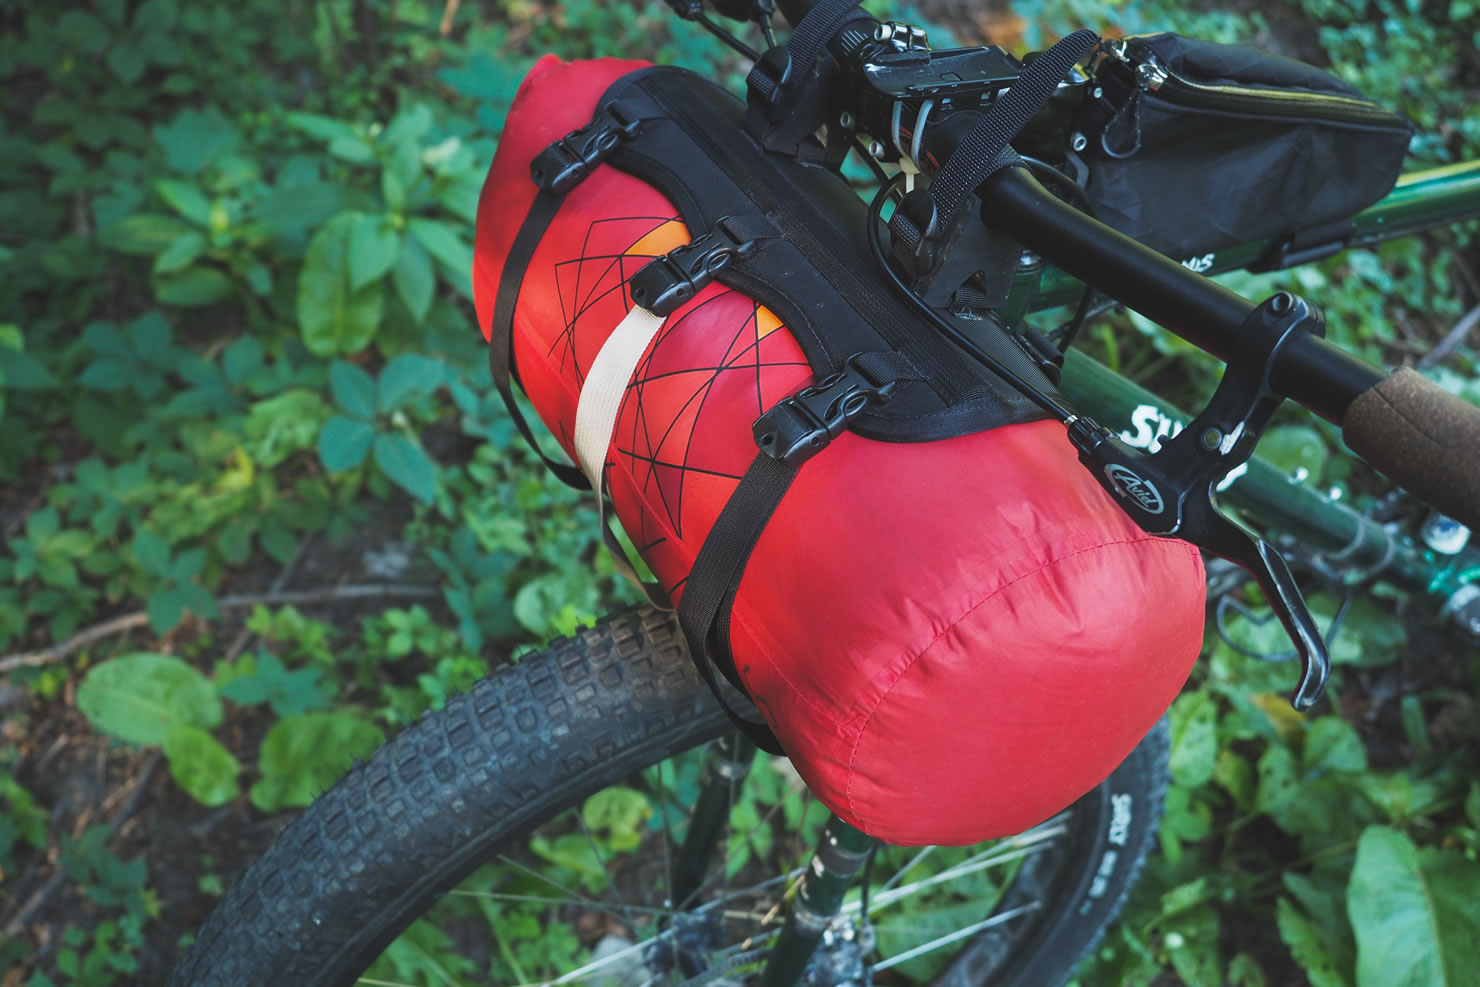
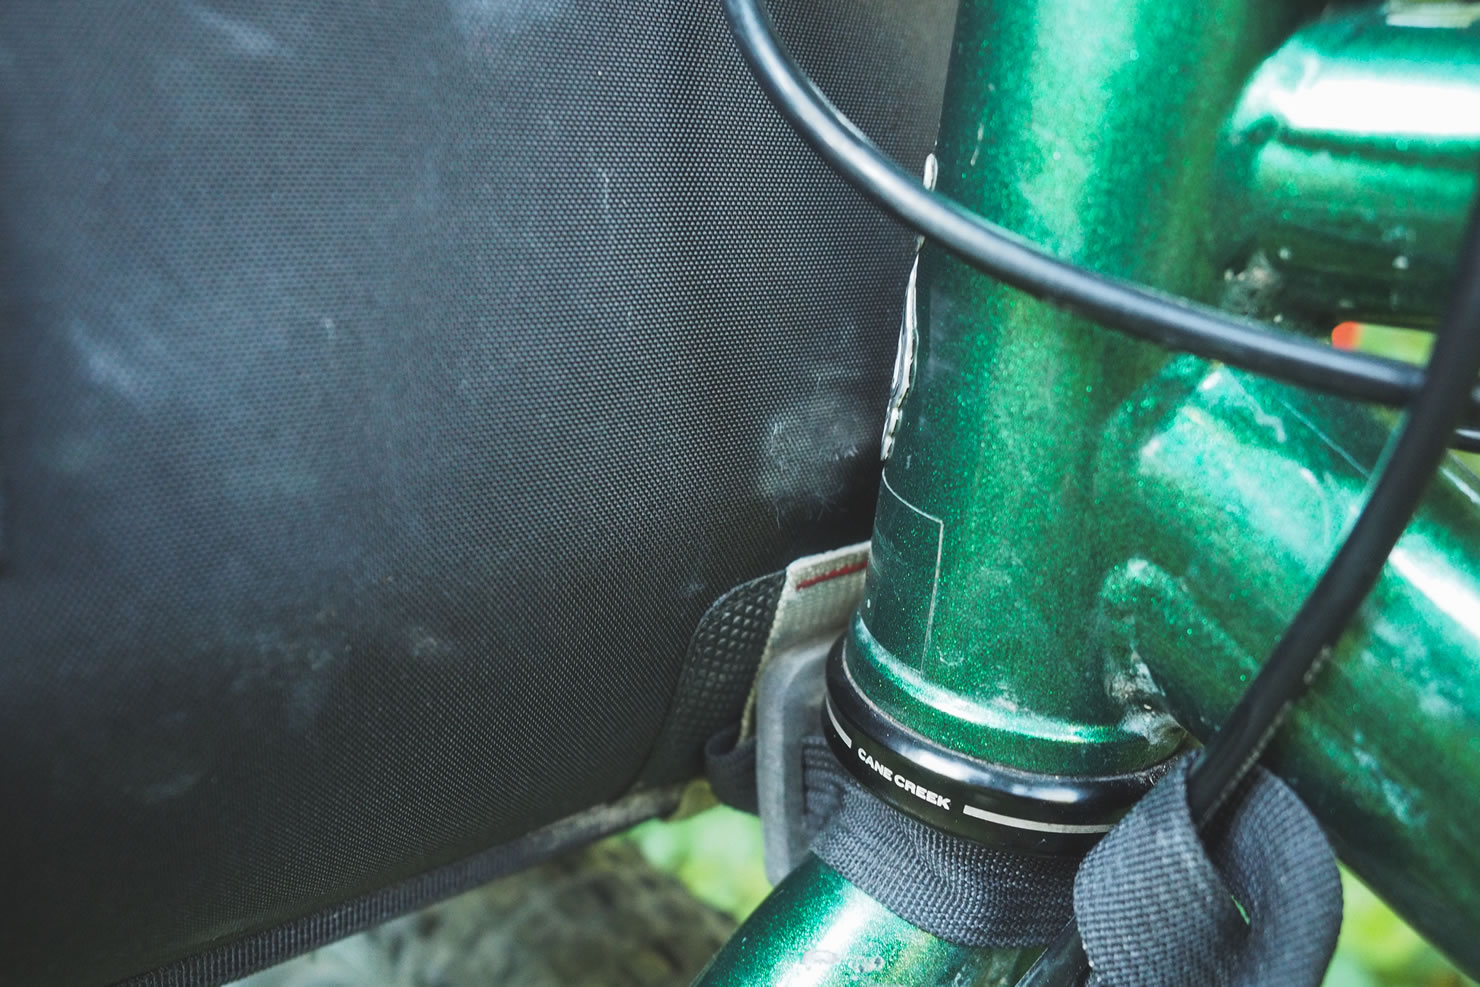
Revelate Designs Handlebar Harness
The Revelate Designs Handlebar Harness is just one of those simple pieces of gear that will make your life a lot easier during your first year of bikepacking, it sure did for me. It allows you to experiment with what you pack up front. It makes unloading and packing up a breeze, and keeps the load tidy, tight, and out of the way. I cut my cables a bit shorter to tuck them further out of the way, but that was just due to personal preference. There has been a bit of wear on the harness where it rubs against the headset, but nothing to impede its function yet.
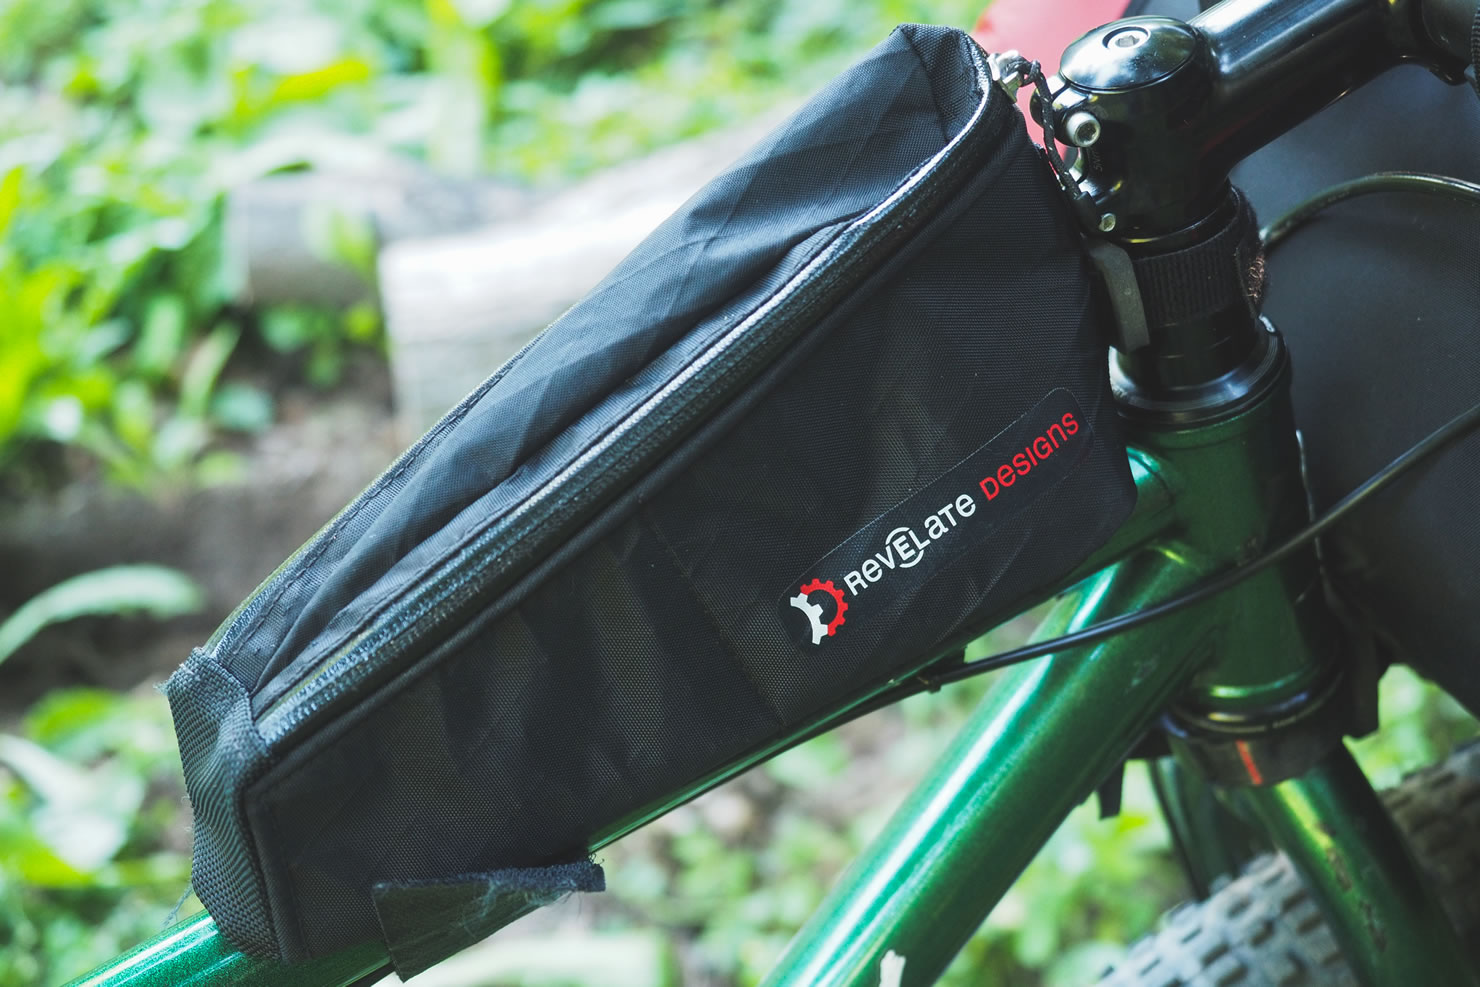
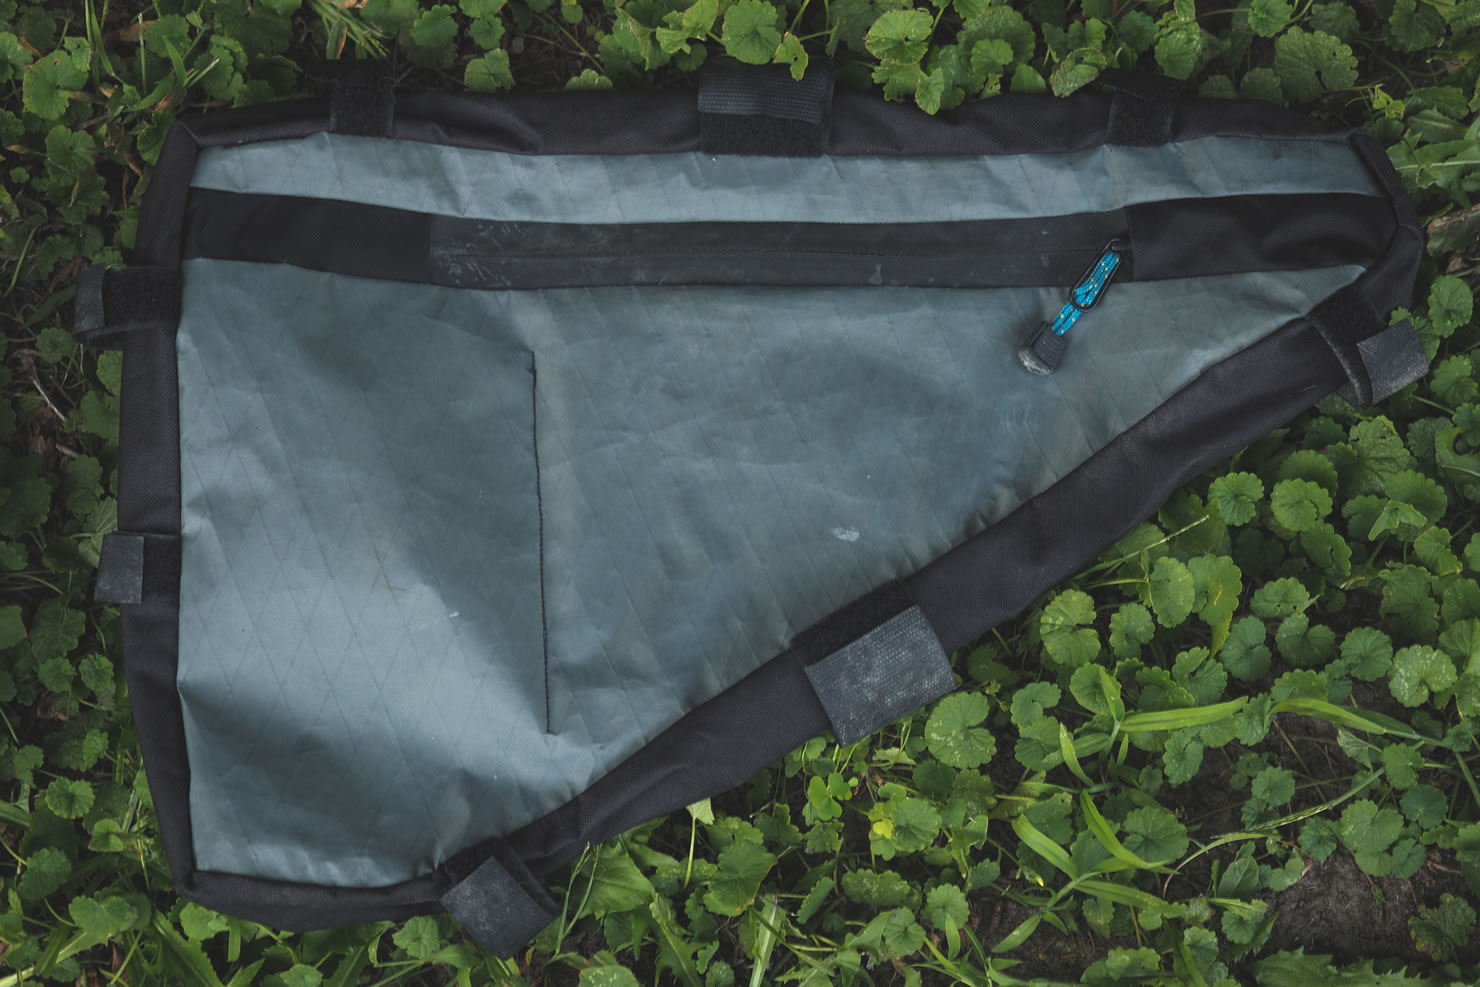
My DIY Framebag
Soon after reading BIKEPACKING.com’s article on how to make your own framebag, I was in my basement with my mother having a lesson on basic sewing techniques. It didn’t take long before I had some fabrics on the way, and within no time, I had an awesome custom DIY framebag sized perfectly for my Krampus. If you have the time, and want a perfectly fitting frame bag, do it. Made out of the same x-pac material that Revelate uses, I have no complaints yet.

My Sleeping Kit
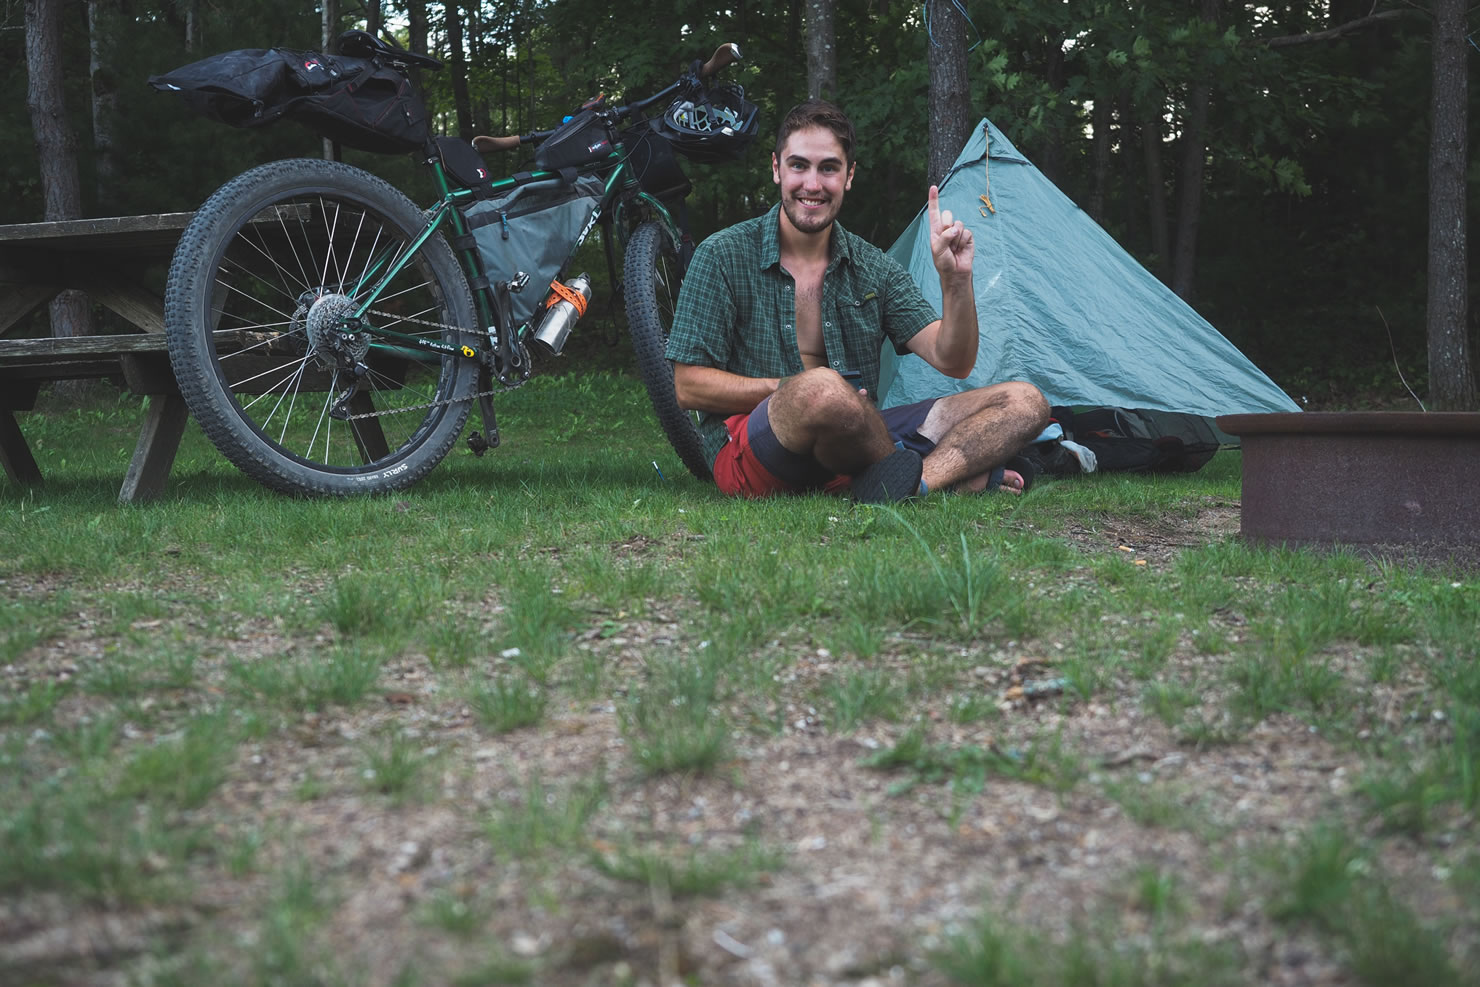
Recently finishing an outdoor adventure guide training program, I thought I had some pretty lightweight and packable gear, but in an effort to keep my bikepacking setup as small as possible I ended up switching a few things around. A lighter sleeping bag for 3-season riding, and an ultra light TarpTent Protrail for my solo tent setup now complete my personal sleep system.
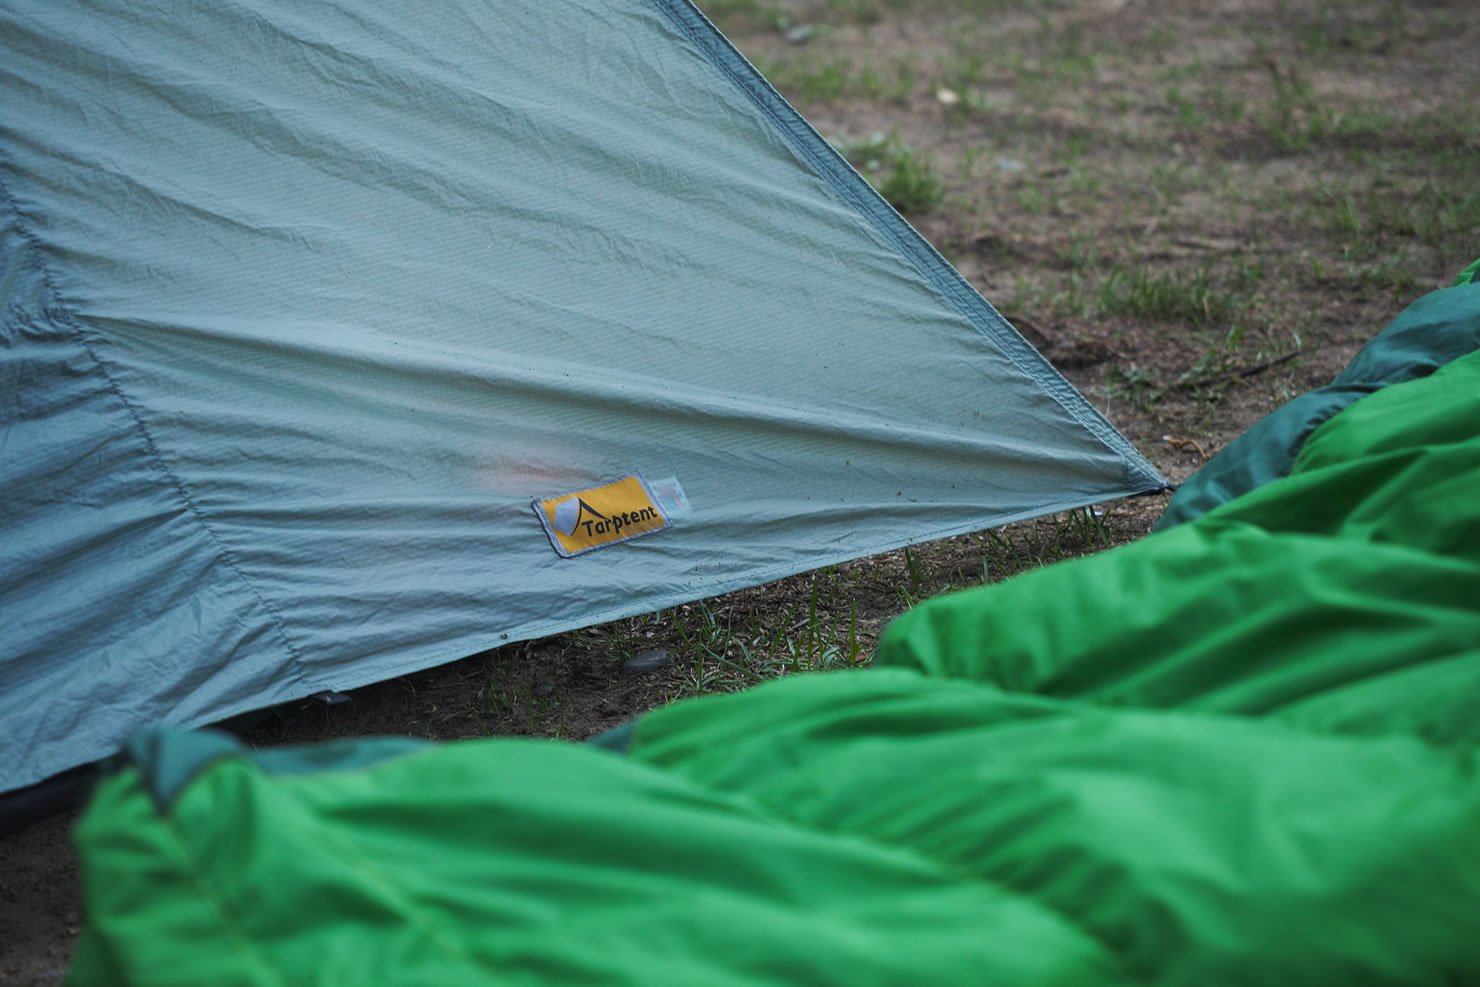
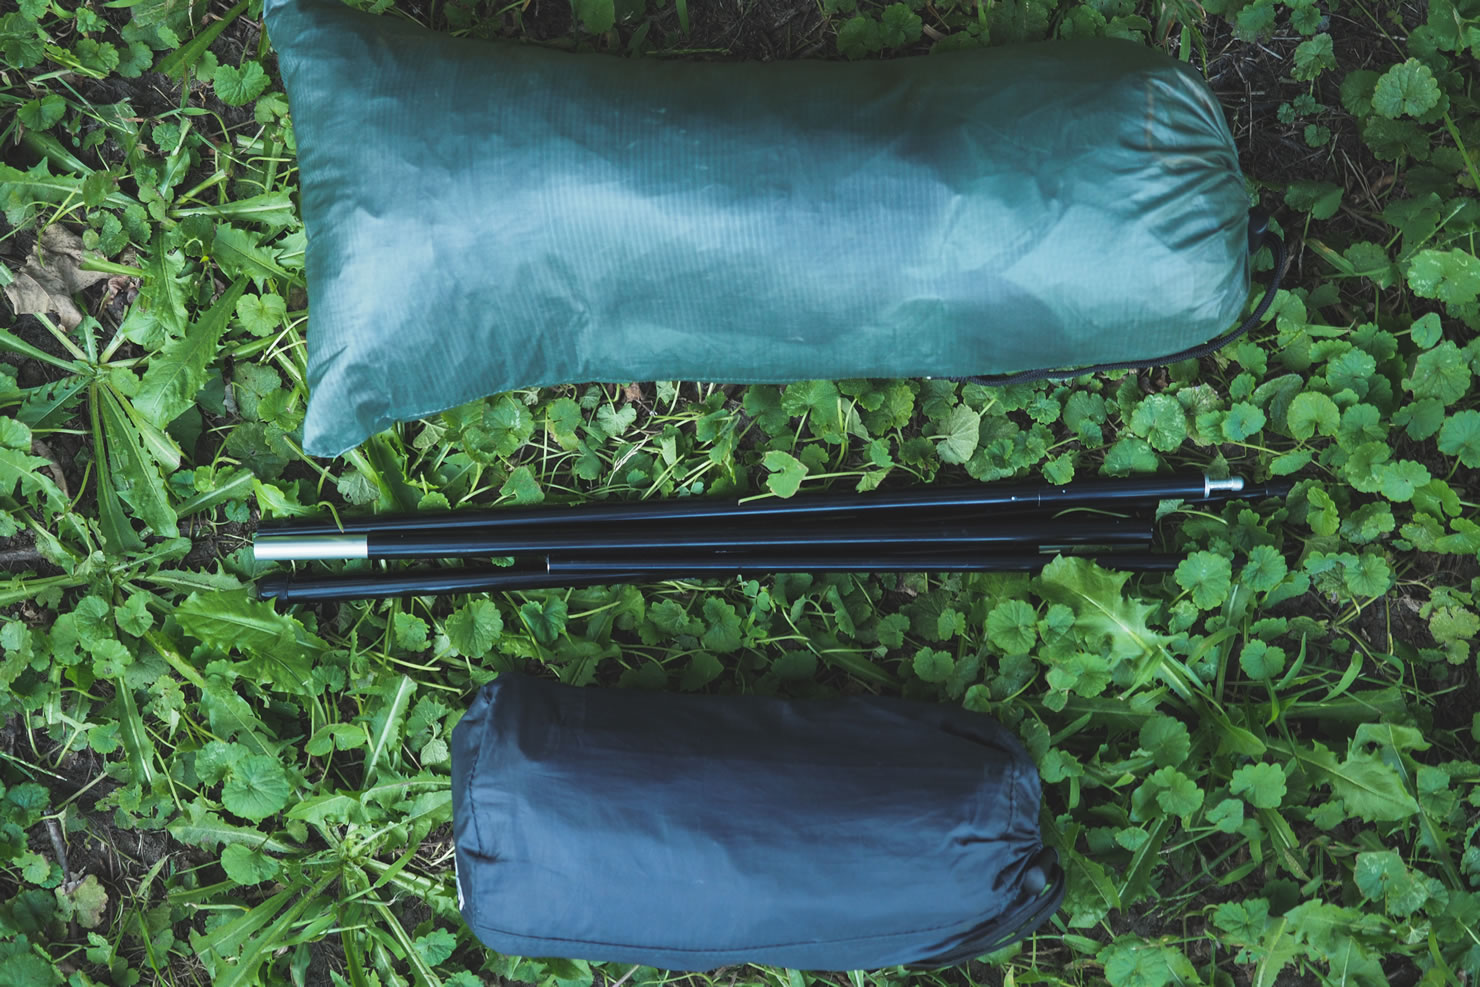
Tarptent Protrail
It took a little bit of practice to get used to setting up a non-freestanding tent, but having a bug free and spacious area to sleep in really makes all the difference for me. The Protrail has held up nicely in heavy downpours if it is set up correctly, and the bathtub floor keeps the inside of the tent nice and dry. Measuring at 84” long, it is also the first tent that I can sleep comfortably in without my head or feet pressing against the ends.
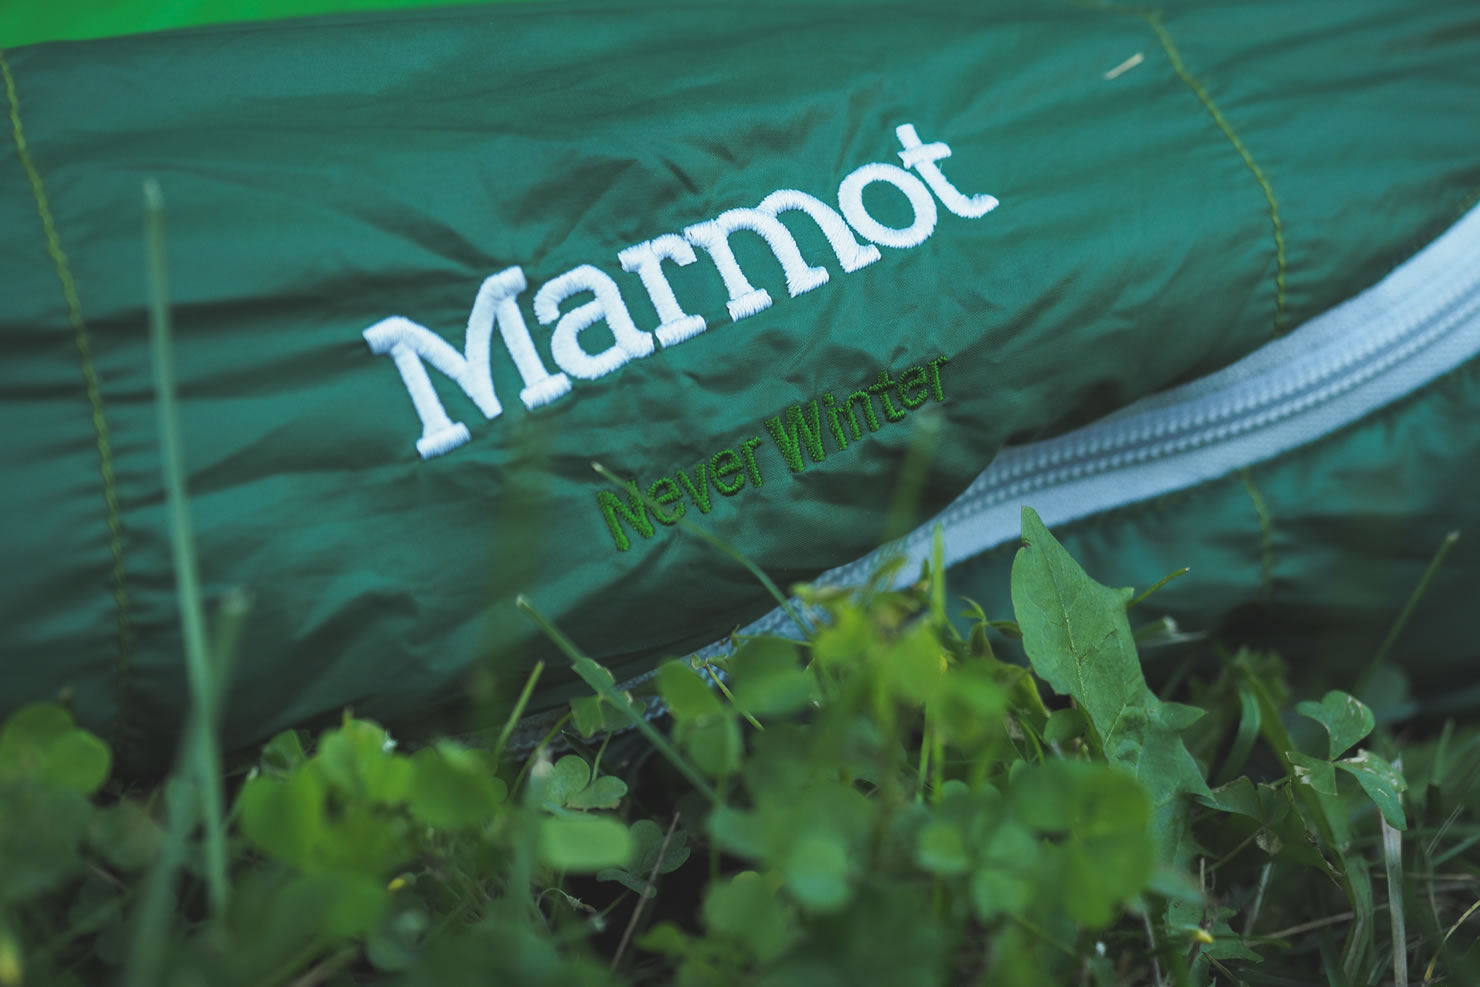
Marmot Never Winter Bag
The Marmot Never Winter Bag is a reasonably priced 650-fill down bag rated at -1C (30F), weighing in at just over 1lb. Considering the low the down fill rating, it’s also surprisingly compressible. I am just over 6 feet tall, and I opted to give up the extra 6 inches the tall sized bag offered and grab the regular length version, I sleep soundly every night.
Bits & Pieces
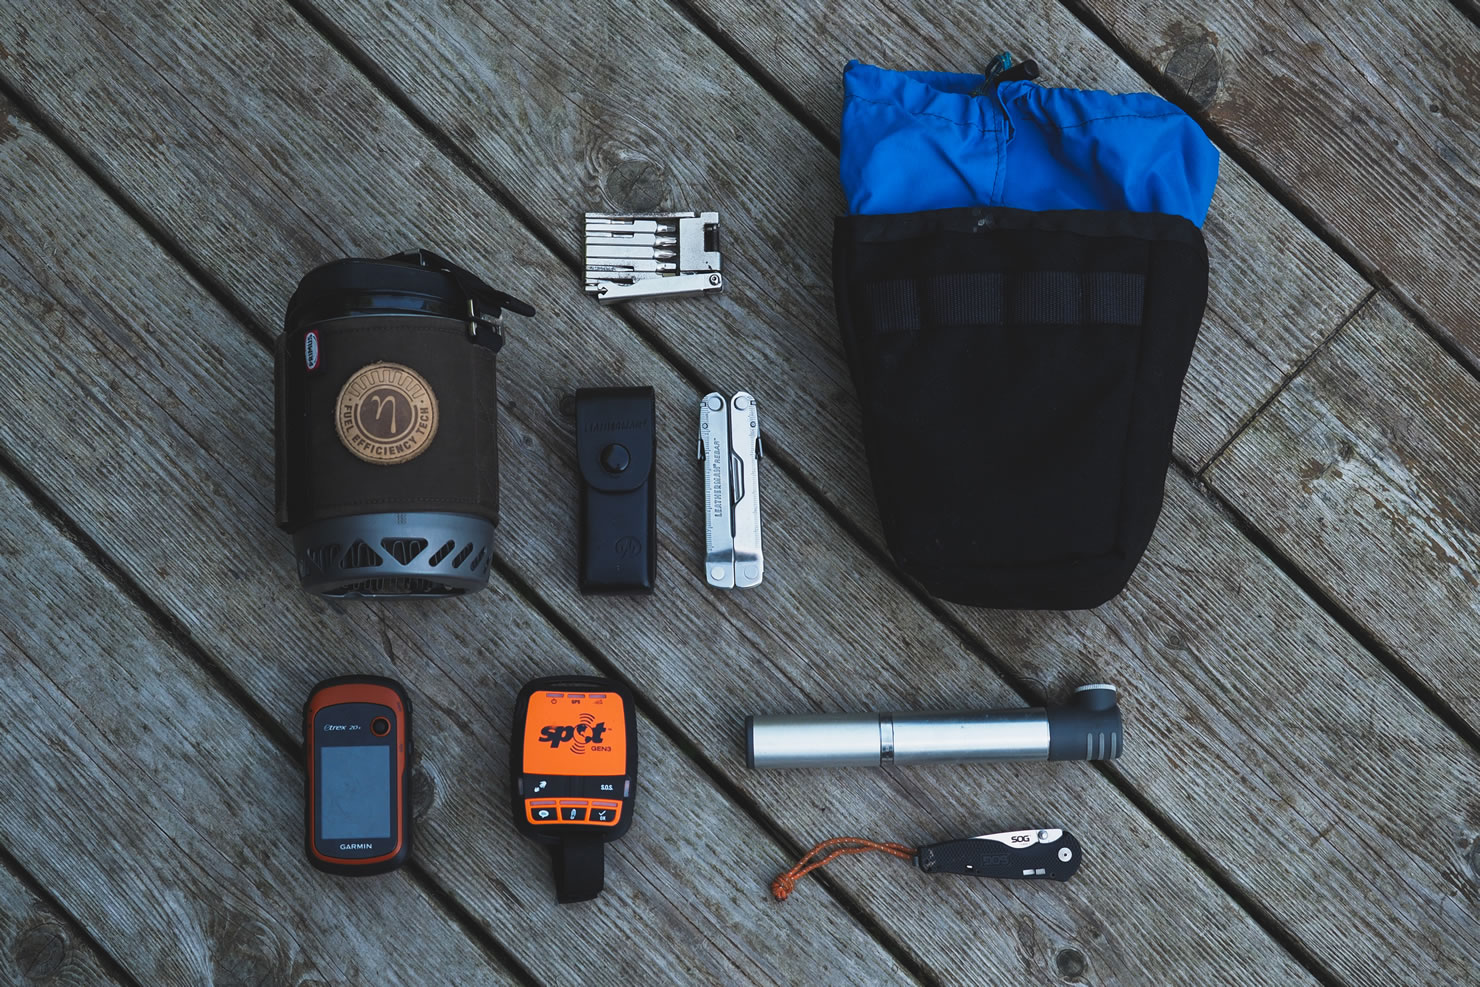
Primus ETA Lite
My go to canister stove for boil-only style meals if I am riding solo or with 1 other person. Boils water in under a minute and packs small.
Garmin eTrex 20x GPS
I easily upload my GPS route from Ride With GPS onto the device using Garmin’s software to ensure I never venture too far off trail. Always bring some extra AA’s though.
DIY Handlebar Camera Bag
Inspired by Porcelain Rocket’s design, because I couldn’t get my hands on one, keeps my Olympus mirrorless camera close by and accessible.
Leatherman Rebar Multi-Tool
Good for all sorts of reasons, often used as a pot grabber if I’m not using my canister stove.
SPOT Gen 3 Satellite Messenger
A little extra assurance on the trail if cell service is limited. Keeps friends and family extra happy as well.
SOG Flash I Pocketknife
A tiny pocketknife that lives close by in my hydration pack, mostly used for cutting cheese and salami.
Dimension 10-in-1 Multi-Tool
A flat designed multi tool with common hex keys, torx keys, chain break, and spoke wrench.
Topeak Master Blaster Micro Rocket AL Pump
A tiny hand pump with both Presta and Schrader valves, hasn’t conked on me yet, and fits right inside my Revelate Designs Gas Tank.
Final Thoughts
Bring what works for you! I read plenty of gear reviews and bikepacking articles before making most of my purchases. Some people love bivy bags, some people like full sized tents, so the best way to know what you want is to try out a few options. It feels awesome having a solid kit that you can quickly toss in a duffle or pack on to your bike and head out for a few days… sometimes it just takes a year to get it just right.
FILED IN (CATEGORIES & TAGS)
Plan
Bikepacking Gear Lists
bikepacking-tents revelate-bags sleeping-bagsPlease keep the conversation civil, constructive, and inclusive, or your comment will be removed.
Share This