Pre-Bikepacking Rig Checklist
In this guide, we cover a pre-bikepacking rig checklist and a maintenance agenda to help you prepare your trusty steed for a successful backcountry mission. Find the video guide as well as a 16-step checklist here…
Pre-trip maintenance and inspection are a crucial part of the preparation process for a bikepacking outing. This is particularly important for long trips, solo outings, and trips that are remote and challenging. In this post, we document two different approaches. Neil inspects the Kona Sutra ULTD before gearing up for a bikepacking trip in the video below. Learn about his detailed A-Z pre-ride inspection of the bike’s frame, components, and points of failure. Plus, find out why these steps can help prevent you from getting stranded in the backcountry. Further down you’ll find a checklist I put together for a solo outing.
A Soloist’s Checklist
When this post was originally published, I had just finished preparing for a weeklong solo bikepacking pilgramage somewhere deep in the Appalachian Mountains. I’ll admit that I’m as guilty as the next person for slacking off on bike care prior to casual overnighters or weekend trips with friends, but pre-maintenance and organizing a proper bikepacking repair kit are subjects I don’t take lightly when prepping for a solo bikepack. Solo trips into the backcountry should require even more attention and precaution. Here are 15 steps to prevent common component failures:

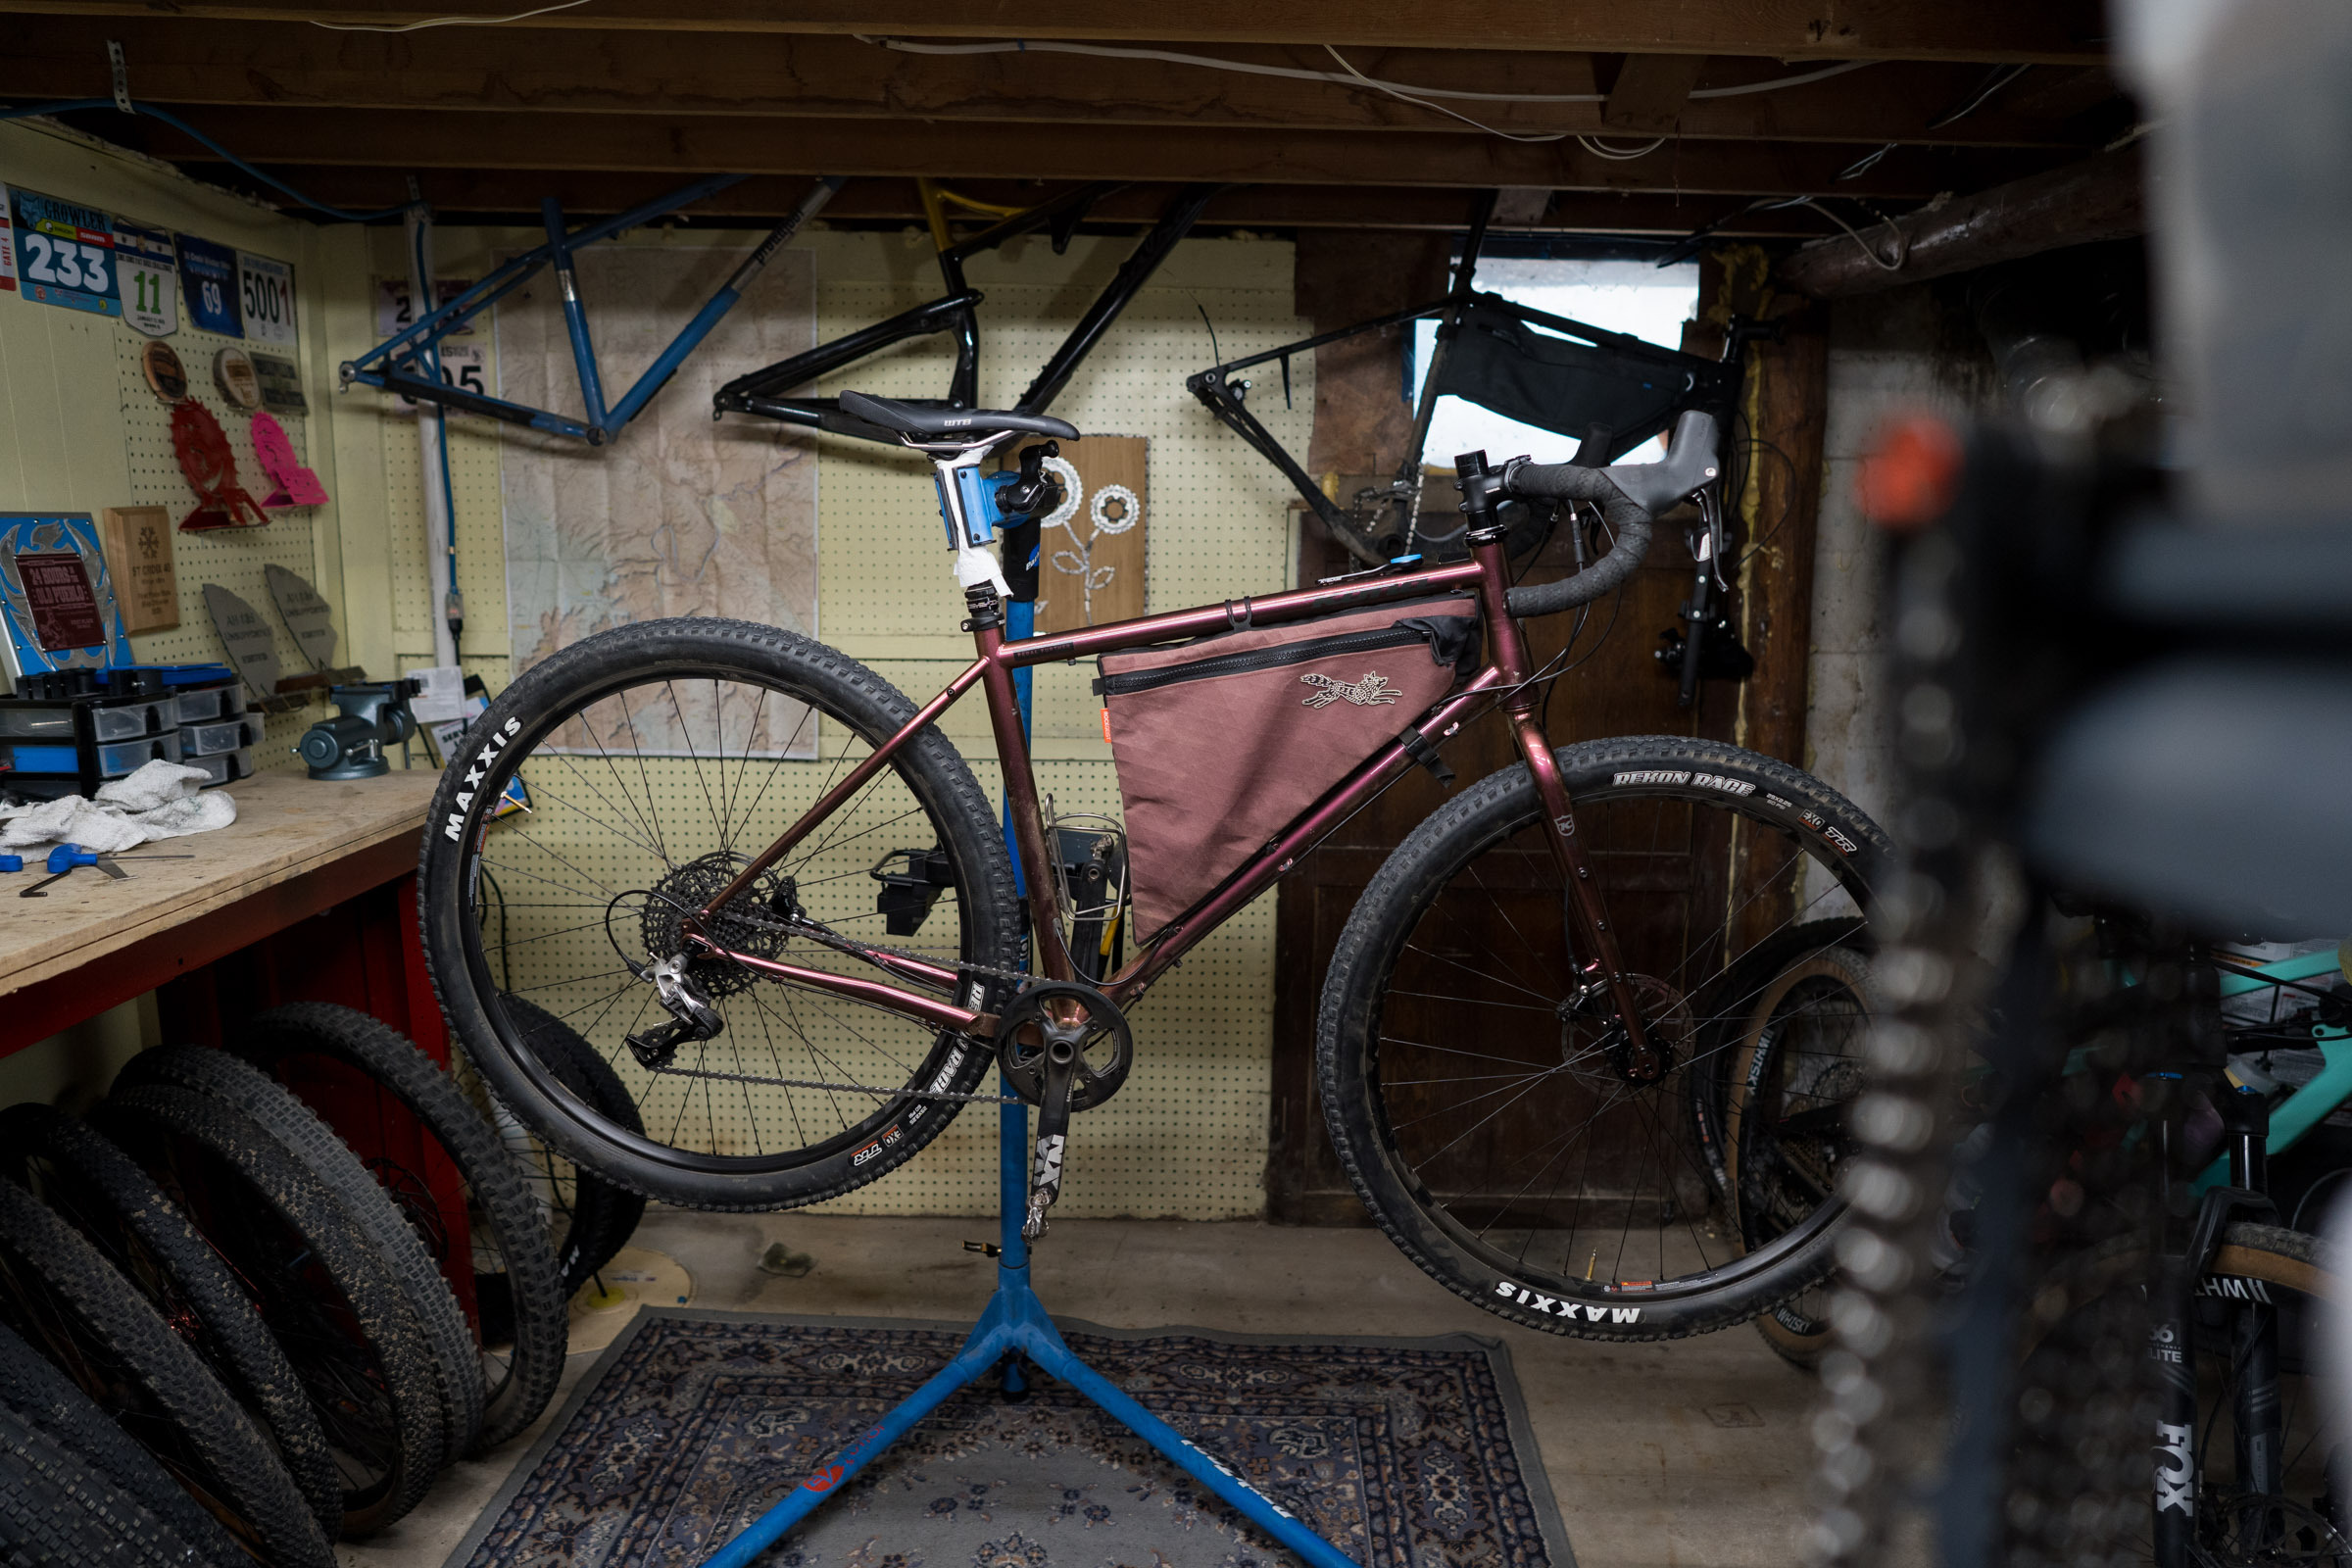
1. Clean your bike.
It seems rather pointless to deep clean your bike just before it gets dirty, but there are three reasons why you should do so: 1. Your bike will perform better (at least for the first couple days). 2. It gives you a chance to have some intimate, one-on-one time with your bike and inspect all of the bits and parts which shed some light on wear and tear you may not have noticed. Close inspection can be a life-saver if there are any issues that were’t immediately evident, such as a frayed cable or tire damage. 3. You can’t really properly tune a bike when it’s packed with dirt and buildup.
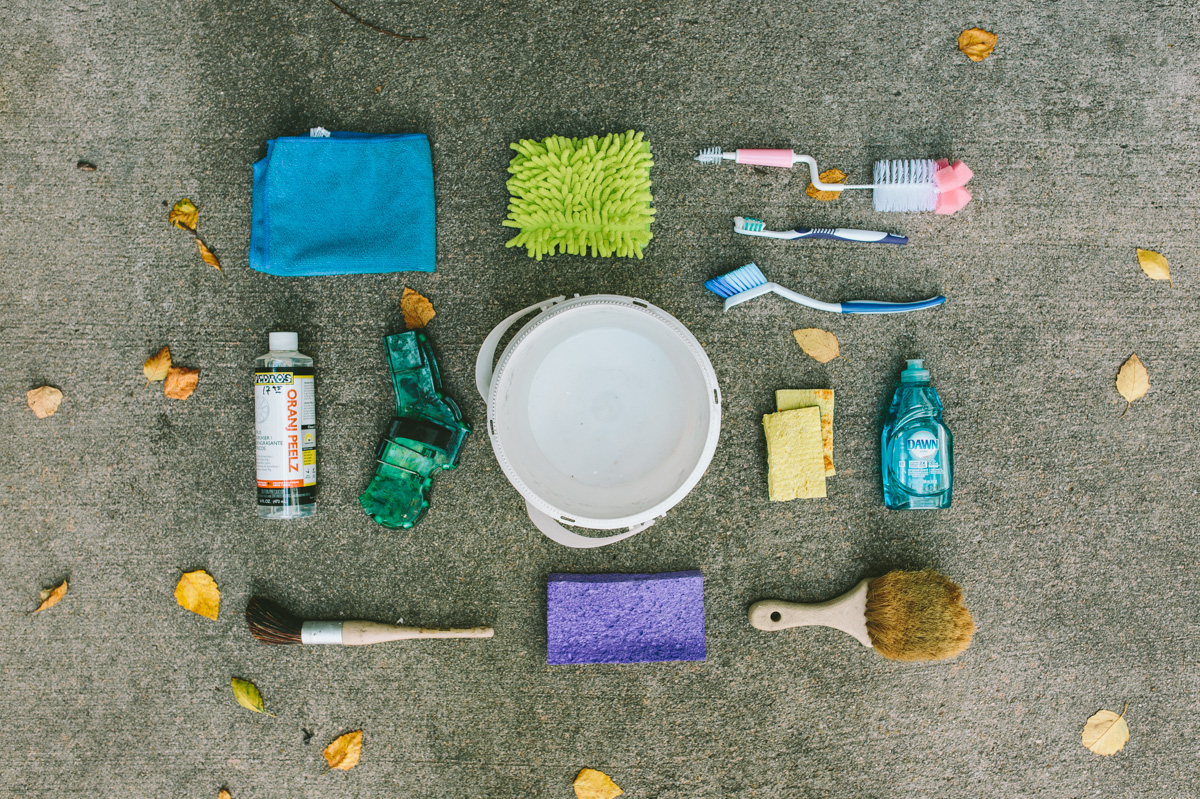
Put your bike on a stand to do the cleaning. This gives you an eye-level view of the drivetrain and important parts. Typical dishwashing liquid works pretty well for breaking down grease, and a regular garden hose works well when paired with a few brushes to scrub the hard to reach places.
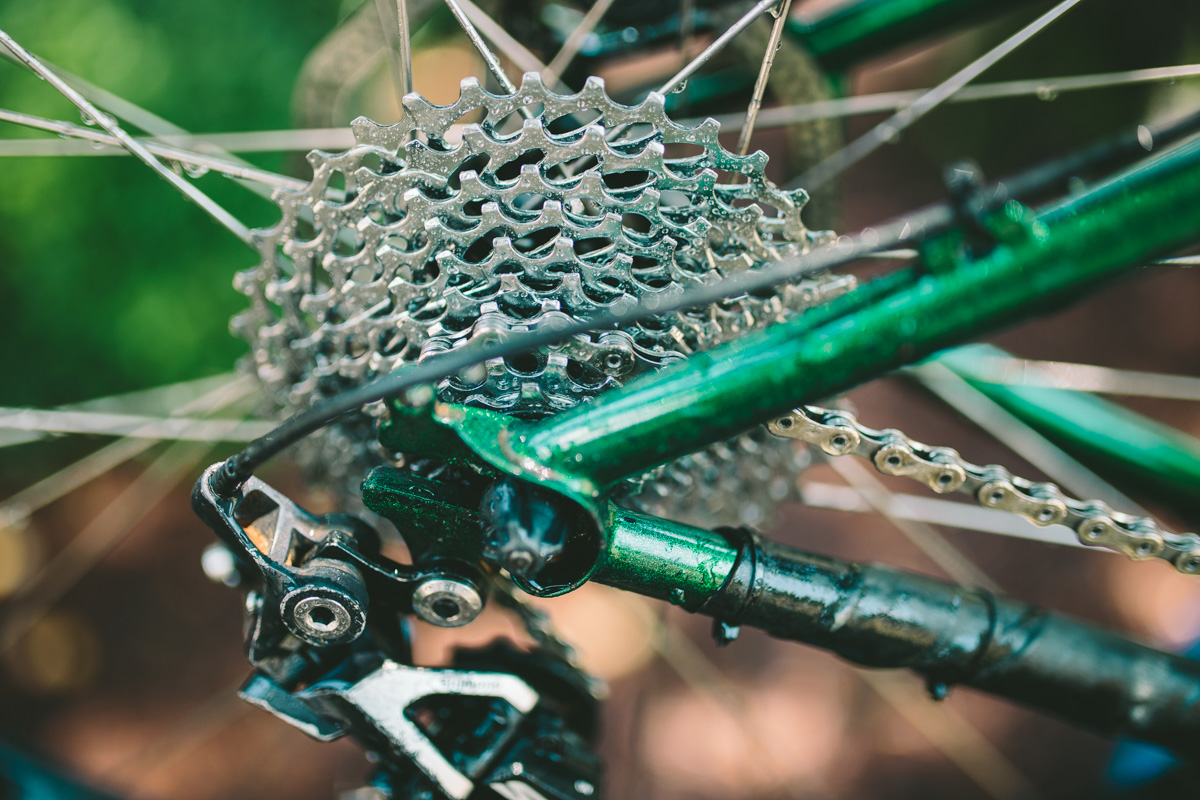
2. Check your chain.
A proper cleaning and lube does wonders for a drivetrain. You can use a real chain cleaning tool, such as the Park Tool Cyclone, with degreaser, such as Pedro’s Oranj Peelz Citrus Degreaser, or hand clean it with a bottle brush or toothbrush and dishwashing liquid. Once the chain is clean and dry, apply a fresh coat of lube. I personally like ProGold ProLink and Rock-N-Roll Gold.


In this video guide, Neil dives deep into the world of bicycle chains and discusses bike chain repair, chain wear, and simple tips and techniques to get you out of a bad situation, or to avoid that bad situation in the first place. Watch the video below and be sure to hit the subscribe button so we can keep making videos like this one…
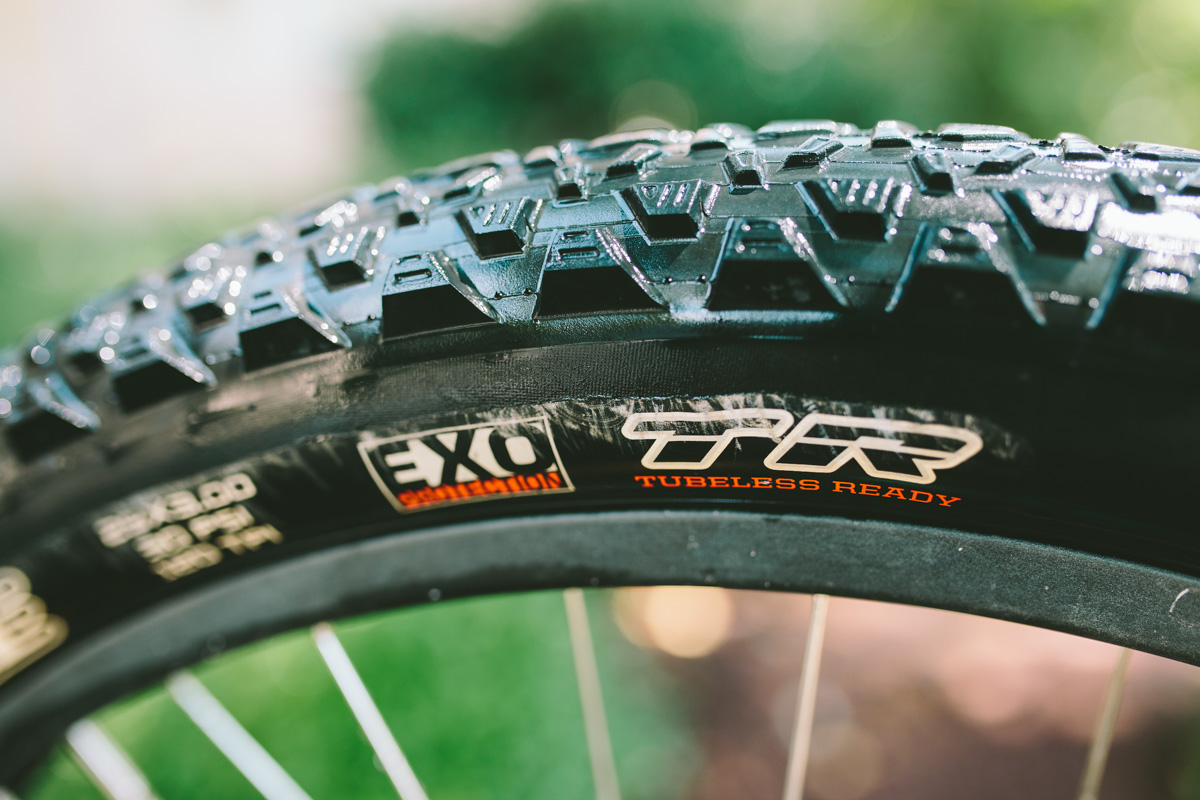
3. Inspect the tires.
Look over the tires—especially the sidewall area—for cracks or abrasions. This can be the first sign of a sidewall tear, or a potential failure point. Dry rot might be a little more applicable if you have a stable of bikes and the one you’re taking out hasn’t seen much action in a while. One thing to note: if you store your bike on a concrete garage floor, slip cardboard underneath the tires to prevent dry rot in the casings.
4. Check your spare tubes and sealant.
I am 100% tubeless on all bikepacking trips, but I always carry one spare inner tube. On most bikepacking trips, I either lash my spare tube to the frame of the bike with electrical tape or put it at the bottom of my frame bag. If you are going alone and your spare tubes have been rattling around in your pack for a while, inflate them to double-check their integrity. Also, ideally store them in an old plastic bag (like a bread bag) to prevent abrasion.
5. Evaluate your headset.
While usually not a deal-breaker, a headset bearing is something that can go over time. To check your headset, squeeze the front brake and rock your bike fore and aft. If it rattles or has a bit of play, it either needs adjustment or bearing replacement.
6. Test your hub bearings.
Hubs need regular rebuilding and maintenance; this is something not to ignore. Hold the wheel firmly and move it from side to side. If there is any clicking or play, the hub is either loose or needs to be rebuilt. Rebuilding a hub is not difficult and there are plenty of tutorials out there.
7. Check your bottom bracket.
Bottom brackets can have a lifespan of less than a year if you ride regularly. Check your bottom bracket bearings by holding the crank arm and pushing and pulling in a side to side motion. Also grab the end of a crank and rock it back and forth. If there is any play and you feel a wiggle or any noise, it either needs to be adjusted or replaced. Don’t ignore the clicks. A frozen bottom bracket can result in a long walk. Believe me, it’s happened.

8. Tighten bolts.
Crank bolts, pedal bolts, rack bolts, stem bolts, etc.
9. Pluck your spokes.
Give your spokes a nice pluck to double check that your wheel is sufficiently trued and none of the spoke nipples are loose.
10. Check your cables.
A sticky or slow shifting cable can lead to stress on the wire itself. A few drops of teflon lube in the housings can help this. Also, pay close attention to the places where the cables are clamped (derailleurs, or mechanical discs). Look for frayed points of contact.
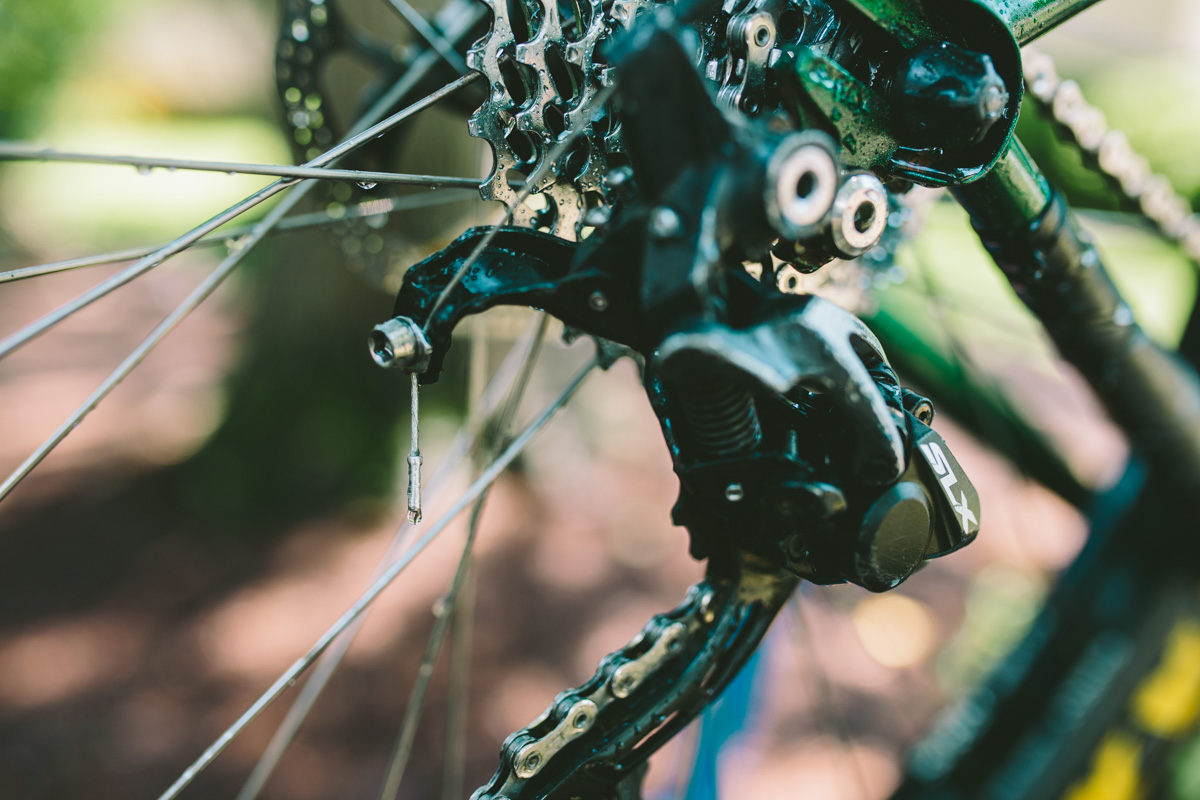
11. Align your Hanger
Verify that you derailleur hanger is properly aligned and rear derailleur limits are set. A slightly bent hanger will affect shifting performance, but a severely bent hanger will send the chain into your spokes, which could be a catastrophic situation. Don’t just shift the derailleur into the biggest cog while in the stand, use your hand to push the derailleur beyond that last cog if possible. If it jumps off that gear into the spokes, check to see that the hanger is straight and the low limit is properly set.
12. Replenish sealant.
Over time, the sealant in a tubeless setup dries out. This, of course, makes it ineffective at preventing leaks. I usually just remove my wheels and give them a good shake to check the sealant levels. If some needs to be added, it’s just a matter using a syringe to top it off with an ounce or two.
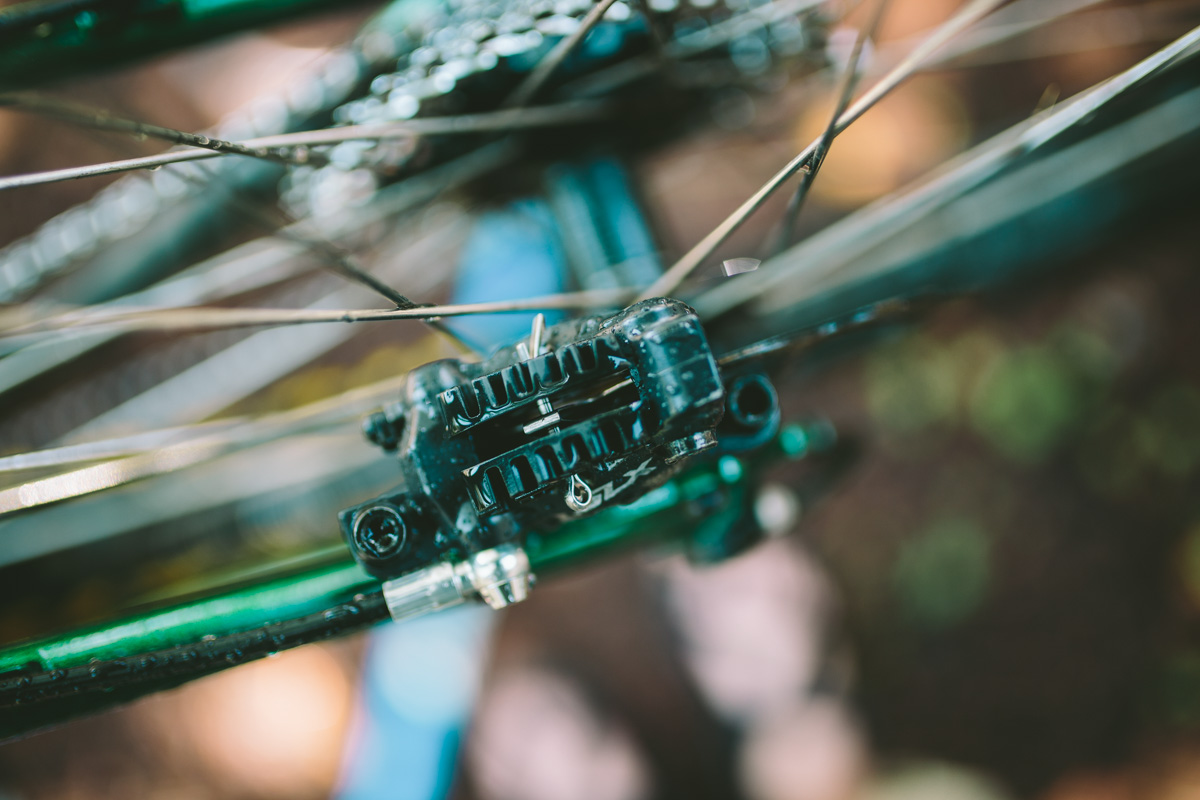
13. Inspect the brakes.
There are several signs your brake pads are worn or need maintenance. The most common of are: 1. that dreaded gritty scraping sound; 2. a slight stickiness when you brake; 3. too much play in the levers, or not enough. The latter means they might need to be bled, and the first two more than likely mean that the pads need to be replaced. You can usually eyeball the pads to be sure there is plenty of material left, too.
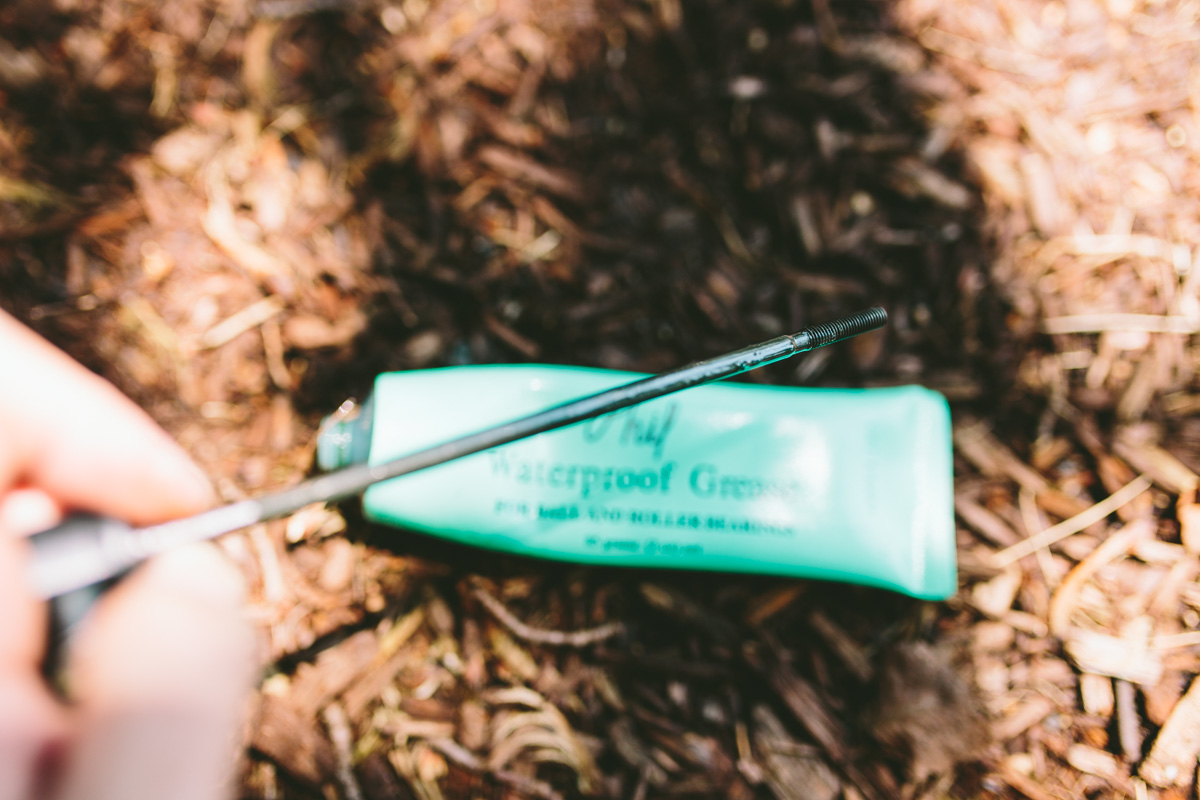
14. Grease.
I like to grease hub skewers, the seat post, stem, and any bolts that were removed or adjusted.
15. Change your cleats.
Worn cleats can release unexpectedly, and if the route you are planning on riding has a fair share of hike-a-bike, they will wear even faster. If they are over worn, give yourself a fresh pair before setting out. I used to use Crank Bros pedals, but due to the soft and quick wearing brass cleats, I’ve since switched to Shimano pedals. And as you can see in Neil’s video, they are quite bombproof.
16. Tune.
Last but not least, tune everything. Besides offering a nice smooth ride when you roll out, this is another means of inspection to find any potential issues. Adjust your brakes to make sure there is no friction, tune the drivetrain, inflate the tires to the desired pressure, and make any final adjustments to ensure your fit and comfort.
For other bikepacking preparation articles, be sure to check out our Field Guide to Tubeless as well as the Bikepacking Repair Kit. Have another Maintenance tip to share? Add it to the conversation below…
Please keep the conversation civil, constructive, and inclusive, or your comment will be removed.
We're independent
and member-supported.
Join the Bikepacking Collective to make our work possible: