


Warm & Dry Winter Bikepacking: A Packlist
It doesn’t take long for one’s bikepacking addiction to start pushing you out the door further into the shoulder seasons. But when the dead of winter comes into play, this is a next-level habit. Winter bikepacking offers a whole new set of challenges. Miles shares how he tackled these demands through carefully planning the right gear.
Branching out from summer to shoulder season bikepacking is a natural progression. This should come as no surprise as the weather can often be more forgiving in the spring and fall, offering lower average temperatures and better opportunity for natural water sources. And while the shoulder seasons pose a few additional preparation nuances, winter offers a whole new set of risks that can only be dealt with effectively through planning, proper gear choices, and dare I say… a few new purchases.
Sub-zero temperatures and unique riding conditions make it even more difficult to pack light and smart. Although aiming to thrive (not just survive) should be our ultimate goal, there are still opportunities to pick our gear strategically. Sure people may think you’re crazy for — and might not even believe you — when they find out you’re winter bike-camping by choice, but the first step to successful winter bikepacking is admitting you have a problem.
6 Winter Bikepacking Tips
There is definitely an overlap between preparation, gear, and execution when it comes to bikepacking through the seasons. At the same time, dedicated winter riding calls for a little extra attention if you’re planning to be warm and comfortable at the end of the day. To get things started, here are six winter bikepacking tips from 2015 Arrowhead 135 finisher, veteran winter cyclist and long time bikepacker Cameron Dube of the Ottawa Valley, Ontario.
1. MAKE SAFETY A PRIORITY
Staying safe should always be your first priority, but especially during winter excursions; personal safety is often overlooked by many. Take the time to leave your intended route and estimated dates / times for someone who knows your travel area. Ensure that you have a reliable means of communication (cell phone, SPOT device).
2. PERFORMANCE IS PREPARATION
This means putting the time in to use your gear in a comfortable environment before you begin to venture further away from the comforts. Light your stove at home, take it apart and rebuild it. Try lighting it with various methods and in trying conditions like in the wind, rain/snow, and cold. Practice assembling your kit with your gloves on. Pack your kit in the dark. Where do you keep your spare batteries? Do you know the battery sequence for your headlamp? The little things matter.
3. LAYER SMART
Start cool but pack for the warm stuff. It’s much easier to add a layer if you’re chilly than it is to remove a layer once you’ve began to sweat into it. A buff can go a long way, from a neck warmer, to head cover, and also, my favourite (adopted by Jay Petervary) as a noseband. The noseband covers just that, my nose and not my mouth like a balaclava does wherein the balaclava tends to get soaked and frozen with ice rendering it useless and next to impossible to feed yourself.
4. GET TO KNOW YOUR FEET
Develop a boot and sock system that works for you. Layering your socks is also a great way to minimize sweat build up against the foot, thus keeping the toes warmer. A thin liner sock against the skin and a midweight (or whatever thickness fits well in the boot) over-top does wonders for long rides in the cold. If you’ve sized up your winter riding boots and have some spare room, try adding a thin layer of camp pad foam, like 5mm zotefoam, or felt inserts as an added foot-bed to insulate from the ground.
5. KEEP YOUR FINGERS WARM
Buy some pogies, and even if it’s not that cold out, use them as storage for snacks, spare batteries, etc… your hands can sit on top, on the outside of the pogie if you feel the sweats starting. Use a thin glove liner as this will help gather perspiration and act as a safety net should you need your hands outside of the pogies in cold conditions. Bare skin exposed to a -30C stainless steel thermos can freeze to your skin almost instantly. Wrap it in some of the leftover foam from your boot insoles!
6. DON’T REINVENT THE WHEEL
Go with people who have experience. Join a club or group, read forums, blogs, and post-trip reports from the veterans. If you’ve winter camped before (with success) then it’s just a matter of making it fit on the bike. Figure out what it is you don’t know and ask about it, learn about, and try it!
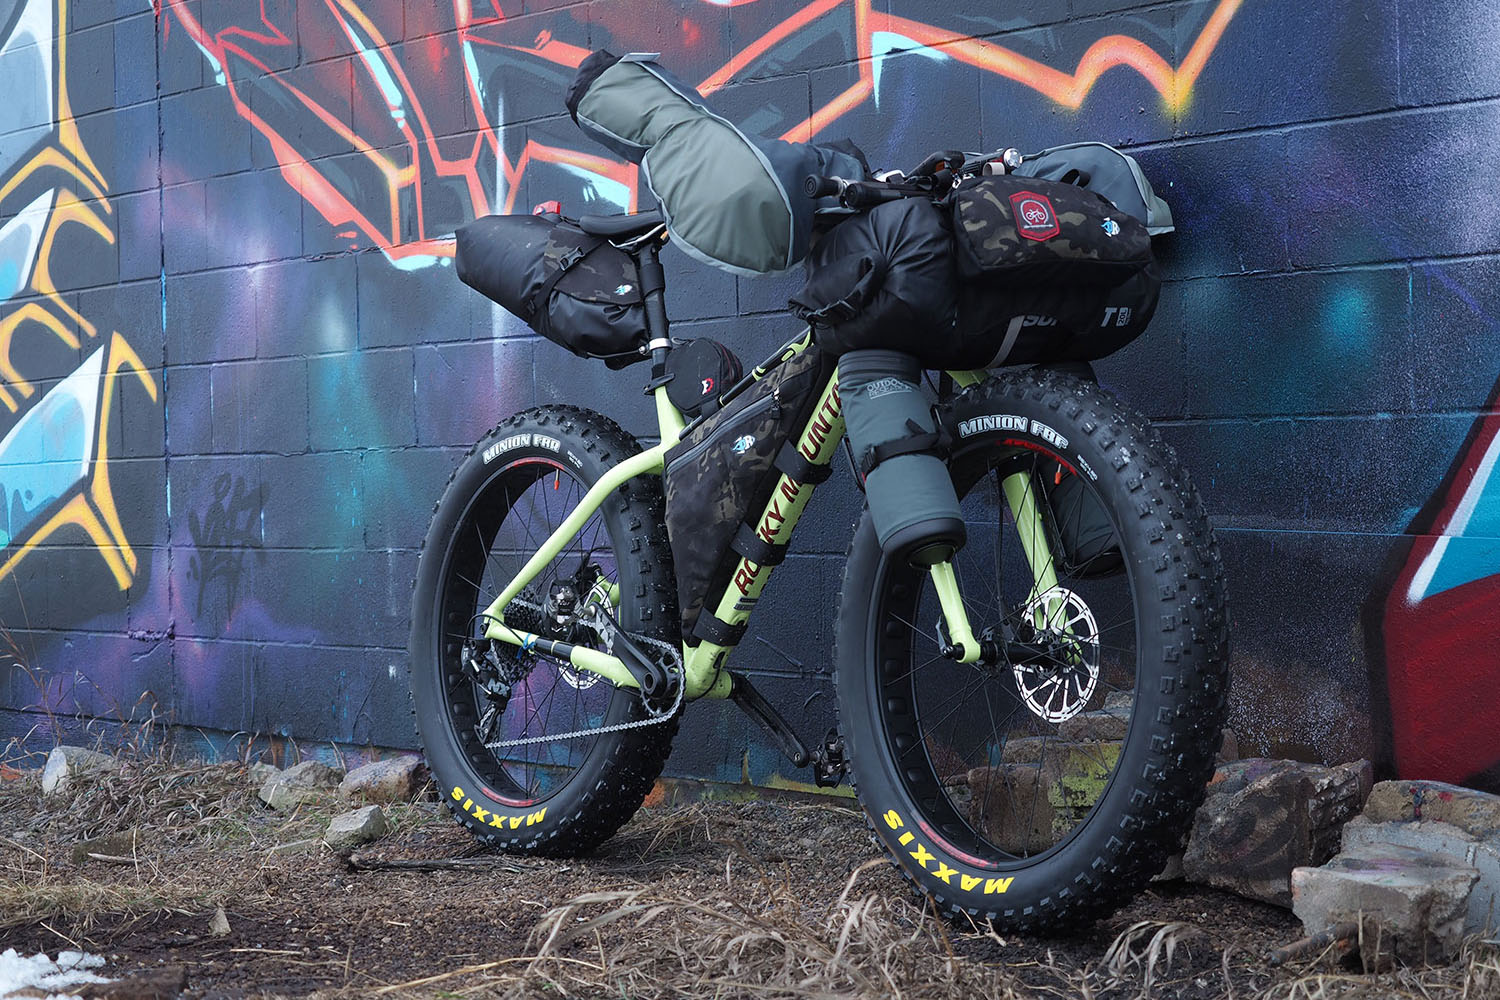
The Bike
RELIABLE… WITH BIG TIRES.
As I rode my Surly Krampus through last summer, into the fall, and pressed on into the early days of winter I started to doubt on its ability, or perhaps mine, to efficiently ride through any more than a few inches of snow. Don’t get me wrong – the Krampus was and is a joy to ride in the snow, but doesn’t really compare to the larger width tires that true fat bikes offer. In addition sizing up from standard fat bike tires (3.8″) to 5″ tires (typically 4.8″) is greatly beneficial for snow riding. Sorry guys, sometimes size does matter.
The 2017 Rocky Mountain Blizzard -30 picks up where the Krampus left off. Boasting clearance for 4.8” tires, and geometry that just might remind you of your trail bike, the Blizzard makes for a fun and capable winter ride. The -30 model sets itself apart from the other three builds by including bottle cage mounts on the fork, internal routed cables, and a paint job that only a mother could love. I’m a firm believer in relying on mid-range parts that are built to last, and winter bikepacking should be no different. The SRAM NX series drivetrain is snappy, robust, and won’t cost you an arm and a leg to replace when the time comes. The simplicity of 1X11 is a welcome sight when riding into heavier, sticky snow but still offers reasonable ratios for climbing technical trail.
Big tires, a build that makes sense, and room for storage- stay tuned for a detailed review on the 2017 Rocky Mountain Blizzard -30 in the coming weeks.

My Winter Packlist
The mix of high aerobic activities and winter camping makes people nervous, and it should. However, add a bit of planning to the equation and anyone can gather the necessities for a warm and comfortable time. It’s also important to note early on that everyone’s bodies are different – people get cold easier, some sweat profusely, and others demand a sleeping bag rated at -40C. These are my recommendations for what has worked for me, and what may work for you.
CLOTHING
The best way to save money is to try to use what you already own, and this is especially true for your clothing. Items like softshell jacket and pants, midweight insulating layers, and base layers can often be used all year round…then you just need to layer them appropriately to be comfortable in the winter! The following items are roughly organized with next to skin at the top, followed by insulating layers and finally my outermost items at the bottom.
PS – you’ll likely notice I use a lot of Outdoor Research clothing… this is only because I’ve had good luck with their products and I like the fit.
- Merino wool base layers, mid or light weight. MEC has some reasonably priced options in varying weights for the Canadian readers. Other brands to consider include Icebreaker and Ibex. In addition, Patagonia’s Merino Air is a great product.
- If wool ain’t your thing try something with Polartec® Power Grid™ fabrics. They offer great warmth and shed excess heat quite well. I use Outdoor Research’s Transition Hoody.
- Polypropylene liner socks with a thicker wool sock over top. Some may consider a vapor barrier liner in between these to avoid soaking your footwear from the inside.
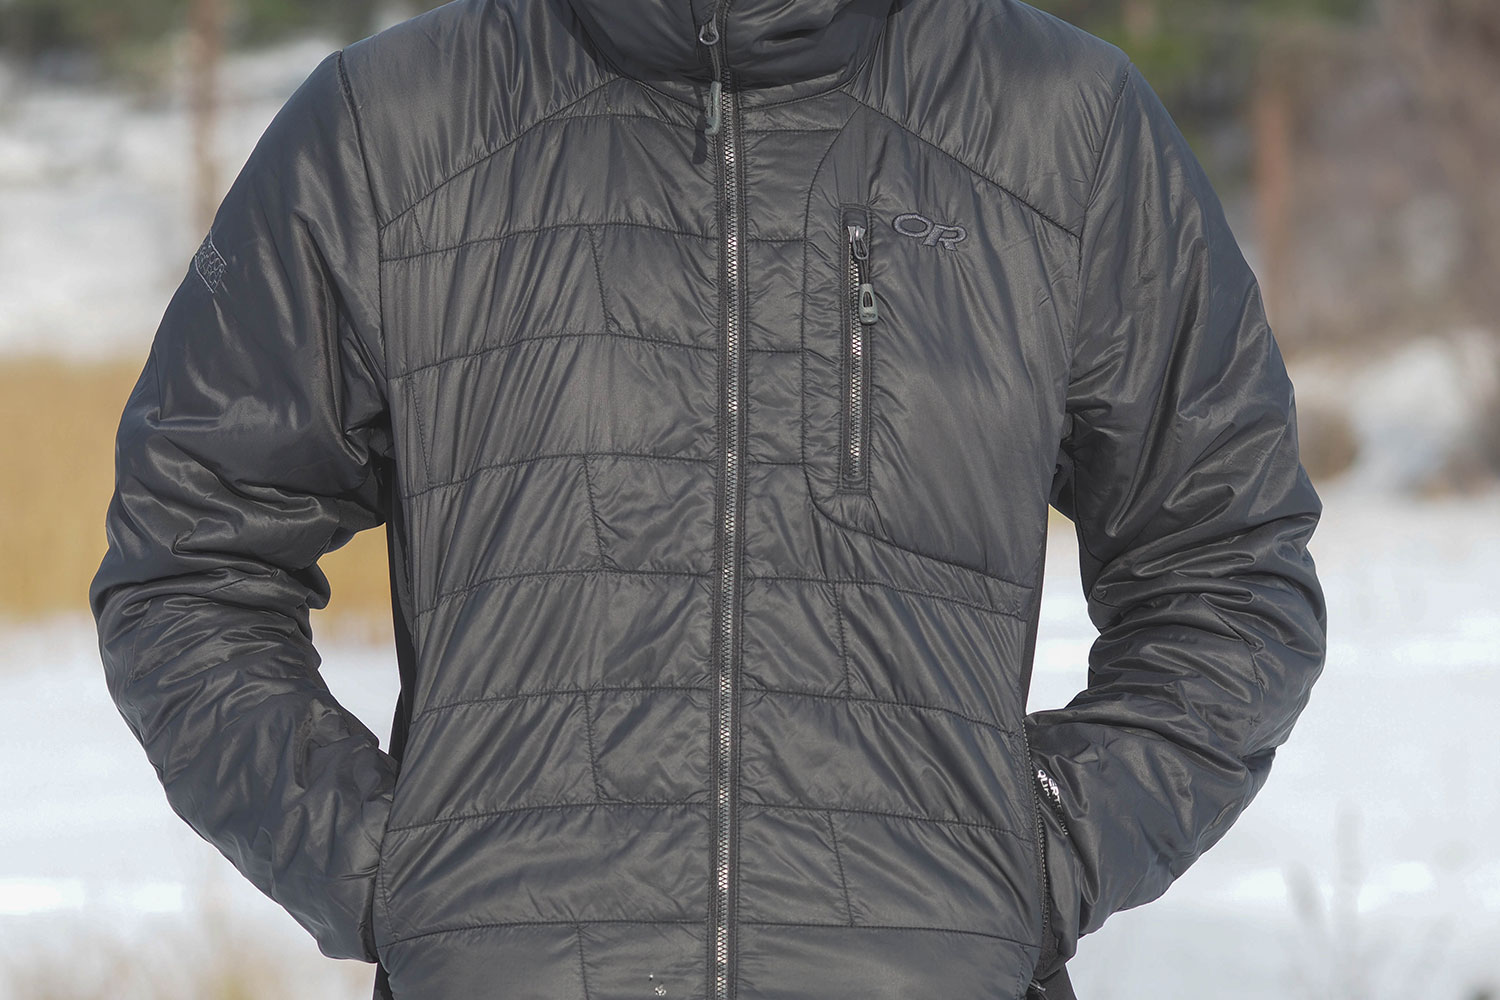
- Midweight insulating layer that is either synthetic, treated down, or wool. I use an Outdoor Research Cathode Hooded Jacket … PrimaLoft insulation where I need it, and super breathable side panels to keep me dry.
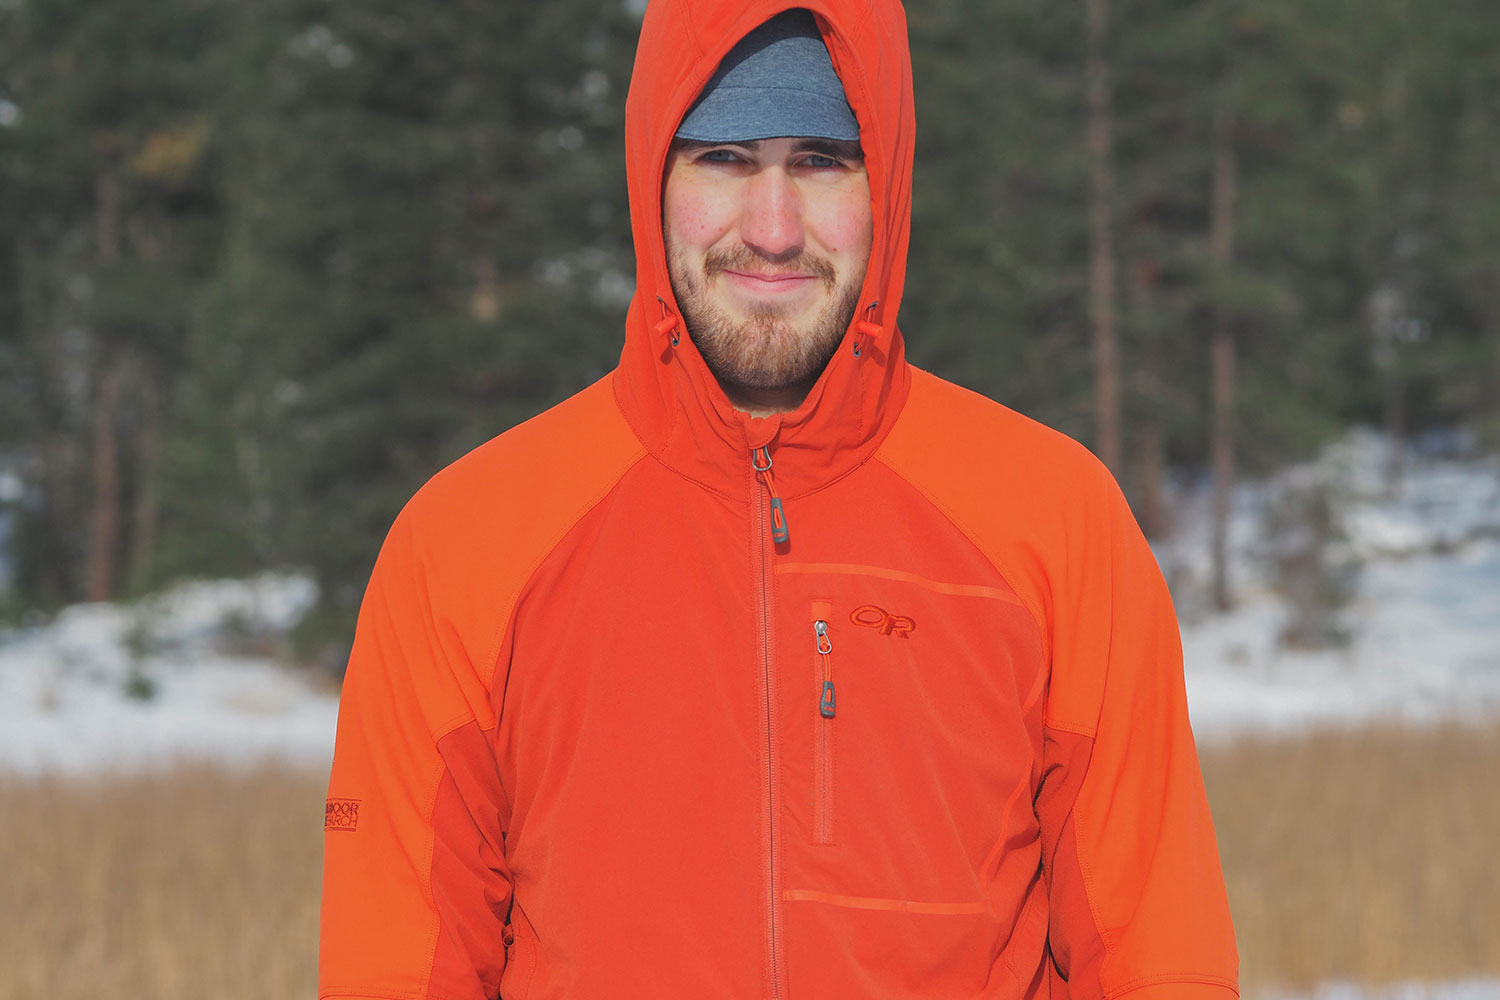
- A lightweight softshell jacket is best used for your outermost layer. It breathes well, sheds most snow and light rain, and dries quickly. I swear by my Outdoor Research Ferrosi Hoody.
- Slim fitting softshell pants that give enough room for layers but won’t snag anything with extra slop. I find Nordic skiing pants often have the best fit, breathe well, and shed wet snow quite well.
- A warm cap that fits under your helmet and covers your ears. A visor isn’t a bad thing either, if your helmet doesn’t already have one.
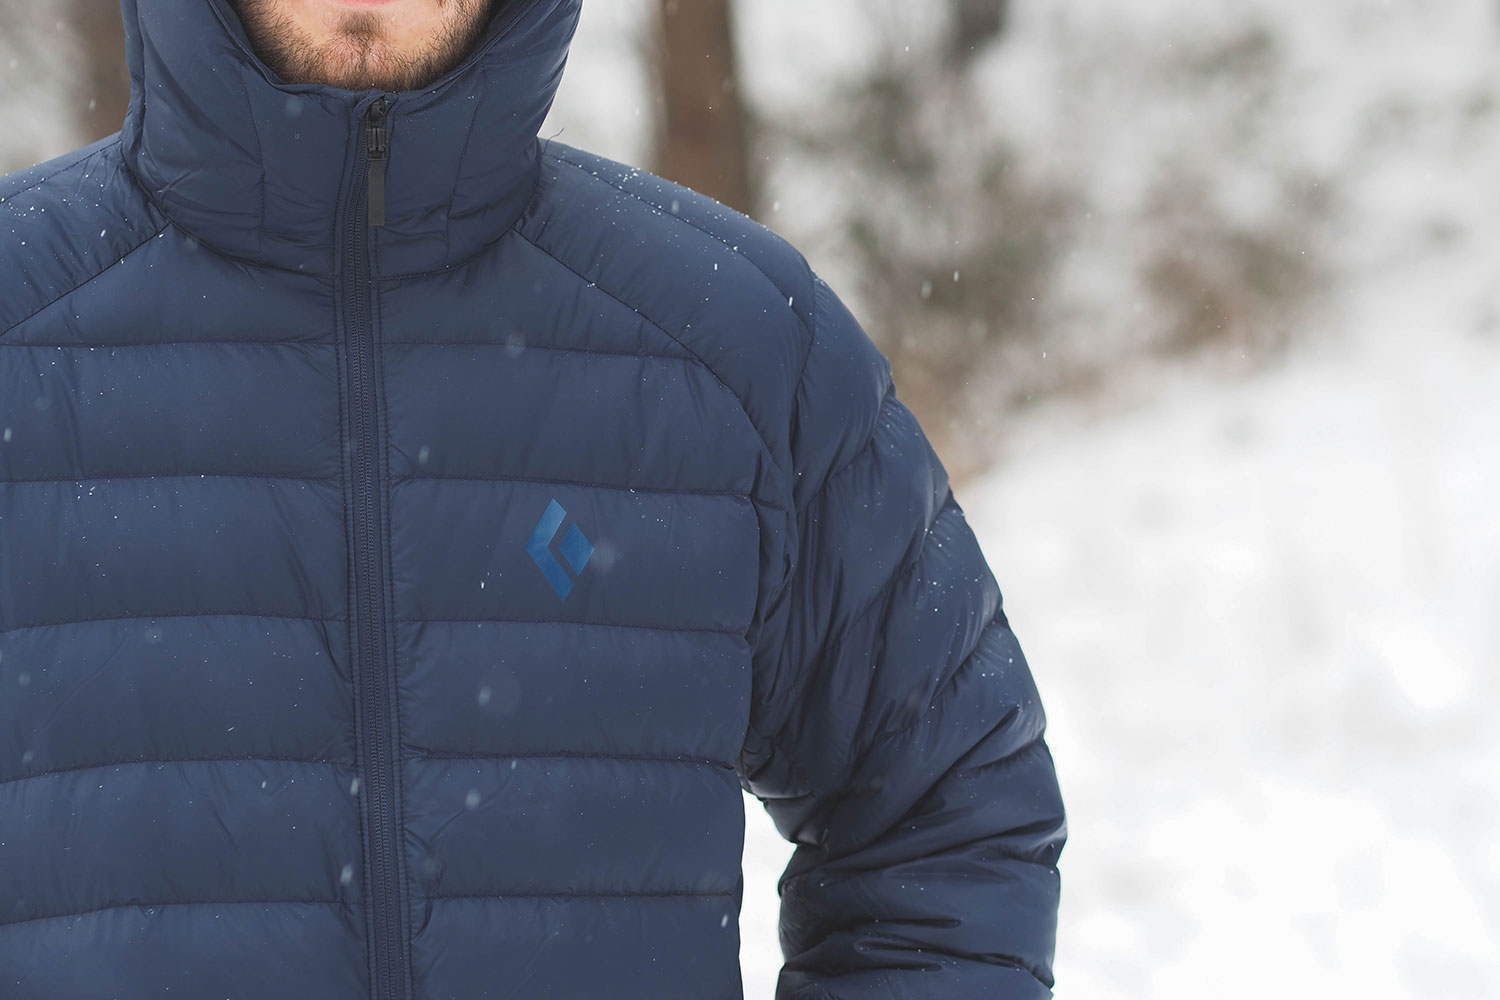
- A big puffy jacket for camp if you don’t already own one, will soon be your best friend after a long day of riding. I’m using the Black Diamond Cold Forge Hoody, and the size large provides enough room to throw overtop of all my layers in a “oh-shit” situation and fits comfortably for hanging around at night. A good mix of Michelin man puff and ski lodge slenderness.
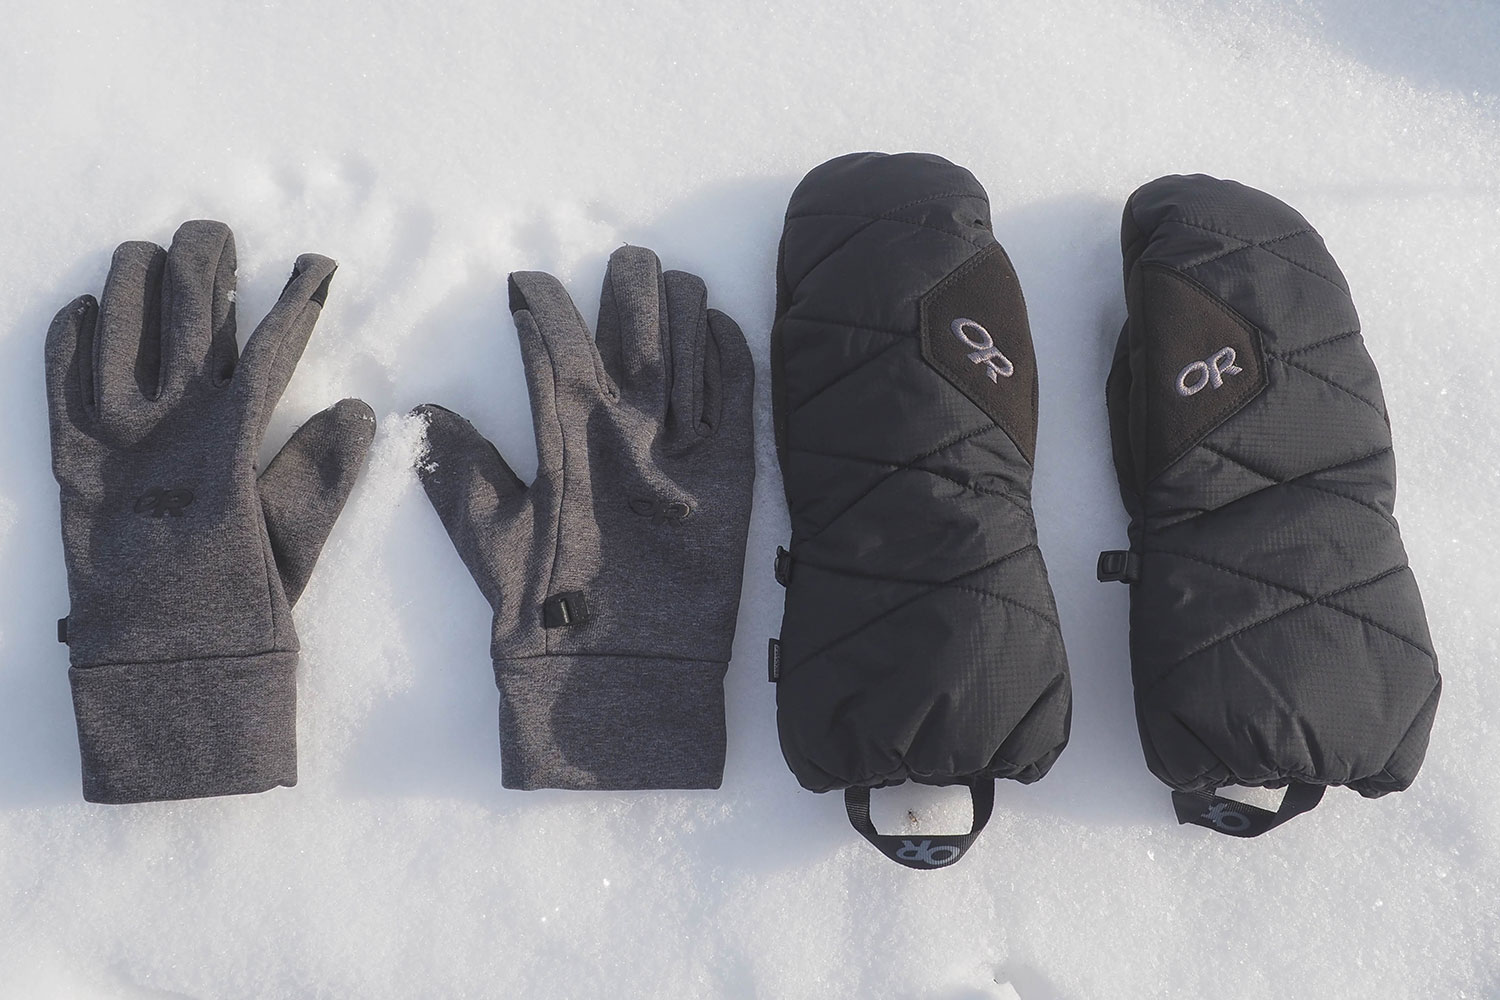
- Lightweight gloves and a warmer glove for hanging around or if things get ultra cold. There are a few down-filled puffy gloves that are great for putting on in the morning.
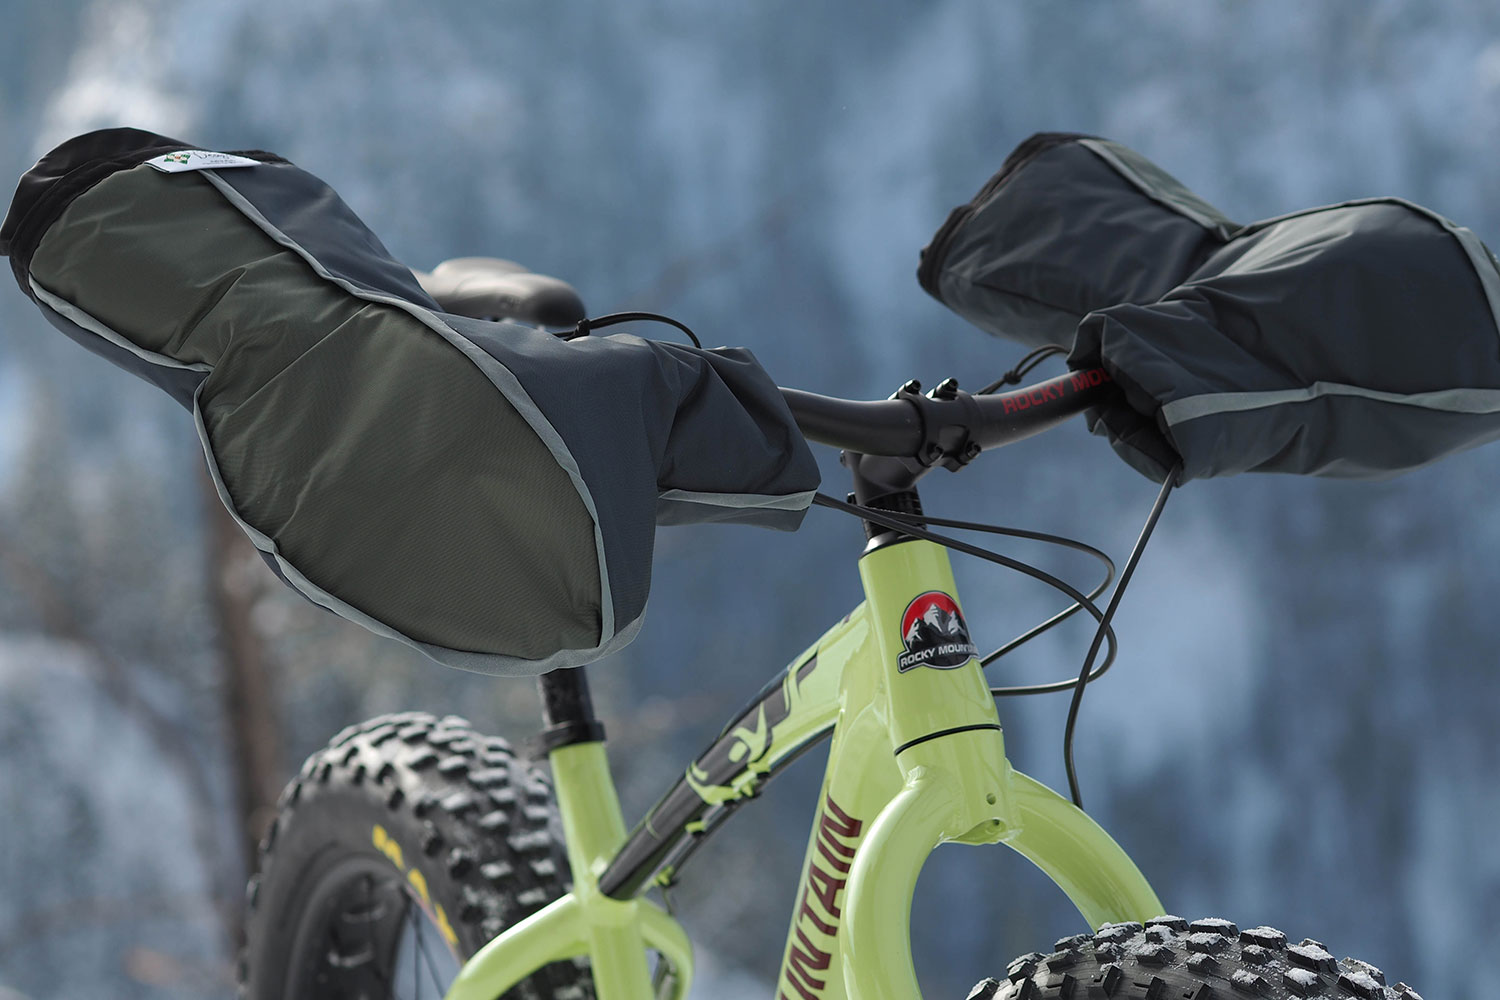
- Get some pogies, will ya? They look funny, but they work. Several fantastic options available, stay tuned for an in depth look at some of the best we’ve come across.
- Protect your eyes with some lightly tinted or clear sunglasses that still have UV protection. Snow reflects a great deal of harmful rays right back at your face.
- Sturdy winter boots like the 45NRTH Wolvhammers provide much needed insulation, waterproofness, and are clipless compatible. A solid winter hiker would work fine as well.
Optional (but useful) items include gaiters if riding into deep snow, a balaclava to protect face from heavy wind, down booties for at camp, a fully waterproof hardshell jacket, and a strong drink before bed. Most of this depends on the expected weather, the geographic location, and how much stuff you want to bring along.
SLEEPING
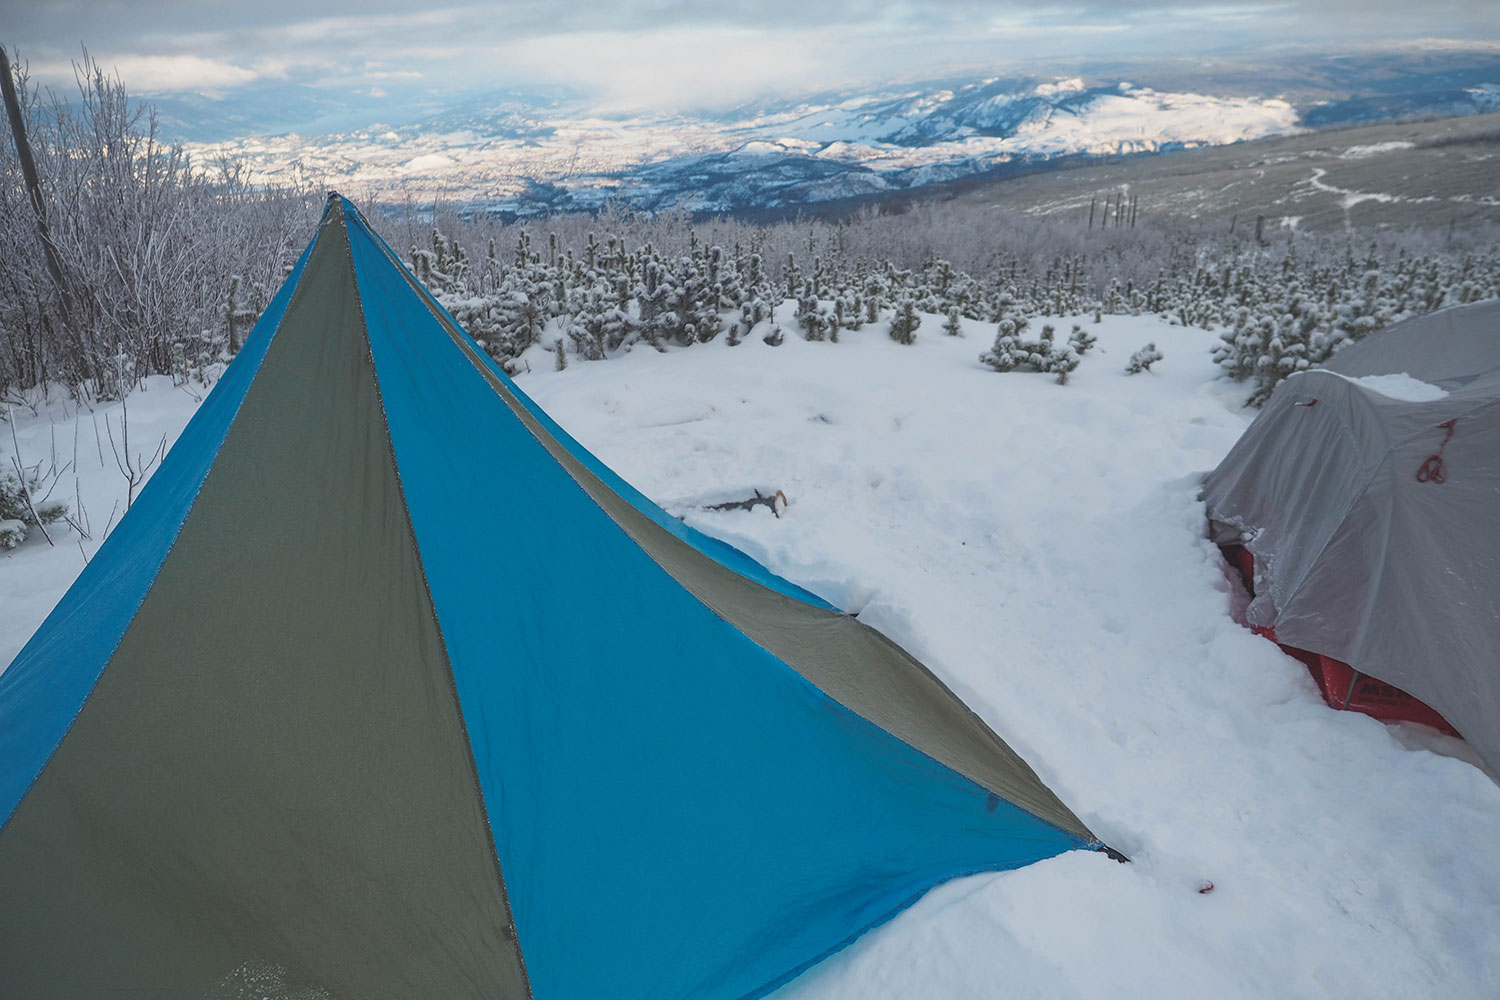
- A floorless tent or tarp shelter will do. This way you don’t have to worry about unwanted snow contaminating your tent, they pack smaller, and you’ll feel badass sleeping on snow. I’m using a Black Diamond Mega Light, also check out Cass’s review of the Hyperlite UltaMid 2.
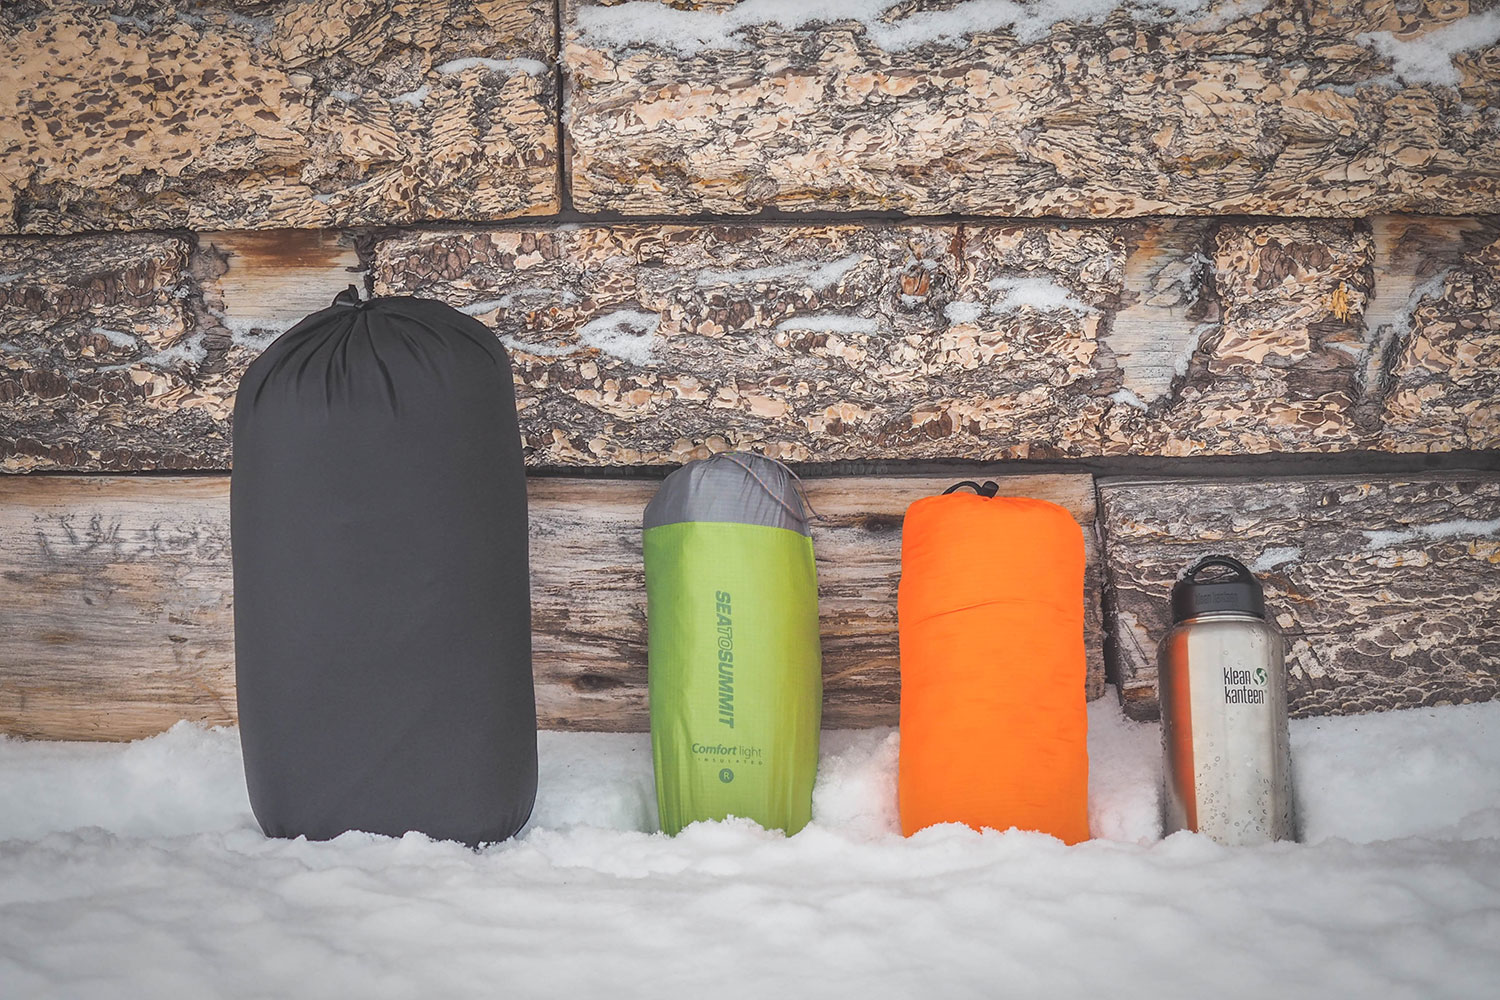
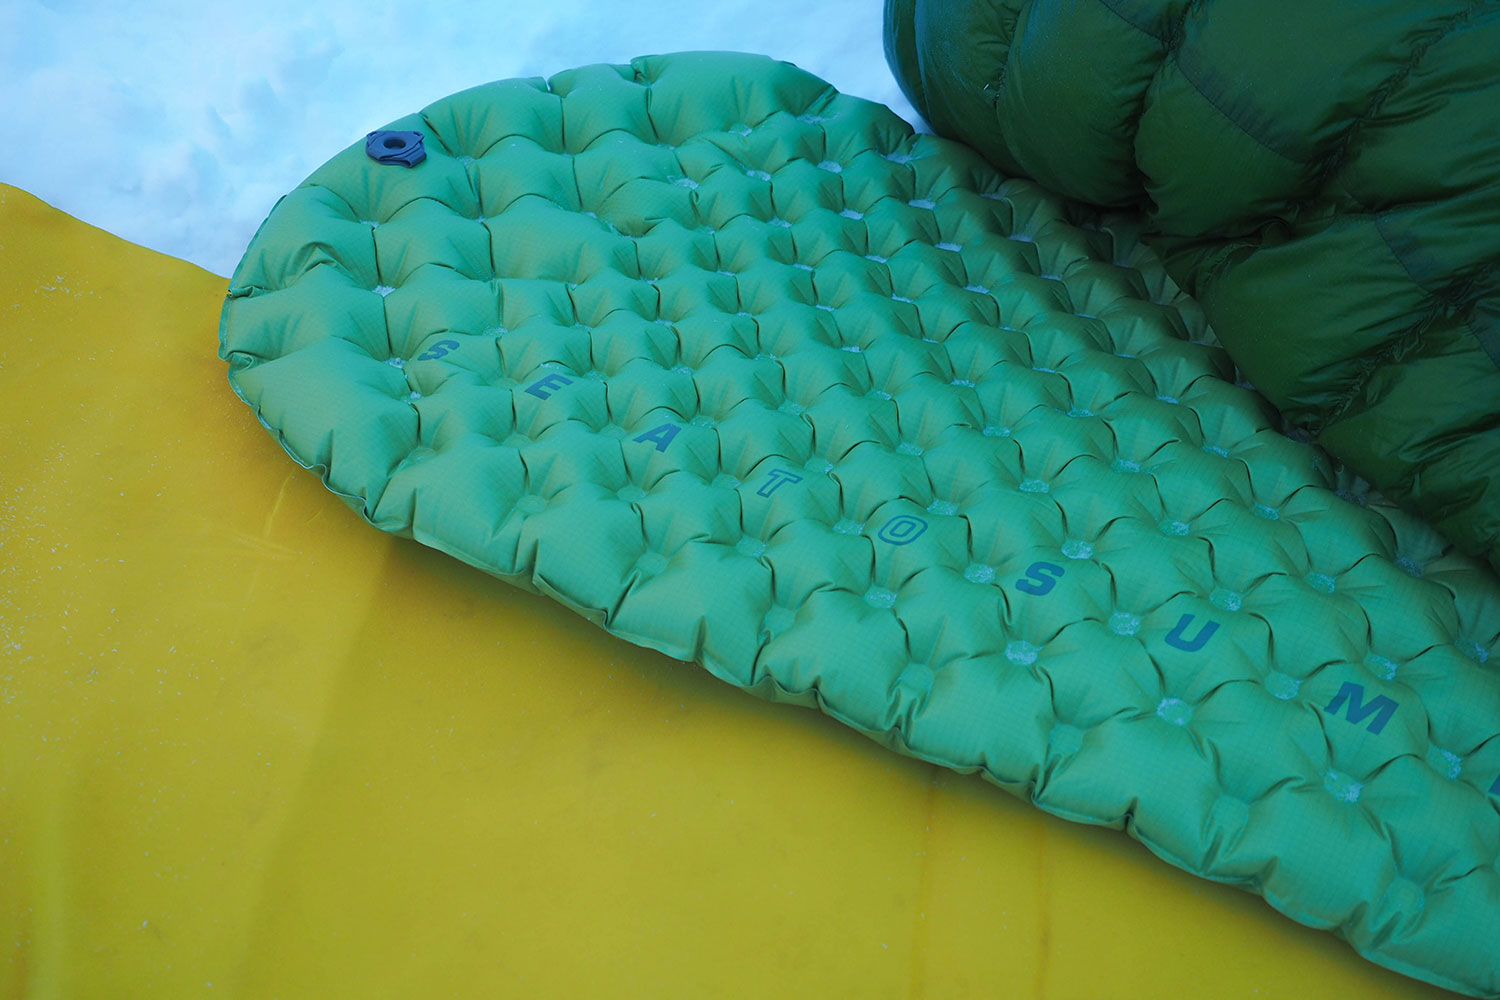
- Sea To Summit ‘s Comfort Light Insulated Mat is only 100g heavier than the Ultralight version but offers an R-Value of 4.2, which is key to a warm night’s sleep.
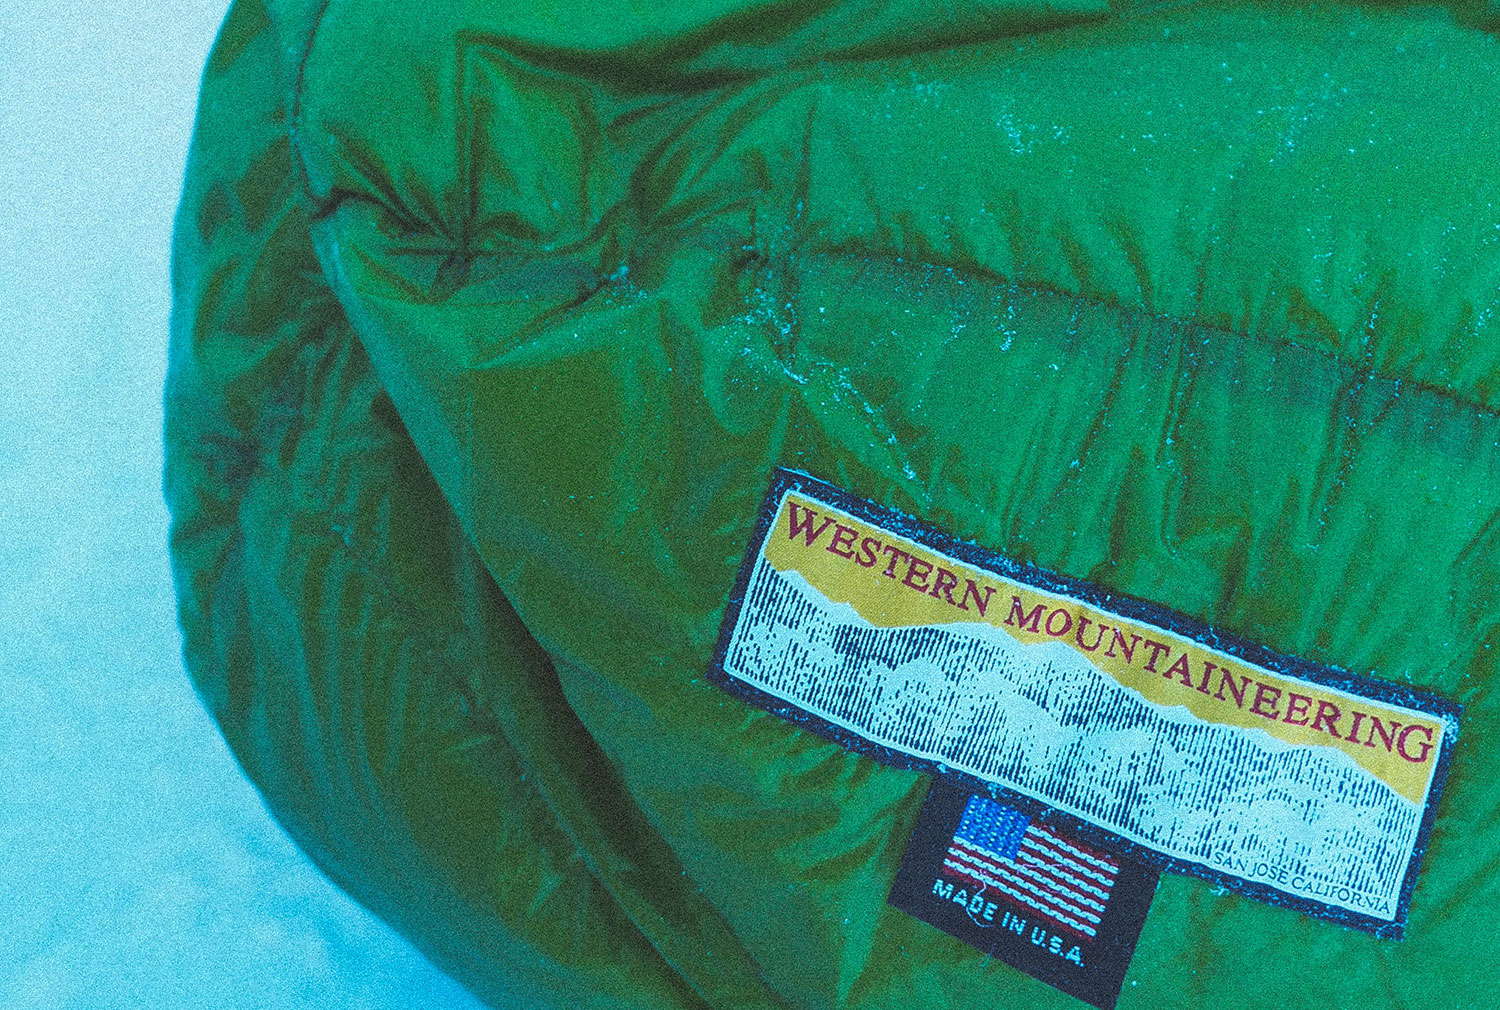
- Western Mountaineering Versalite is a roomy 3-season sleeping bag with a -12C comfort zone. I bring a Sea To Summit Thermolite Reactor Compact Plus liner to boost my sleep system for colder temperatures.
- A reflective blanket or tarp doubles as a ground sheet and emergency blanket if you need it. The SOL Utility Blanket isn’t the lightest option, but will last multiple uses.
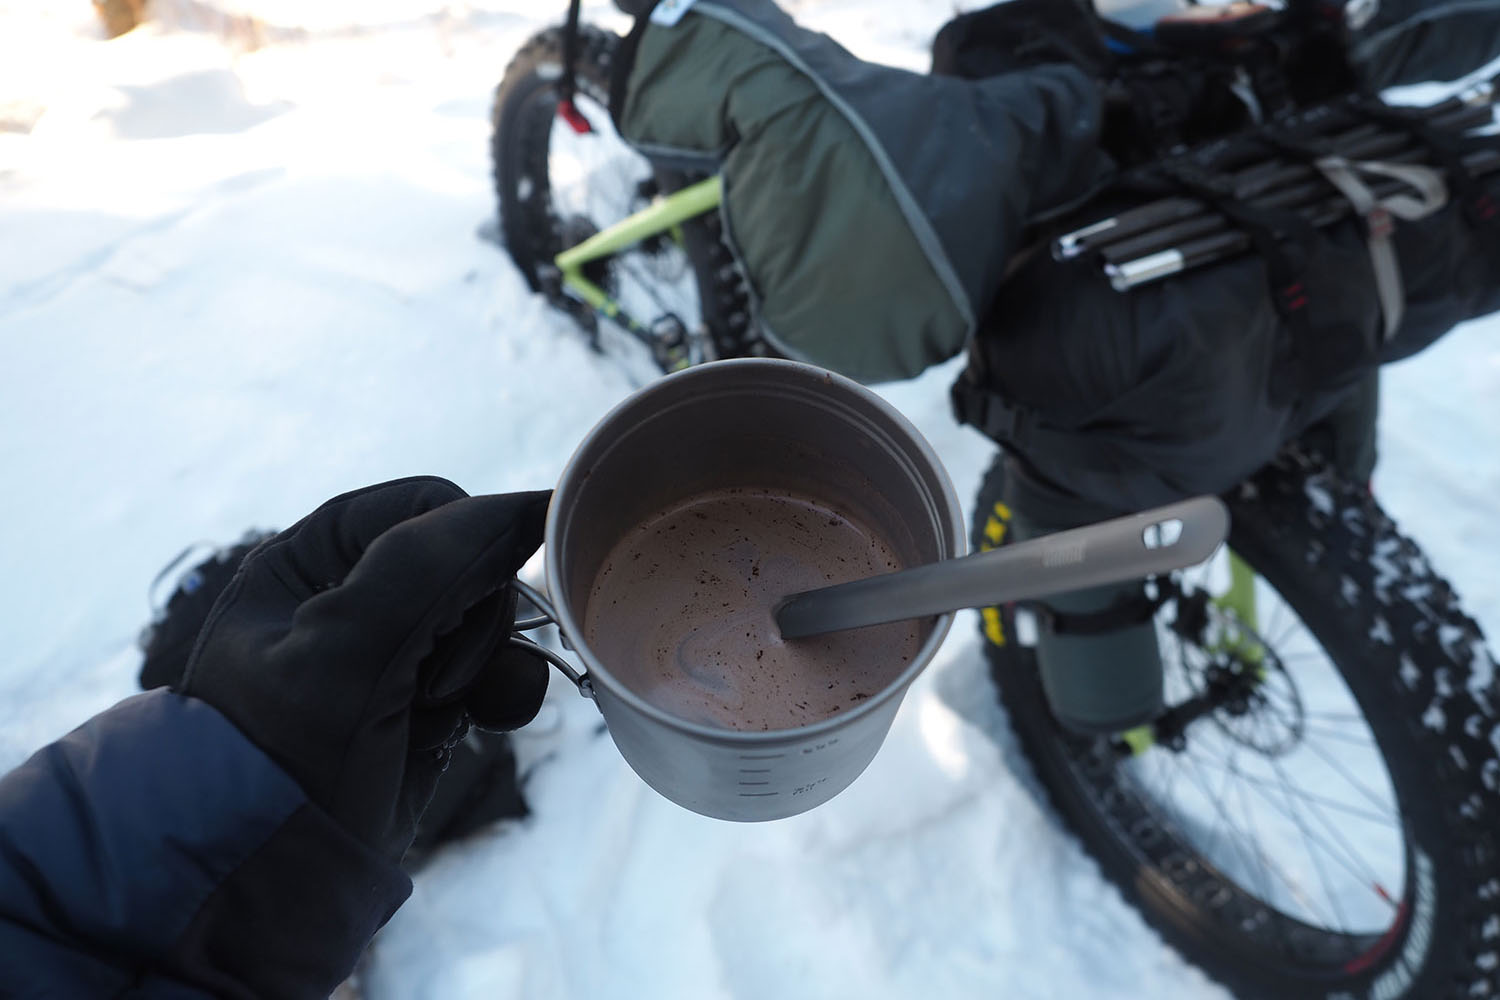
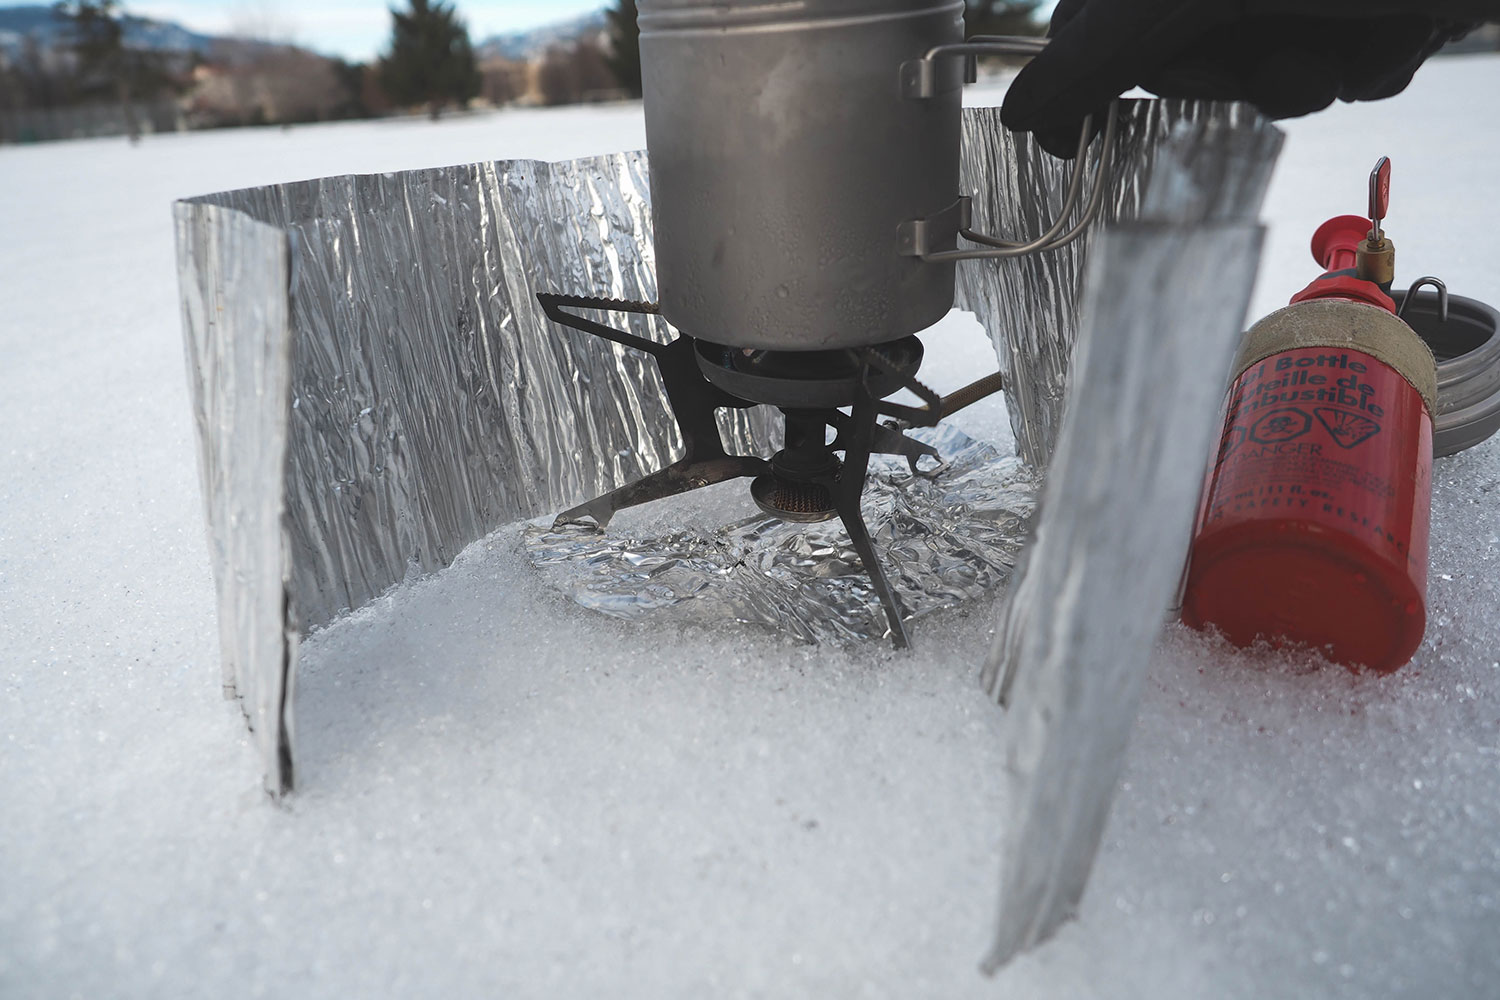
KITCHEN
- A liquid gas stove is the best for winter, like the MSR Whisperlite International, especially when it is really cold. A canister stove or a fire will work though given the right conditions.
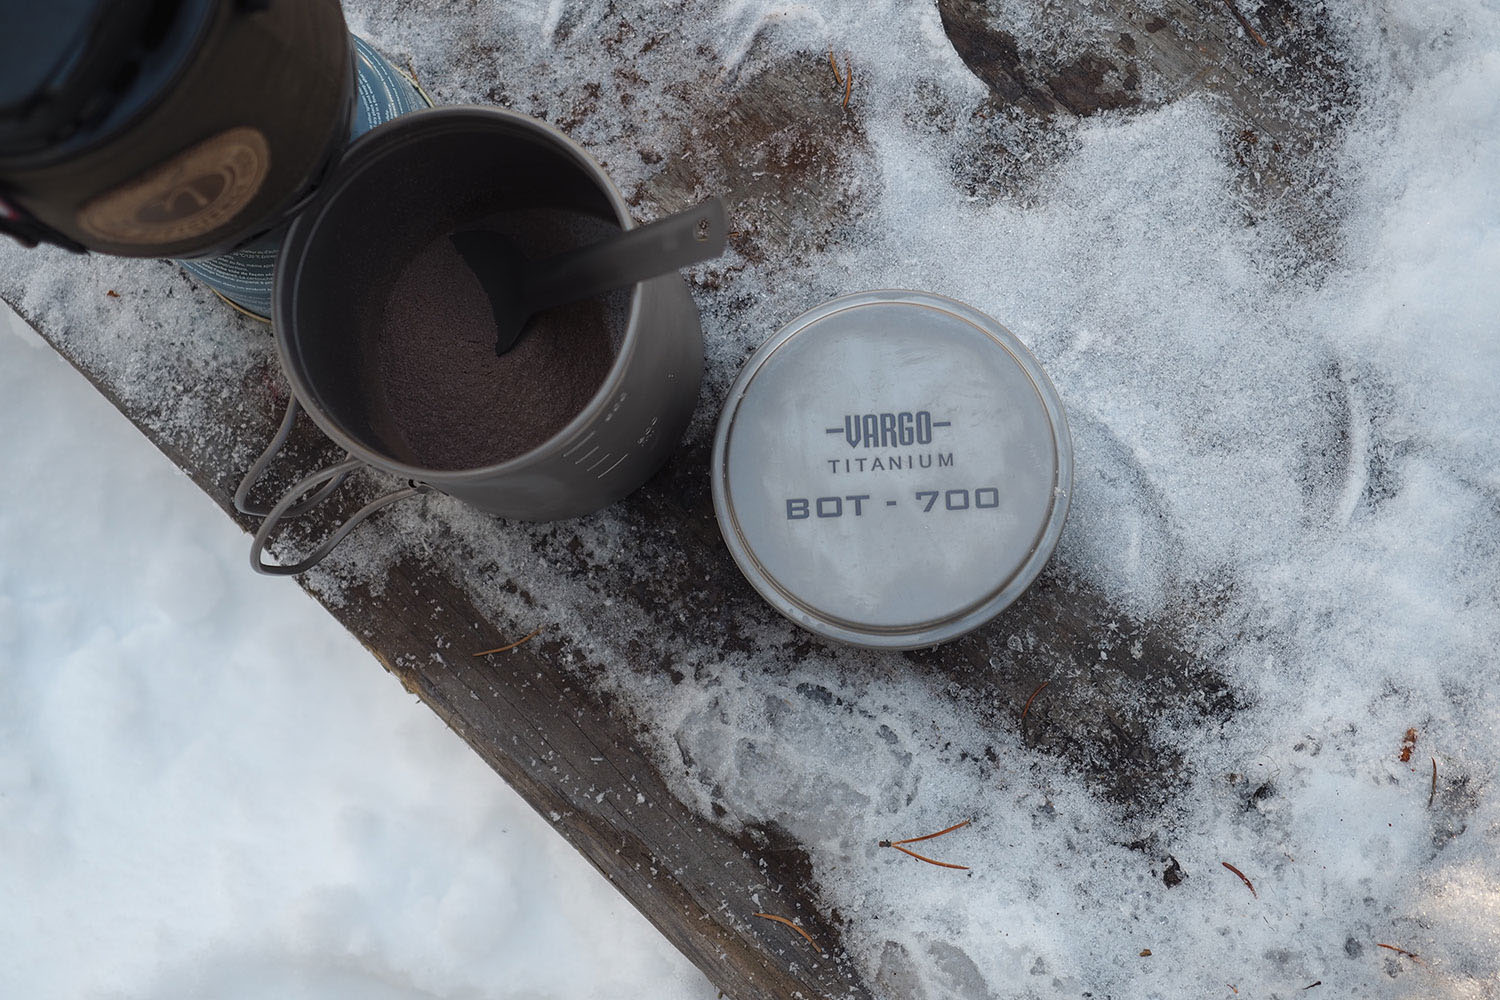
- Titanium cookware is stronger and lighter than any aluminum options, but it comes at a price. Check out Vargo’s awesome titanium BOTS, utensils, and tools.
- Stainless Steel Klean Kanteen; the wide 1.18L version nests inside the #3 Outdoor Research Bottle Parka, and the whole package fits nicely in a Salsa Anything Cage.
- Matches and a lighter for fire building and stove lighting – anything to help warm up when setting up camp.
ELECTRONICS
A reminder that regular alkaline batteries function poorly in cold temperatures, and also have the potential to burst or leak. If the device is a mandatory item (like GPS or SPOT) then fork out the extra change for the lithium batteries that last longer and aren’t as greatly affected by freezing temperatures. Keep all batteries and electronics close to you, and in your sleeping bag if you can manage, to avoid damaging them during the coldest times of the day.
- Olympus E-M5 Mark II mirrorless camera is small, powerful, and packs safely in a Porcelain Rocket camera slinger.
- SPOT Messenger Device to keep friends and family notified on my location back home, and for emergency situations.
- Smartphone that stays off and close to my body, unless I need it.
- Garmin e-Trex 30 GPS device for hassle free navigation.
- The Fenix BC21R front handlebar light maxes out at 880 lumens and uses two CR123A batteries but can also be charged via USB. A bright rear blinky light attached to the saddlebag is a good idea as well.
BAGS & STORAGE
- Porcelain Rocket Mr. Fusion attaches securely via a dedicated seatpost clamp to eliminate wobble and sag. The included drybag means I can pack up from the comfort of my sleeping bag.
- If your frame allows for a frame bag then use it- but sometimes a low standover height on fat bikes means limited main triangle storage.
- A handlebar harness pouch is extra useful during winter riding when snacking on fatty foods during the day will help keep your engine running.
- Sea To Summit’s Big River dry bags are extra burly and have handy tabs on the outside for a pouch or lights – I find a 20L gives me loads of room for my sleeping bag, sleeping pad, shelter and room for food or layers.
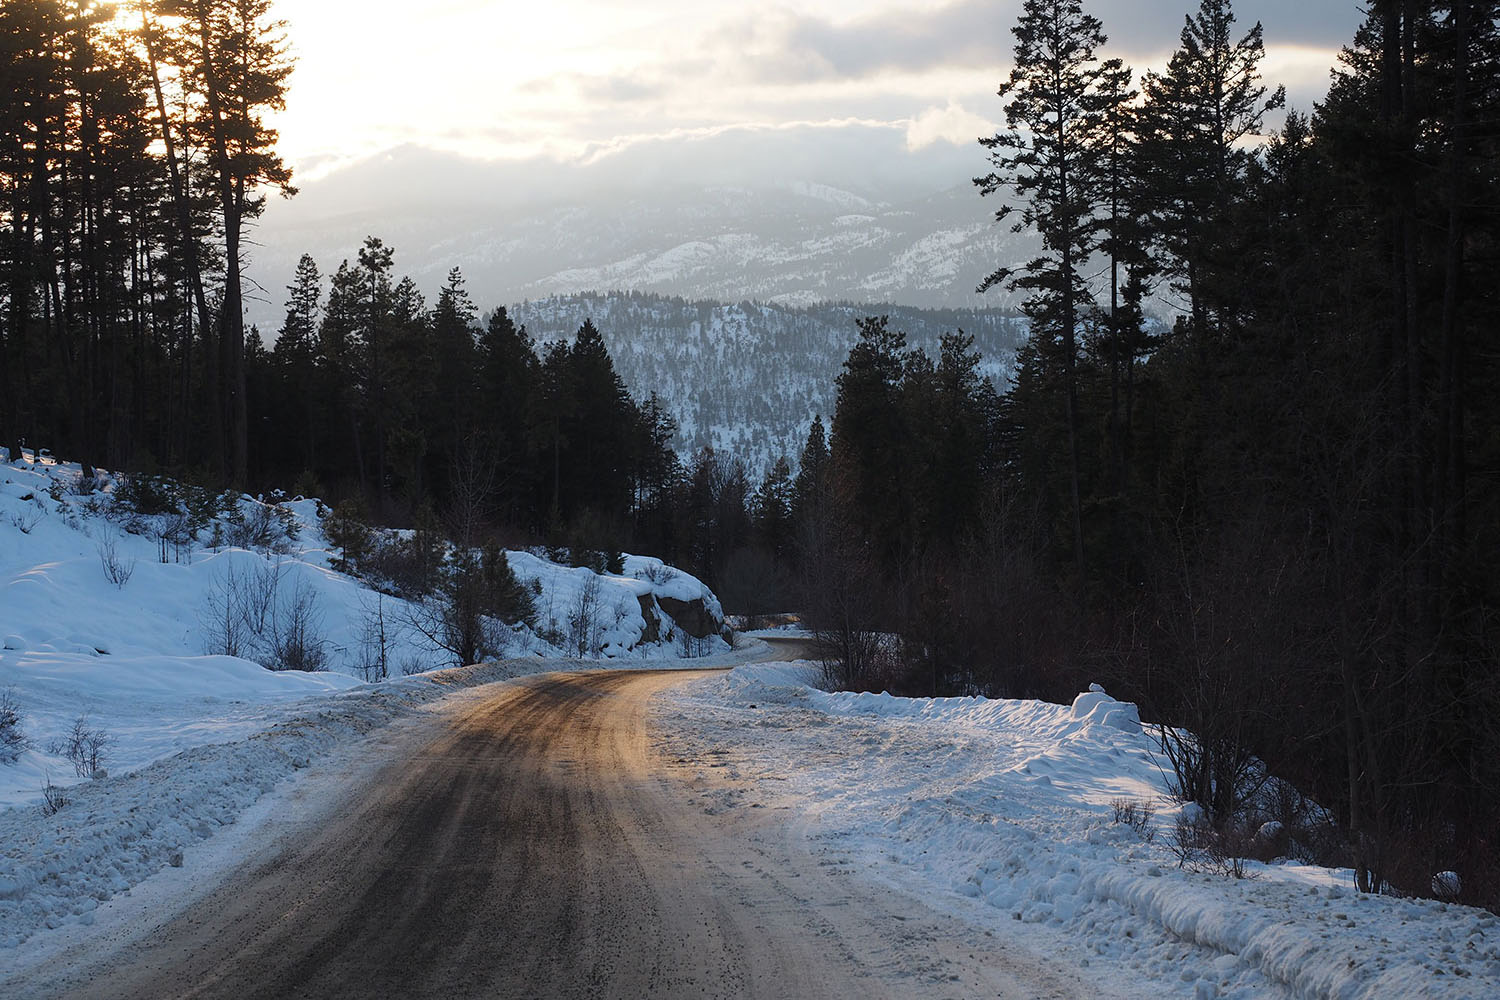
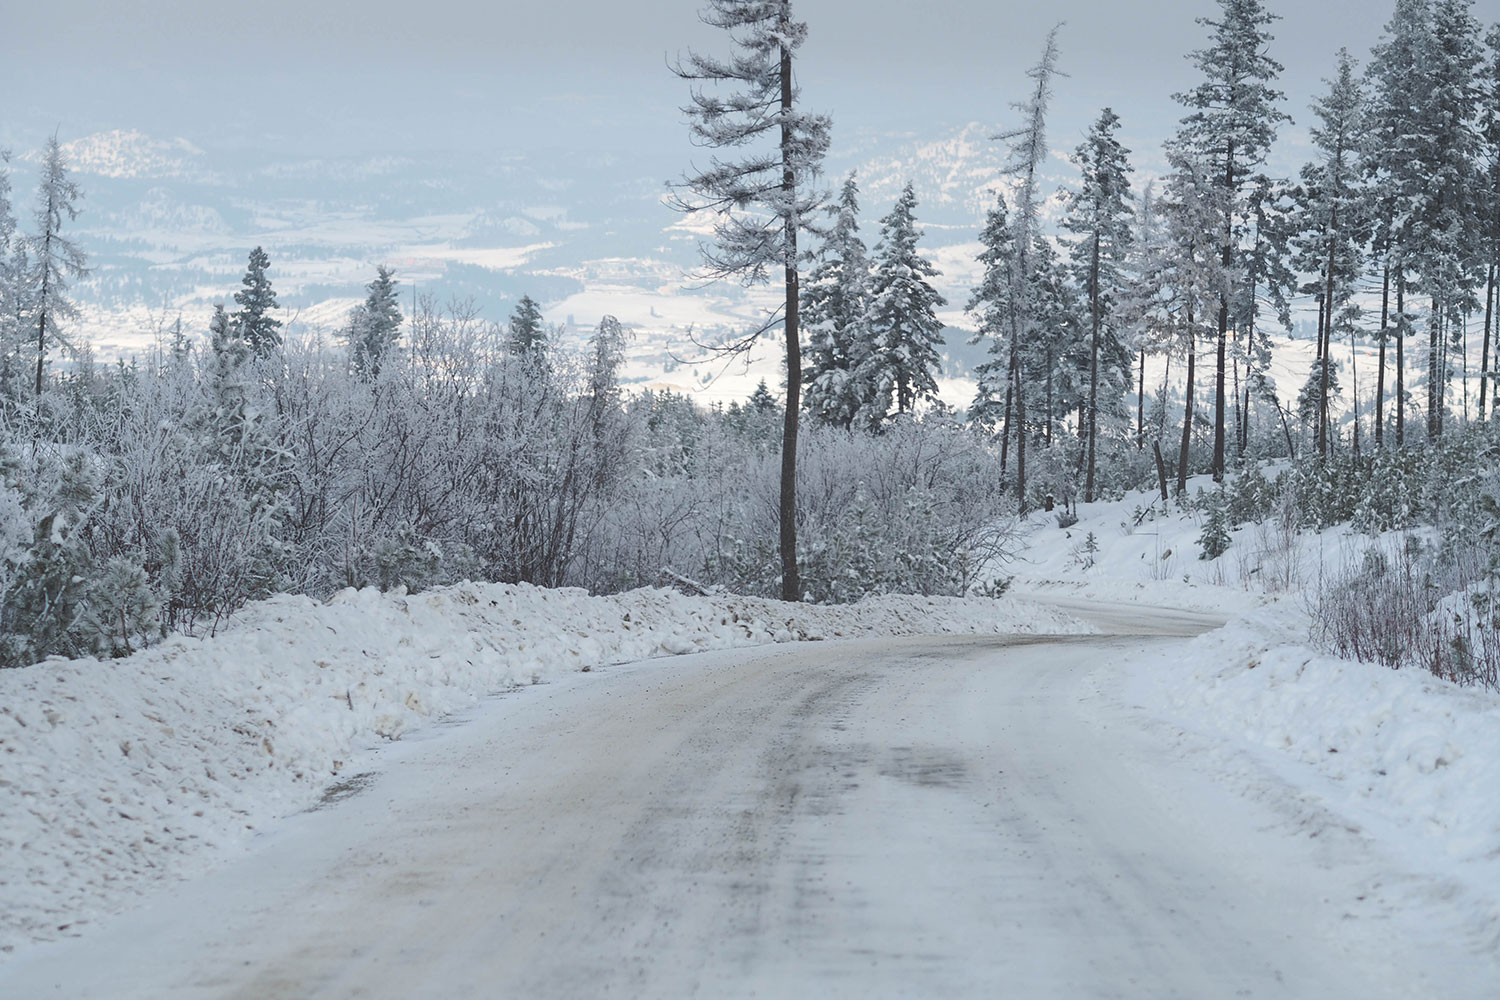
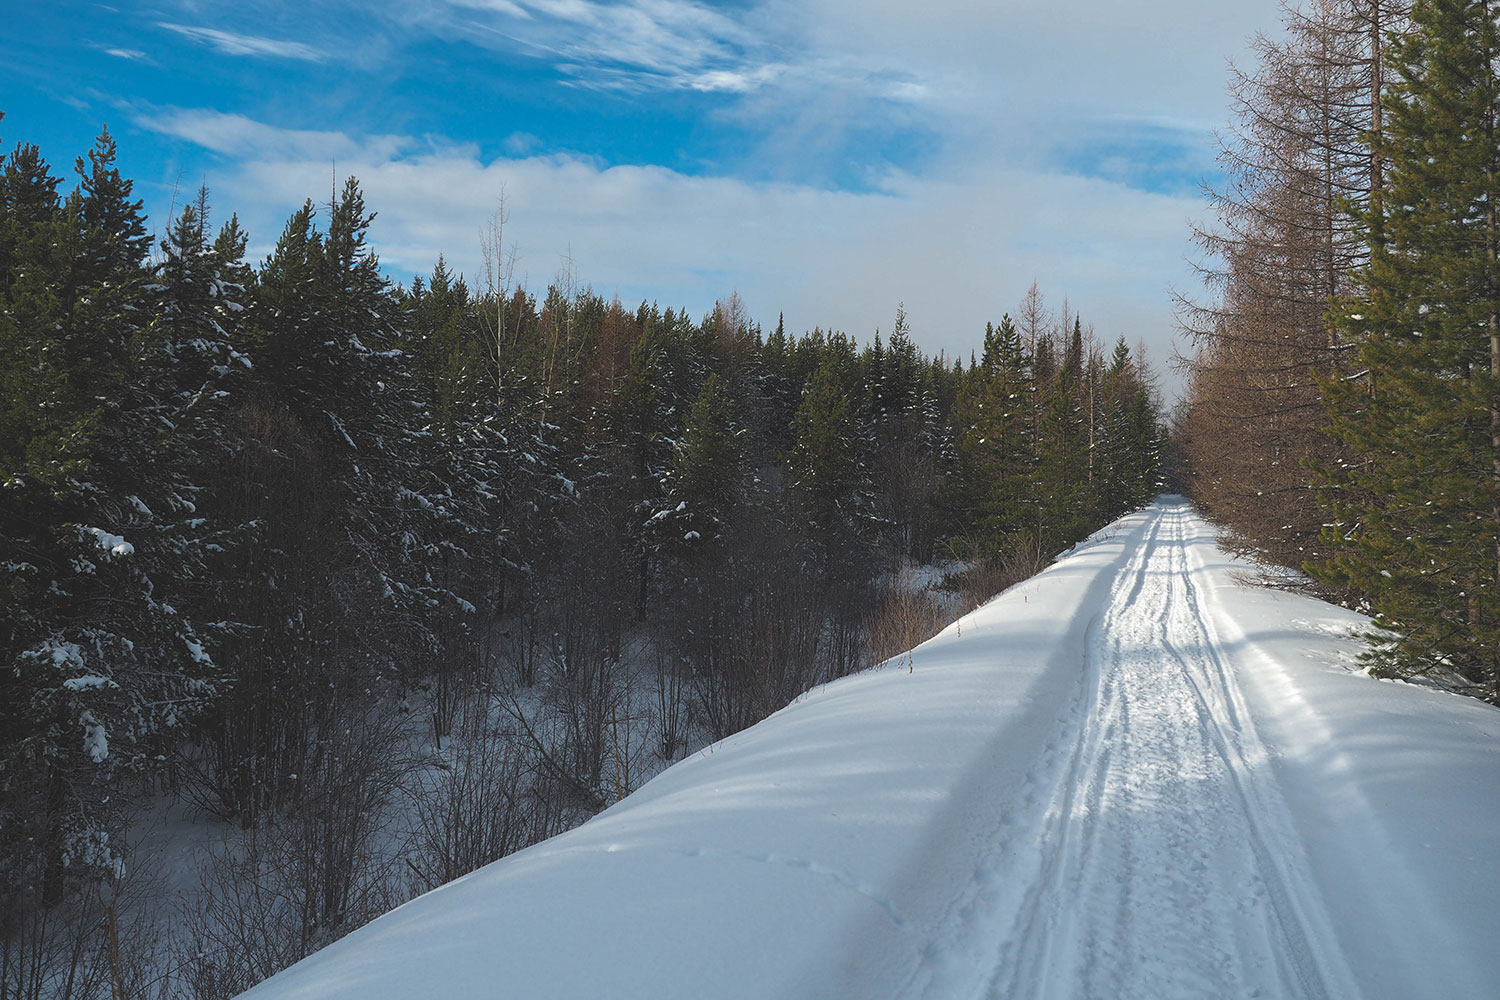
Plan A Winter Escape
In short, riding on packed trails and roads is quick going and you can expect to cover some decent distances. This means popular hiking trails, snowshoe trails, snowmobile routes, and gravel roads often make for great winter riding. Although fat bikes provide unparalleled floatation, there is a point when even 4.8” tires running at <10psi won’t keep you moving in thick powder. This means keeping an eye on expected snowfall, and the temperature where you’ll be riding – I found that anything above -10C starts to make the snow a bit sloppy, especially if there are ruts or vehicle tracks to navigate around.
Mixing a bit of “known” territory with some of the more exciting, less known routes is a great way to maintain daily mileage. Popular summer destinations are often much less busy during the winter, so that’s always a great place to start. In British Columbia, checking out the Recreation Sites that are often free to camp at and accessible is an obvious attraction. Try mixing in a cabin or rental yurt into your route; having the opportunity to cook inside and dry out some gear will keep everyone in good spirits.
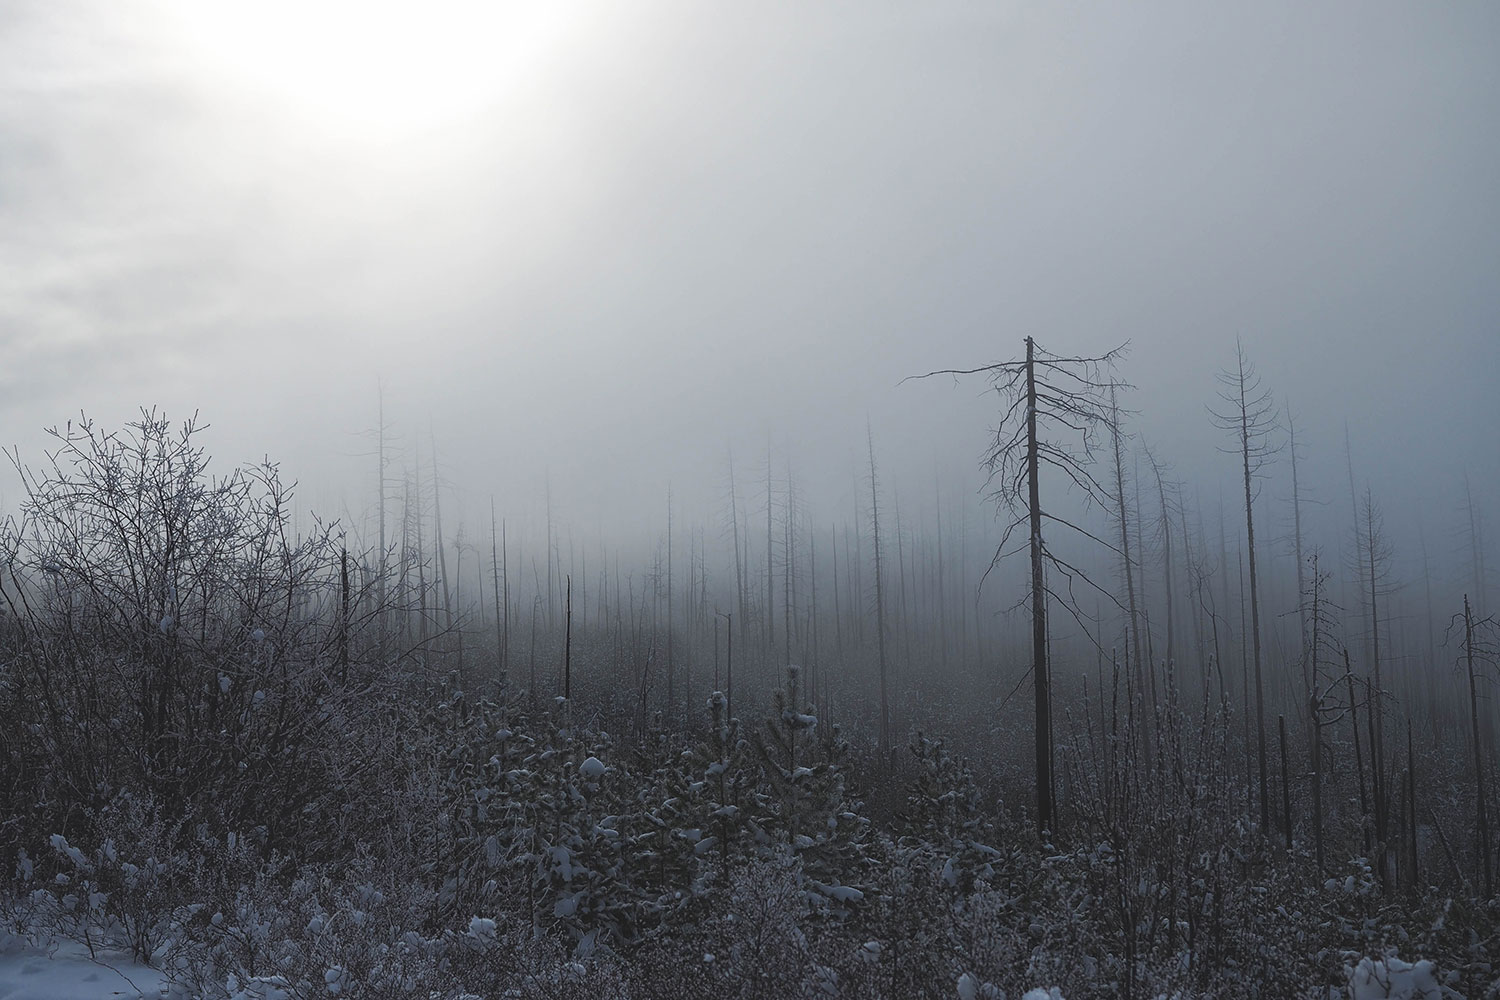
Lastly – take your time and enjoy what’s around you. You’ll likely be moving a bit slower than you’re used to, and instead of thinking about that, take advantage of the scenery that only exists in the winter.

Have any winter riding tips to share? Further questions that need answering? Let us know in the comments below. Also, for next-level survivalist tips, check out Dave Gray’s Guide to Winter Bikepacking.
Please keep the conversation civil, constructive, and inclusive, or your comment will be removed.
We're independent
and member-supported.
Join the Bikepacking Collective to make our work possible:


