


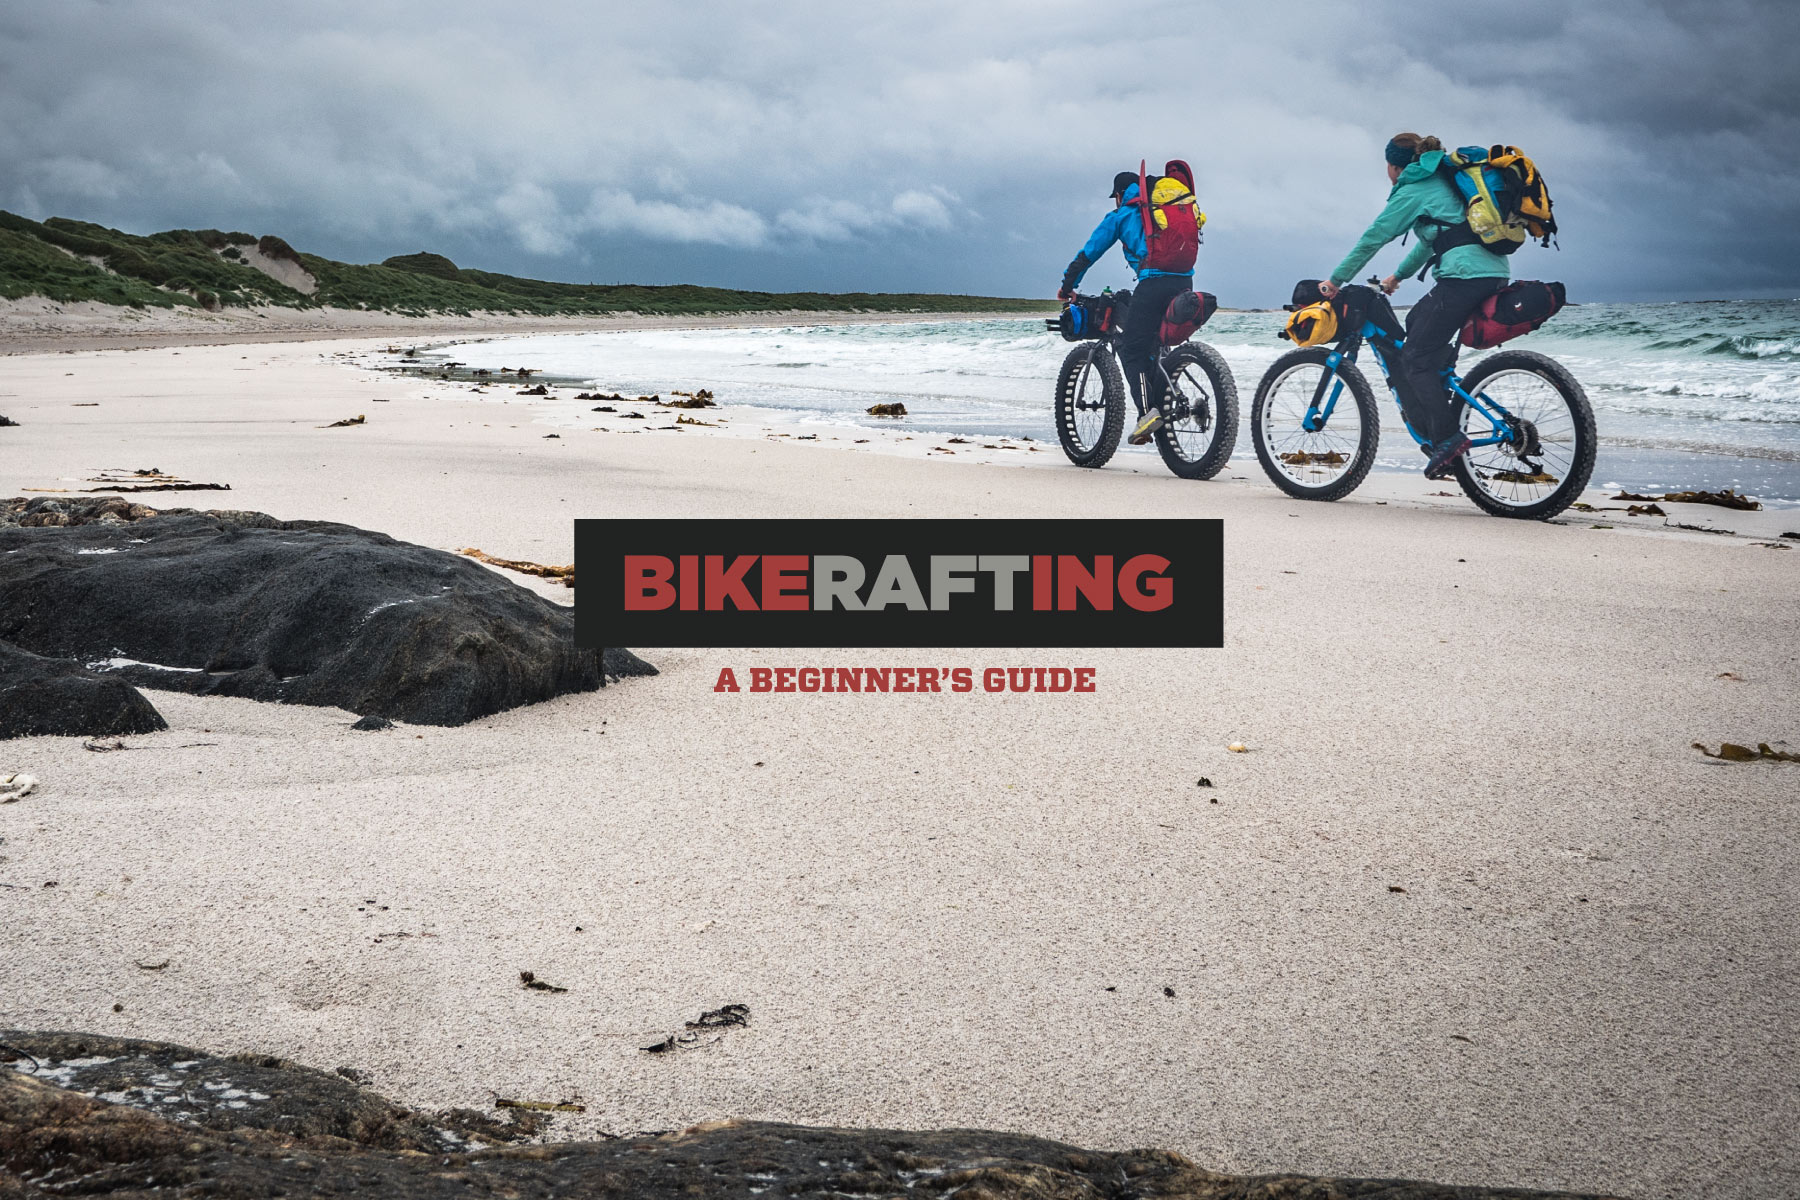
Bikerafting: A Beginner’s Guide
Share This


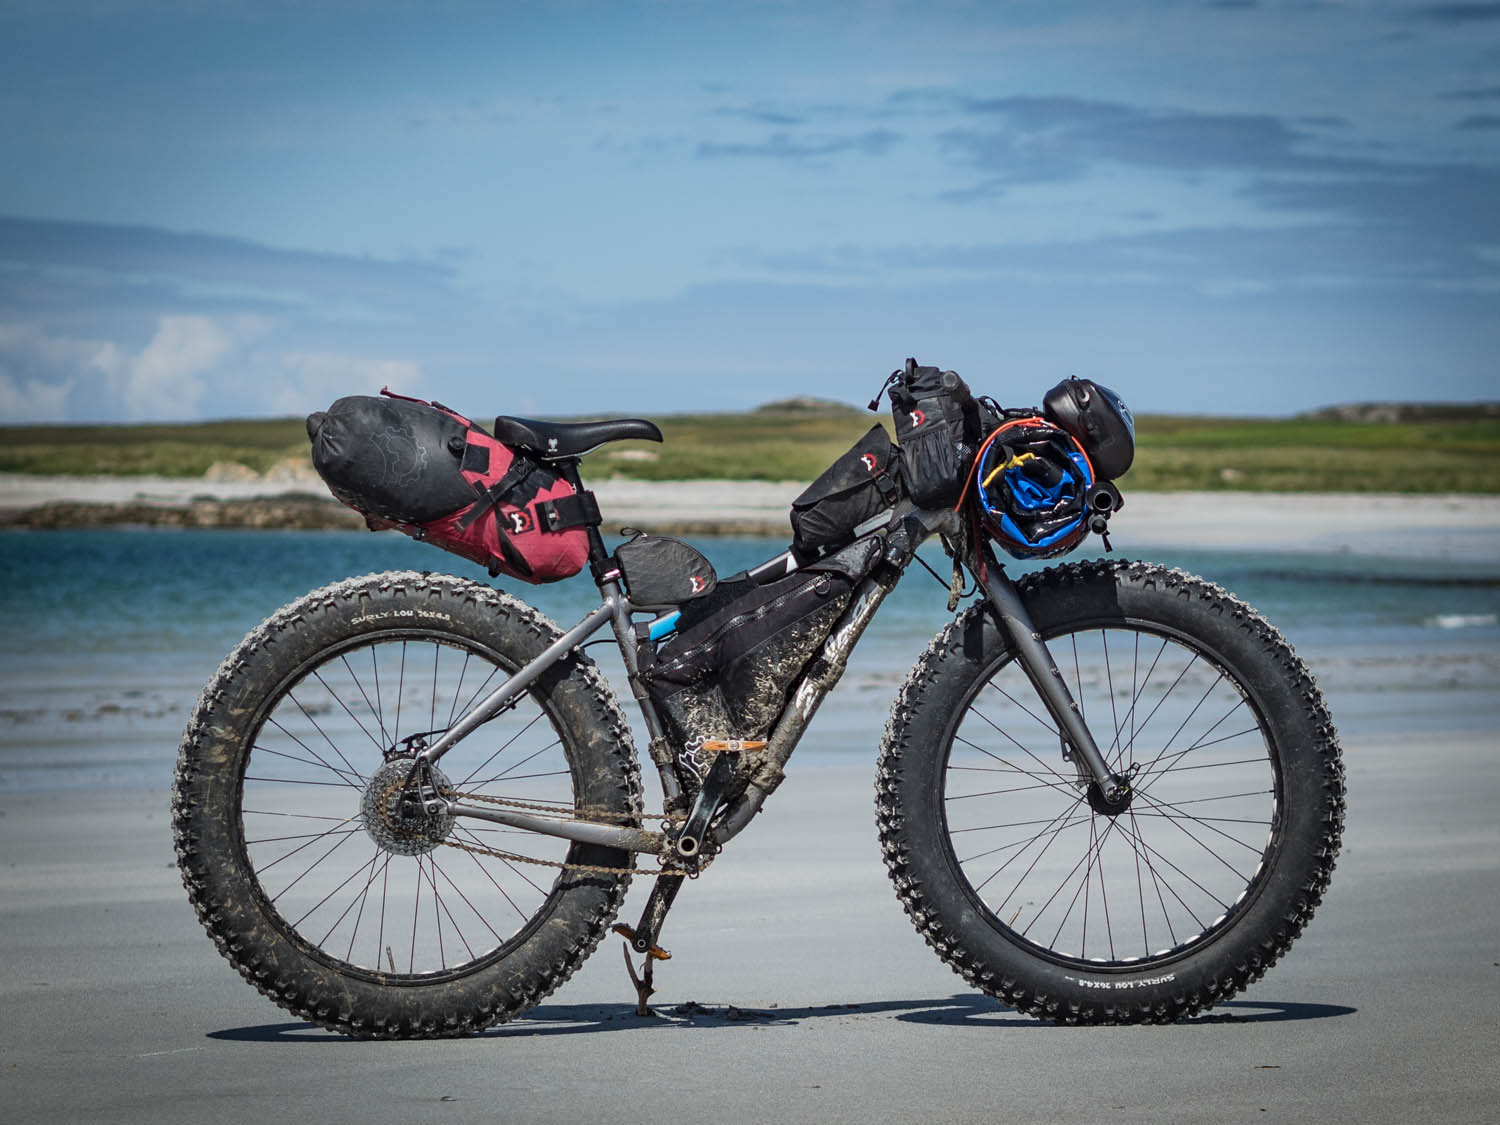
Interested in mingling pedaling and paddling? Perhaps you’re captivated by the idea of linking up a bikepacking route via river and packraft. Or maybe you’ve dreamt up a coastal fatbike exploration. In our latest guide, Huw Oliver defines what makes bikerafting special and answers all the necessary questions to get your bikepacking rig one step closer to water…
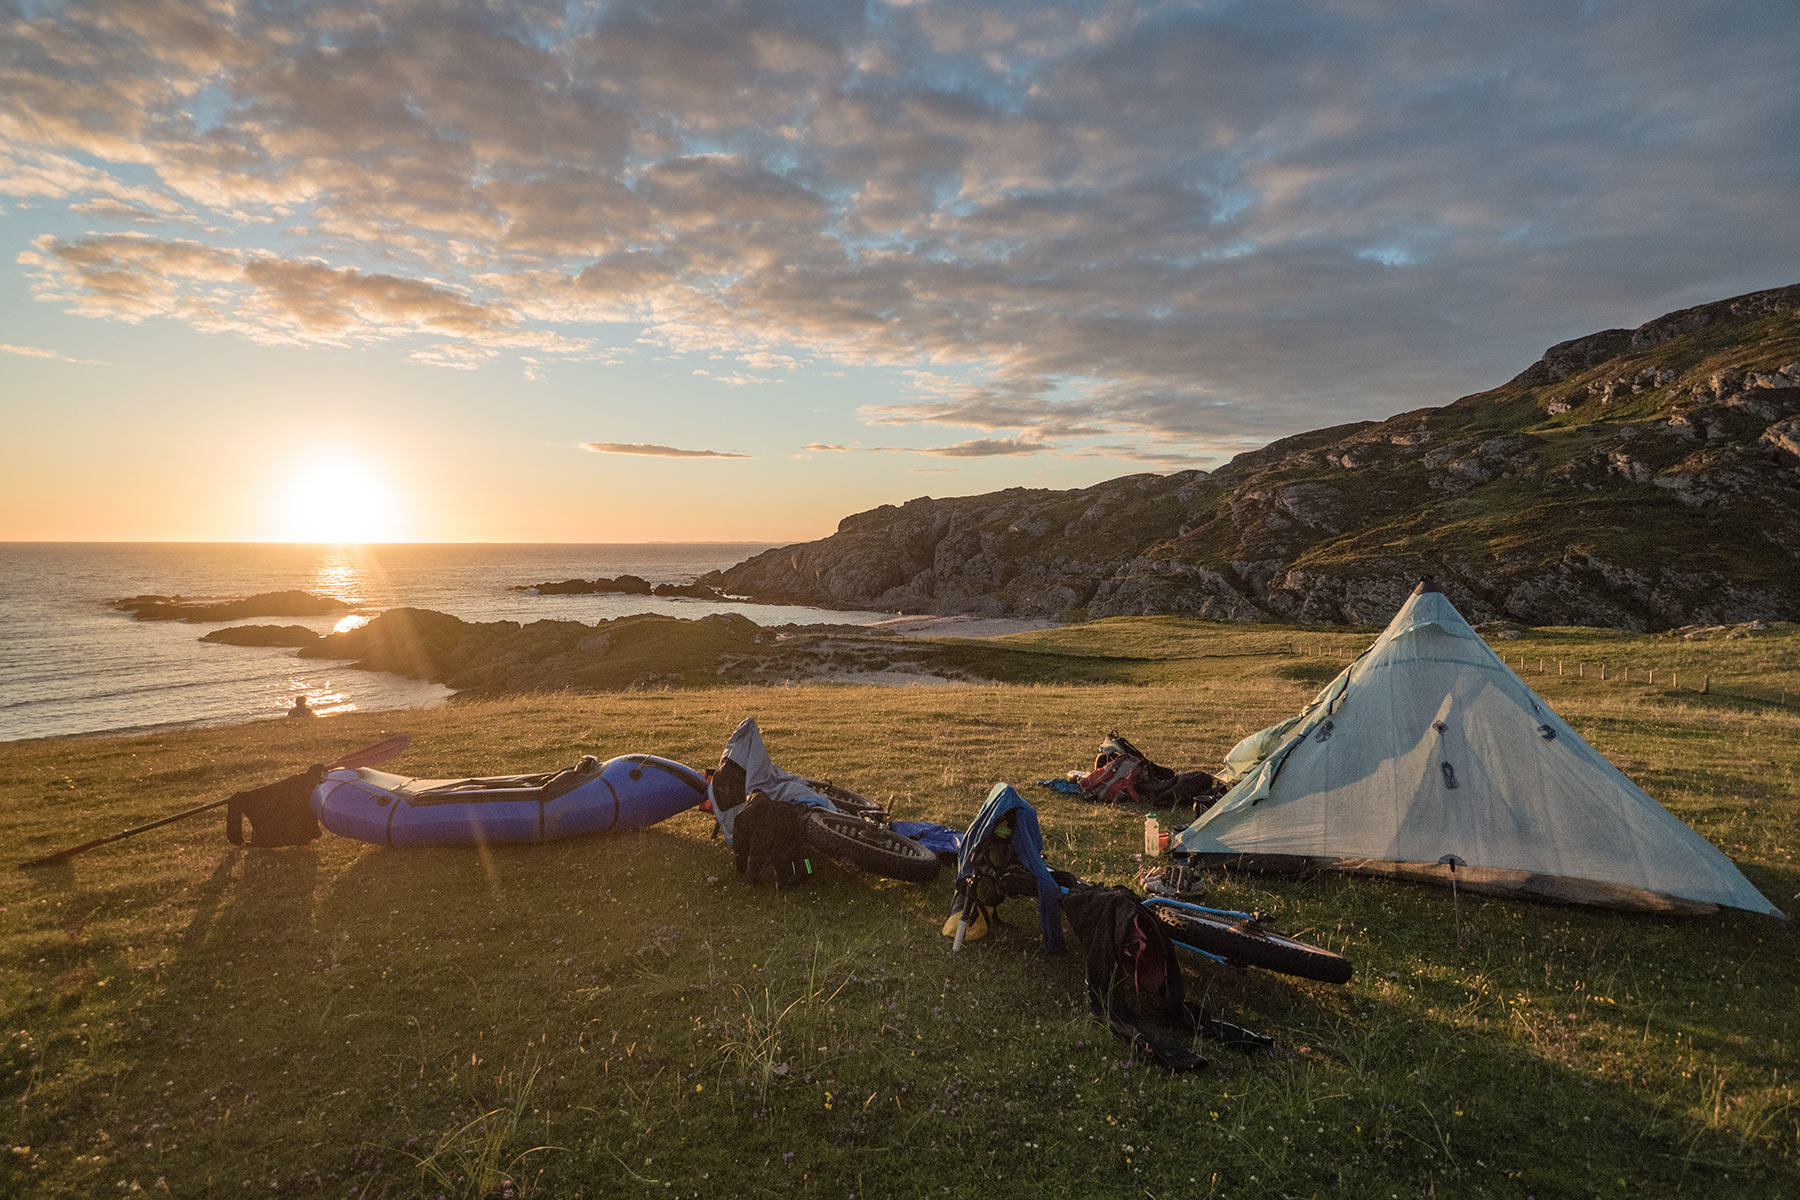
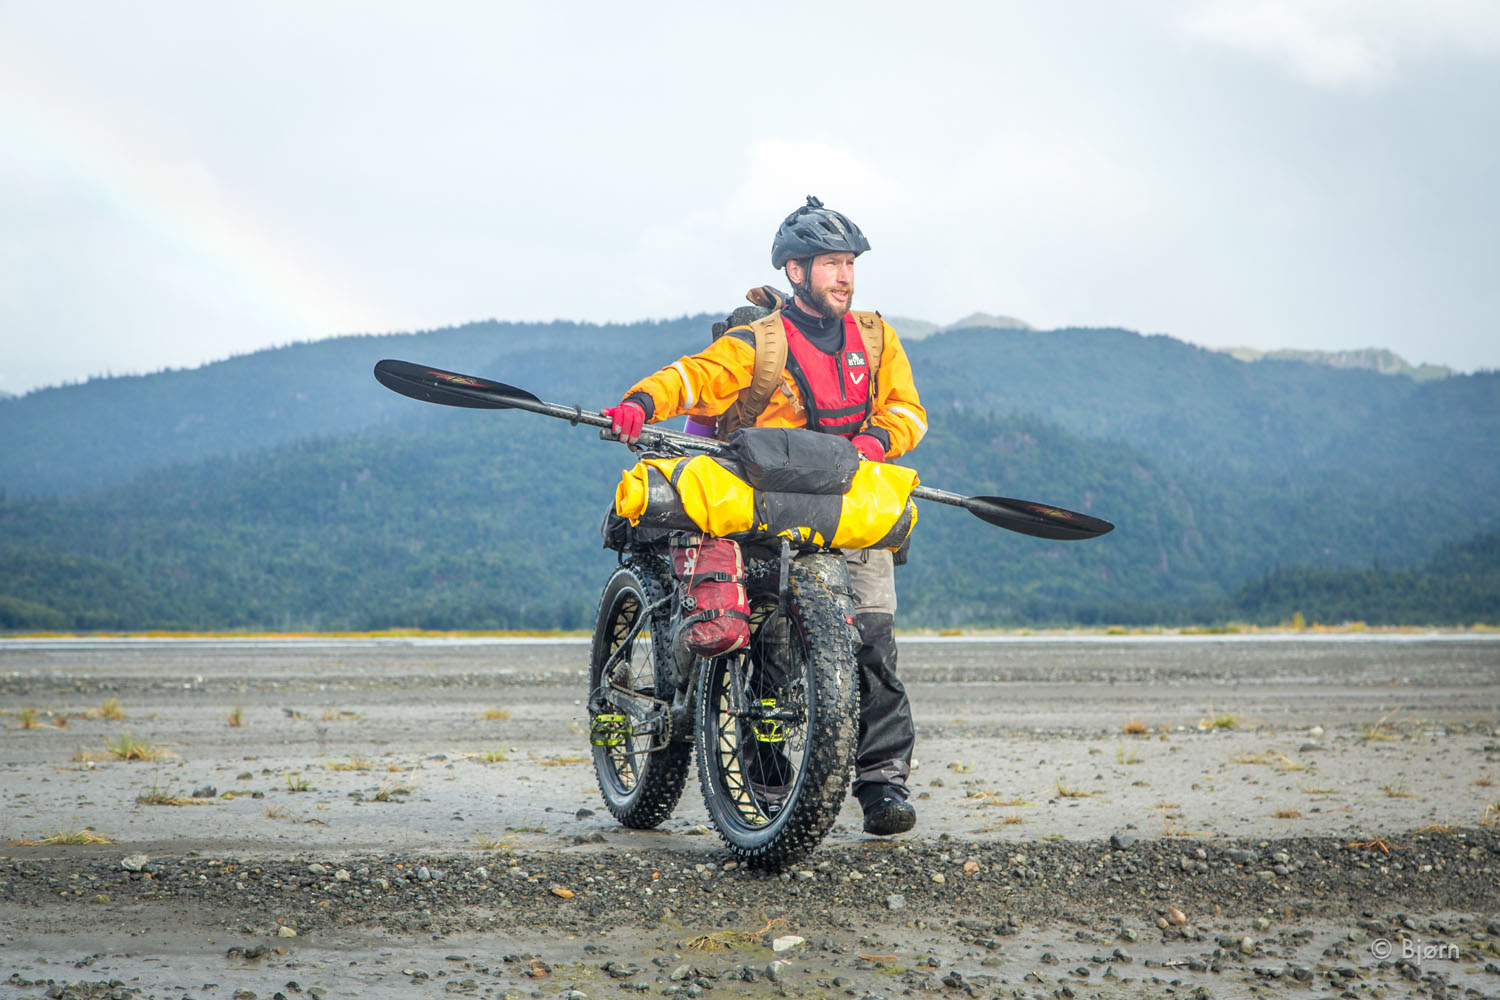
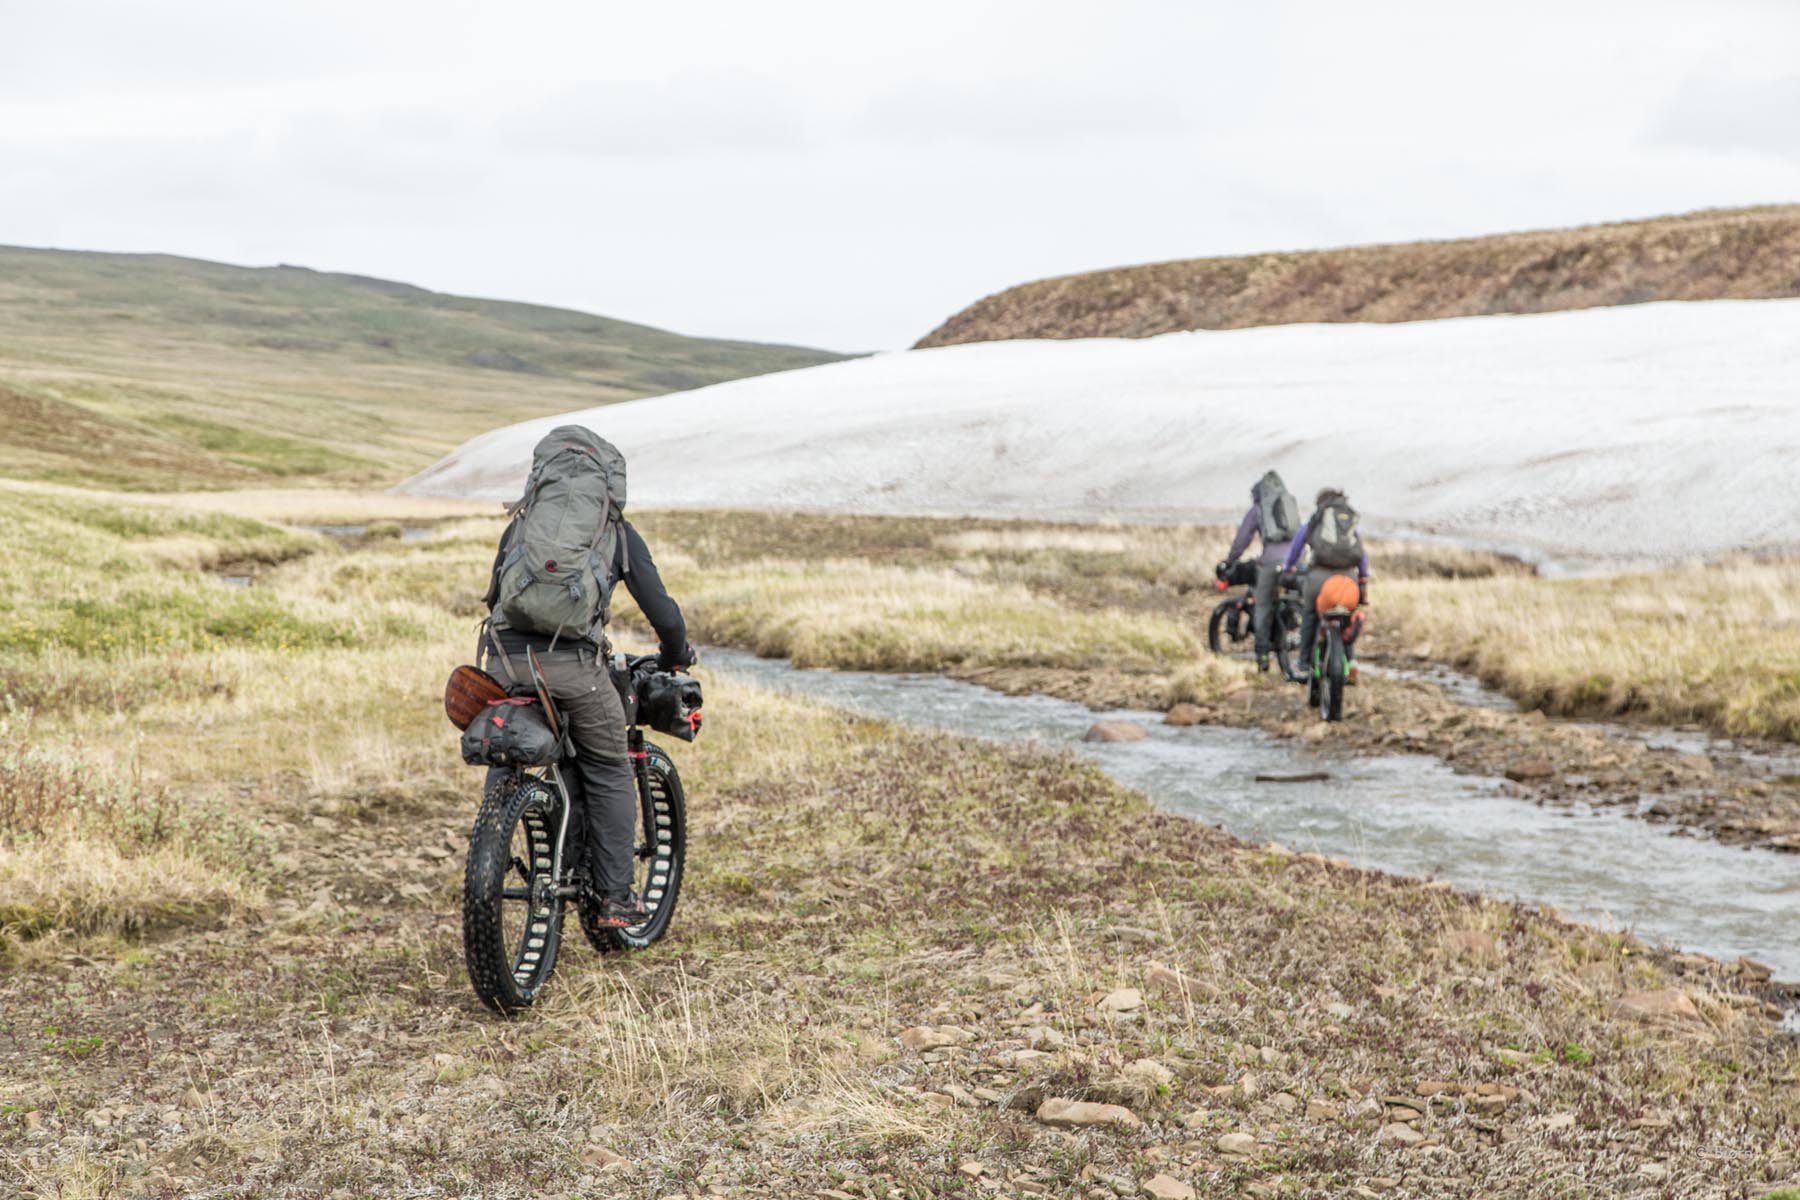
Packrafts and mountain bikes are a match made in heaven. In their own way, both of them give us the same precious thing: freedom. Freedom to travel further and faster than our own two feet could take us, or in the case of the packraft, to where they could never take us at all. If a fatbike is one of the ultimate creative tools to aid human-powered travel on land, then the packraft is its waterborne cousin. That description seems more fitting when you consider that both the fatbike and the packraft were developed by the wilderness travellers of Alaska, and you only need to look at some of the journeys being undertaken in that part of the world to see their ability to create new and inspirational lines through the backcountry.
Weighing around the same as a 2-person backpacking tent and packing to a similar size, a packraft’s potential is twofold: travelling by water unlocks an entirely new perspective on a familiar route, or in other cases the packraft is the final piece of the puzzle, making that traverse or circumnavigation possible in the first place. Once you realise that a body of water means the start of the road, not the end of it, you will never look at a map the same way again: a packraft is a lens through which watery obstacles become opportunities and rivers become roads.
But isn’t rafting with a bike too cumbersome?
As with any new skill, some learning is required: how to pack them, maintain and repair them, as well as staying safe on flat and moving water. Undoubtedly, adding a boat is going to add bulk and weight to your bikepacking setup, as well as time when transitioning between modes of travel. That said, in the same way that we become efficient at selecting and packing gear on a bike, a packraft can be integrated into your routine as your experience grows, and learning these things should be a satisfying process in itself. Ultimately, a packraft is a tool, and like any tool it is up to the user to unlock its full potential.
The Packraft
Although they’re a relatively new piece of equipment, there is already a wide proliferation of designs and intended purposes among packrafts. Sheri and Thor Tingey of Alpacka Raft were responsible for a lot of the development of the ‘modern’ packraft in Alaska, and their boats are widely regarded as some of the best going; Kokopelli are another major packrafting brand, again from the US. In the last few years several other brands have emerged offering a wider array of choices. As with almost any piece of equipment, you need to decide on your priorities and choose two of the following: cheap, light, durable.


Which Size?
There’s no point in having the lightest, sub-kilo packraft if it isn’t practical to strap a bike to it and paddle anywhere. The bulk of a bike strapped to the bow limits your ability to reach forward with the paddle, so it makes sense to use a slightly longer boat than normal to maintain an efficient paddle stroke. I only have experience with Alpacka Raft boats, but rather than paddling the ‘Alpacka’ model that would fit someone of my size to paddle unloaded, I choose to use a slightly longer ‘Yak’ or ‘Llama’ for bikerafting uses, as the extra weight is easily offset by the convenience of that extra length for storing the bike. Tie-downs are an absolute essential for any boat (not all include them), so that you have the ability to grab a handrail line and haul yourself back in the event of a swim – not an easy feat when you only have slippery wet tubes to grab onto!

Features to look for
Other extras include storage-fly zips on some models, as well as internal outfitting such as spray decks and thigh straps to increase control. My advice would be to err towards the simpler (lighter) end of the spectrum; the boat will already add enough weight to your setup without these extras, and if you’re paddling gnarly enough water to necessitate these features, then you’ll likely be able to make your own informed decision on what exactly you need. A storage-fly is a useful addition that’s worth the cost – kit that you don’t need on the water can be stowed inside the tubes of the boat, keeping your deck clearer and lowering the boat’s centre of gravity. A lightweight ‘cruiser’ style deck doesn’t require a separate spray deck but does add a lot of warmth while on the water. I like to use one here in the UK, but would remove it in warmer climes.
“A simple blow-up dinghy can’t be that expensive”, you say. “I’ll crack on down to the supermarket and get a few”. Well, that’s not entirely the case. If you’re going to entrust your safety (and more importantly your bike!) to an inflatable boat, you’re going to want to know that it’s been designed for the task at hand. A basic boat (no storage-fly, deck, etc.) of a suitable size for carrying a bike and gear costs around $900 from Alpacka Raft or Kokopelli. There are brands offering cheaper packrafts out there, but: ‘you get what you pay for’.


Extras
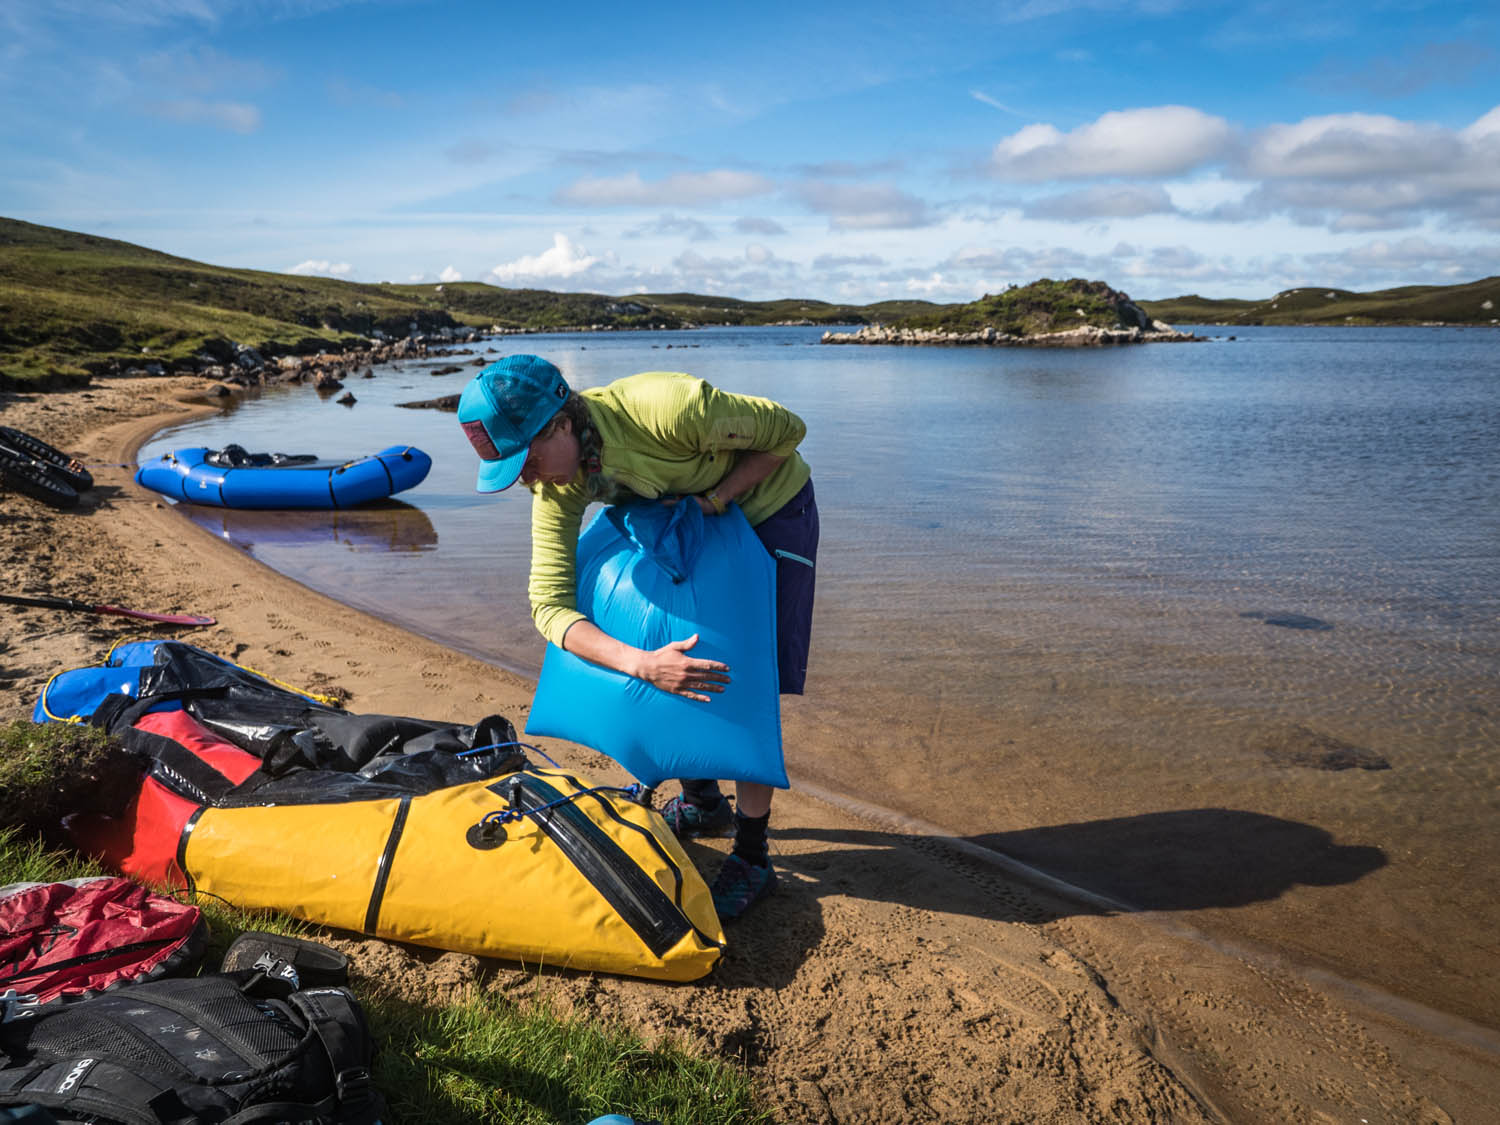
Packrafts are usually blown up using an inflation bag that attaches to the valve. The other end of the bag is open and can be filled with air, before twisting it shut and squeezing the trapped air into the boat. It’s an acquired skill that becomes more polished with practise.
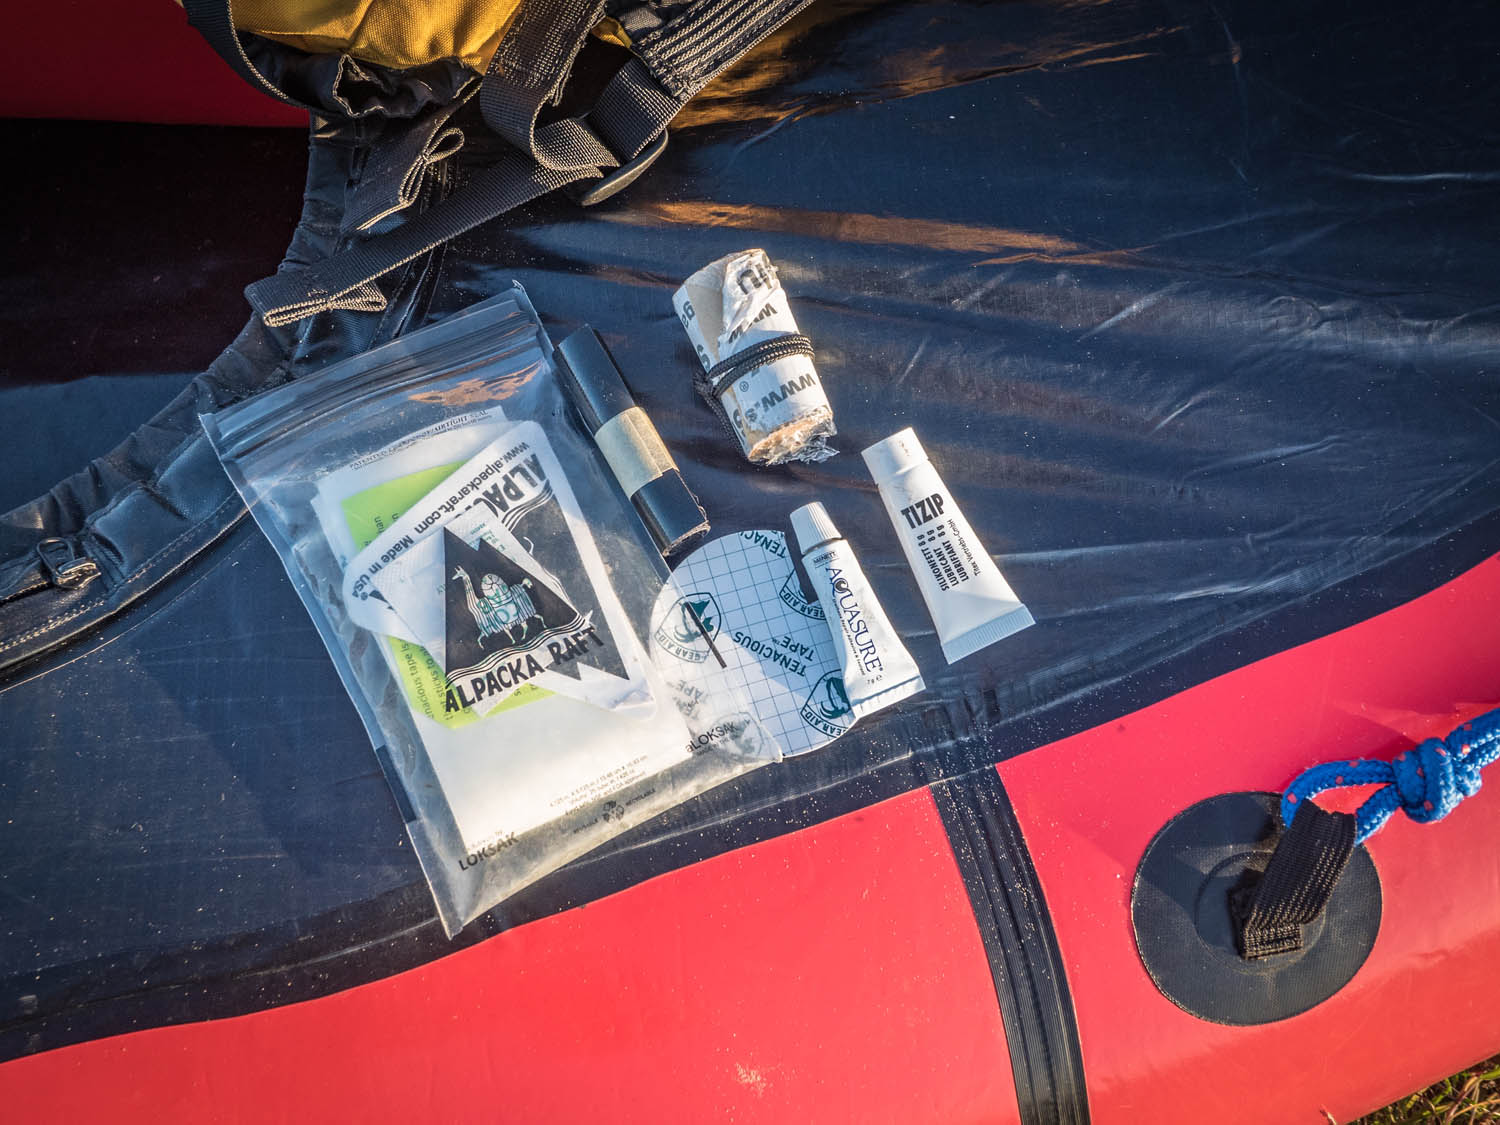
You will also need a repair kit – packrafts are tougher than they look but they’re not indestructible. The good news is that holes and tears can usually be repaired in the field. A repair kit should consist of fabric patches and glue, Tyvek repair tape and Aquaseal seam sealer. All these little extras take up minimal space but forgetting them would be like leaving for a bike ride without a spare tube…
Paddle
The two key features of a packrafting paddle are its length and the ability to split it, ideally into four pieces. Low weight is, of course, a bonus but will cost a lot more money. Most 4-piece paddles are designed for touring purposes anyway, so will tend towards the lighter end of the scale. Around $100 will get you a fibreglass/nylon paddle. Because packrafts are wider than most boats, a longer paddle is generally needed – 200 to 220 cm is likely to be best for most users.
PFD (personal flotation device)
The third and final part of the ‘big three’ pieces of gear is the PFD. With all the extra weight and bulk of the boat and paddle, it can be tempting to leave out this bit. Don’t. Even on flat water, an unintended swim a few hundred metres from shore can have serious consequences. The body’s response to the shock of immersion in cold water is to reduce the blood supply to the extremities, which will very quickly inhibit your ability to self-rescue. Add wind, current and obstacles in the water, and it shouldn’t be hard to see why a PFD should go wherever your packraft goes. Wearing one doesn’t automatically make you safe, but it does vastly increase your chances in the case of an accident.
There are no packrafting-specific PFDs that I’m aware of, but there are plenty that tick the right boxes. Closed-cell foam PFDs are generally accepted as being much more reliable and practical than inflatable ones, as well as making for a good bonus insulating layer of clothing. If it’s certified for sale as an adult PFD, then it will offer enough buoyancy to keep you afloat: more expensive doesn’t equal more floaty. Paying more might get you more features such as a zipped pockets, but this isn’t always a great thing when looking for low bulk and weight, so bear that in mind.
As well as looking for a PFD that offers a good range of movement when paddling, one that sits high on the back is likely to be more comfortable with the backrests most commonly found in packrafts.

Can I rent a packraft?
Yes you can! There’s no denying that packrafts cost a fair sum of money, and unless you live in a particularly suitable part of the world you might not expect to use it often enough to justify the outlay. There are various companies and individuals offering rentals of boats and kit all over the world:
- United States: There are a large number of outlets offering packrafts for hire in the US. Both Alpacka Raft and Kokopelli list rental boat stockists on their websites.
- UK: backcountry.scot
- Australia: Packraft Australia
- Germany: Packrafting-Store.de
- Belgium: Off Trail
- Finland: Korpijaakko
- New Zealand: Packrafting NZ
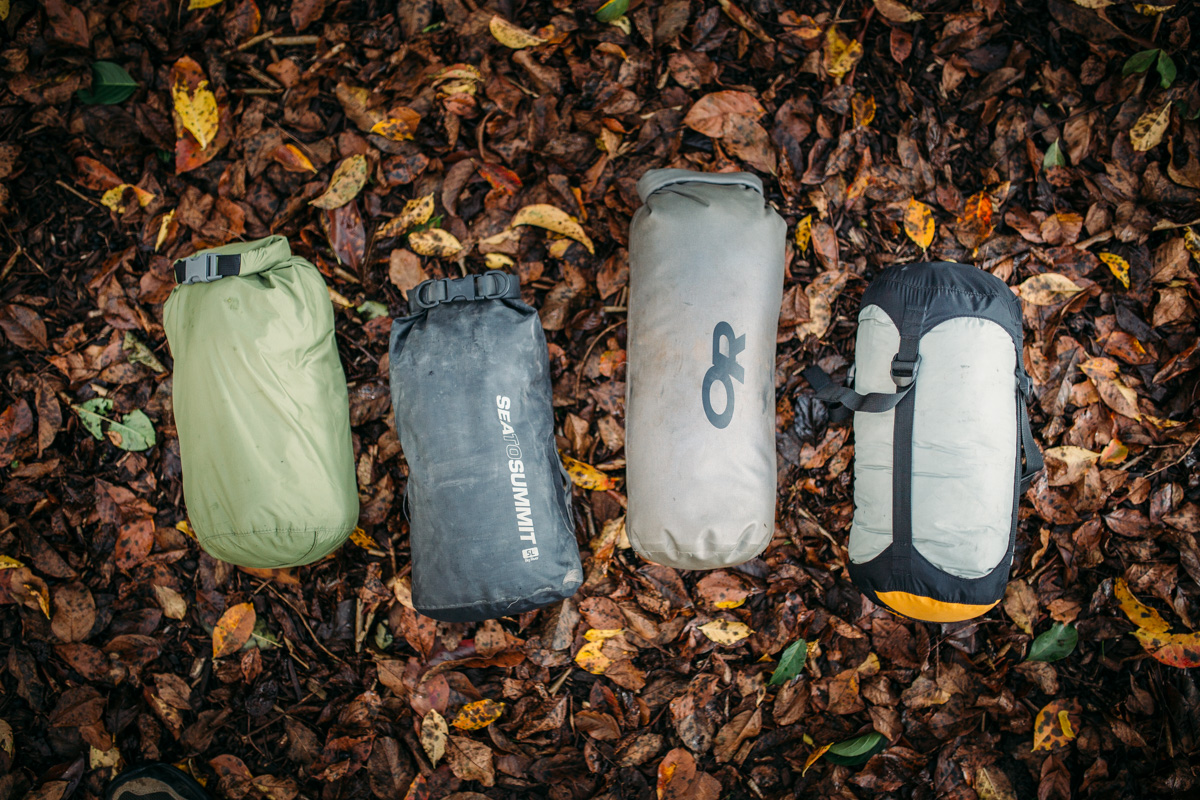
HOW TO PACK
Packing for a bikerafting trip shouldn’t differ largely from your normal routine of waterproofing and securing gear, at least here in the permanently damp UK. You will need to prepare for the fact that anything not stashed in a dry bag is at risk of getting wet, but then again the same is true when riding in the rain. Prepare for the worst and hope for the best: you probably will not swim, but you’ll be damn sorry if you pack your kit based on that assumption. If in doubt, double-bag precious items like sleeping bags and spare clothes, and don’t forget to waterproof the contents of your rucksack if keeping it in the boat by your feet.
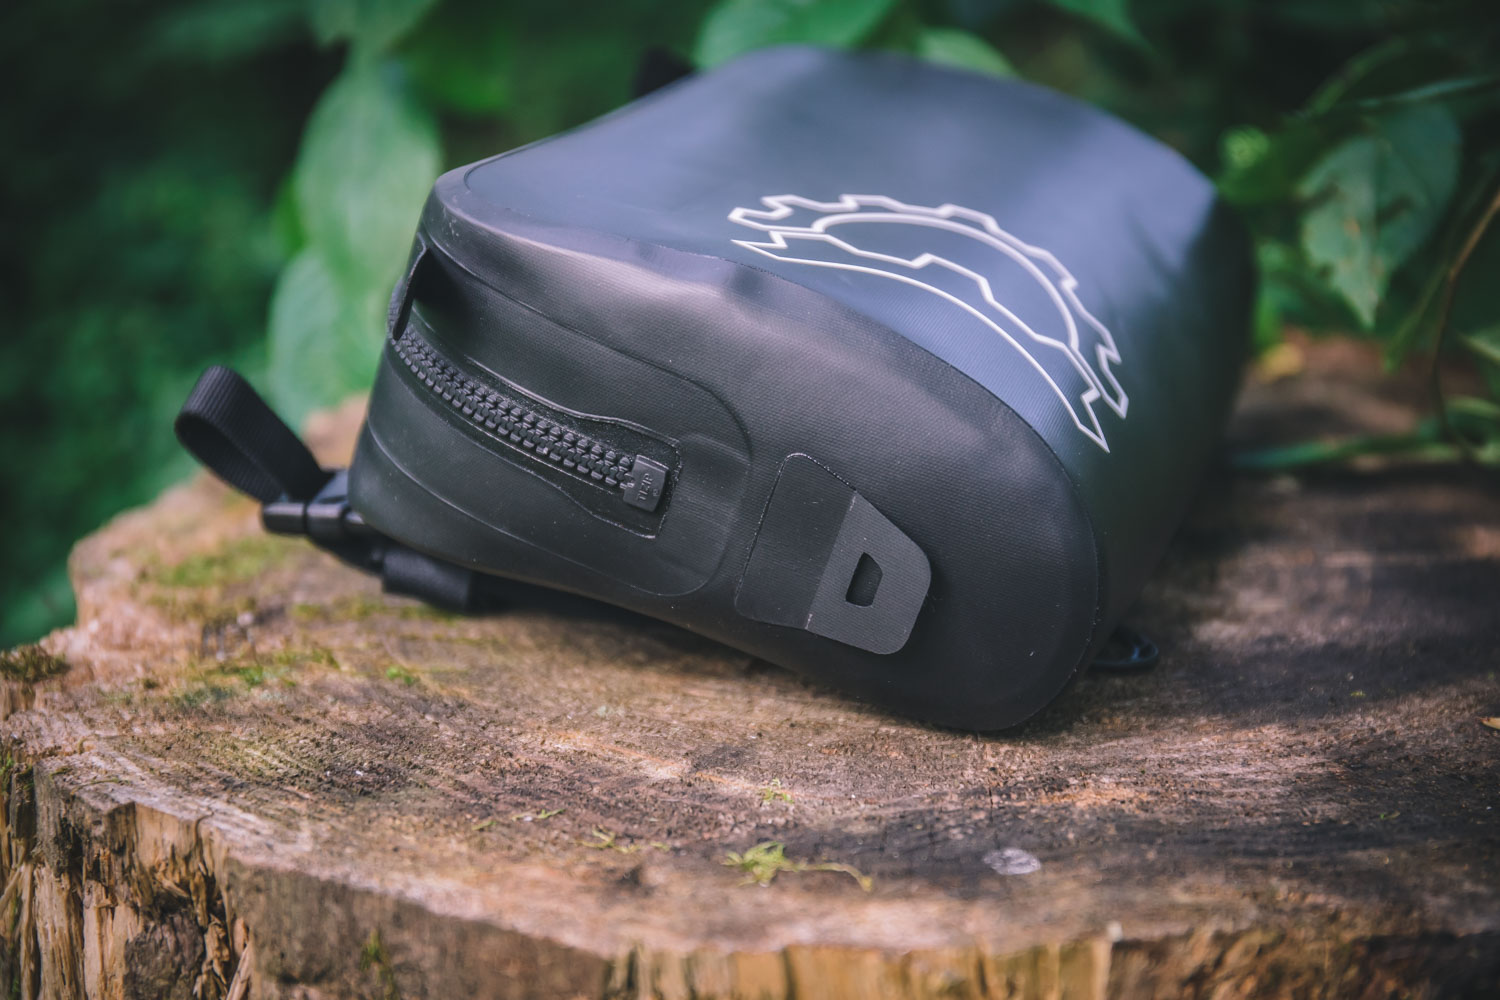
Revelate Designs now produces the Yakataga front pocket that is fully submersible, using a Ti-Zip. It is fairly large, and on bikerafting trips this past summer it proved to be a useful ‘safe place’ within the boat for a camera, electronics and other small but precious things. It can be combined with a webbing belt and converted to a hip-bag when paddling too.
Clothing
The main challenge encountered when packrafting is staying dry, and by extension warm. Hypothermia is a sure fire way to end the fun, and can be the starting point to a downward spiral of potentially serious problems if travelling remotely. A drysuit is a big investment, and for bikerafting should be unnecessary. A decent waterproof jacket and trousers won’t keep you bone dry (especially if you swim) but will likely do the job without creating extra kit to be carried. If you suffer from cold feet and hands a pair of neoprene socks and mitts or pogies are worth carrying; if your hands and feet are warm then for the most part you will be too!

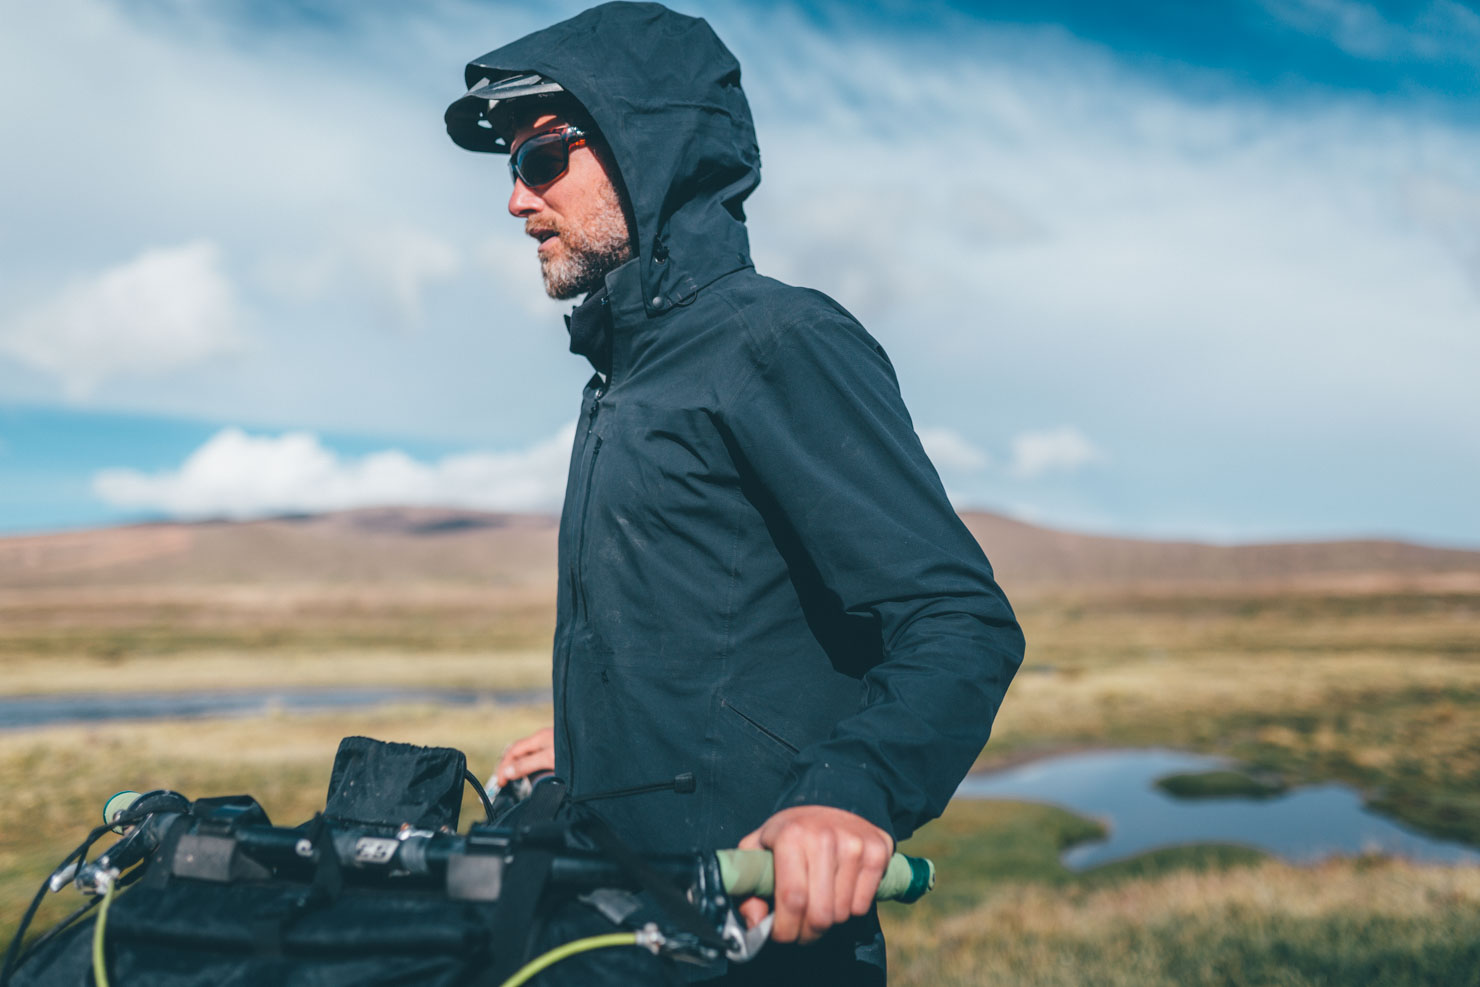
When bikerafting, I always include an extra layer of clothing to what I would normally carry in that location and for those conditions. I’m a lot more likely to get soaked through when packrafting, even if is on mellow water, and it’s very easy to underestimate the chilliness of being out on and around water, especially if wind and spray are involved.
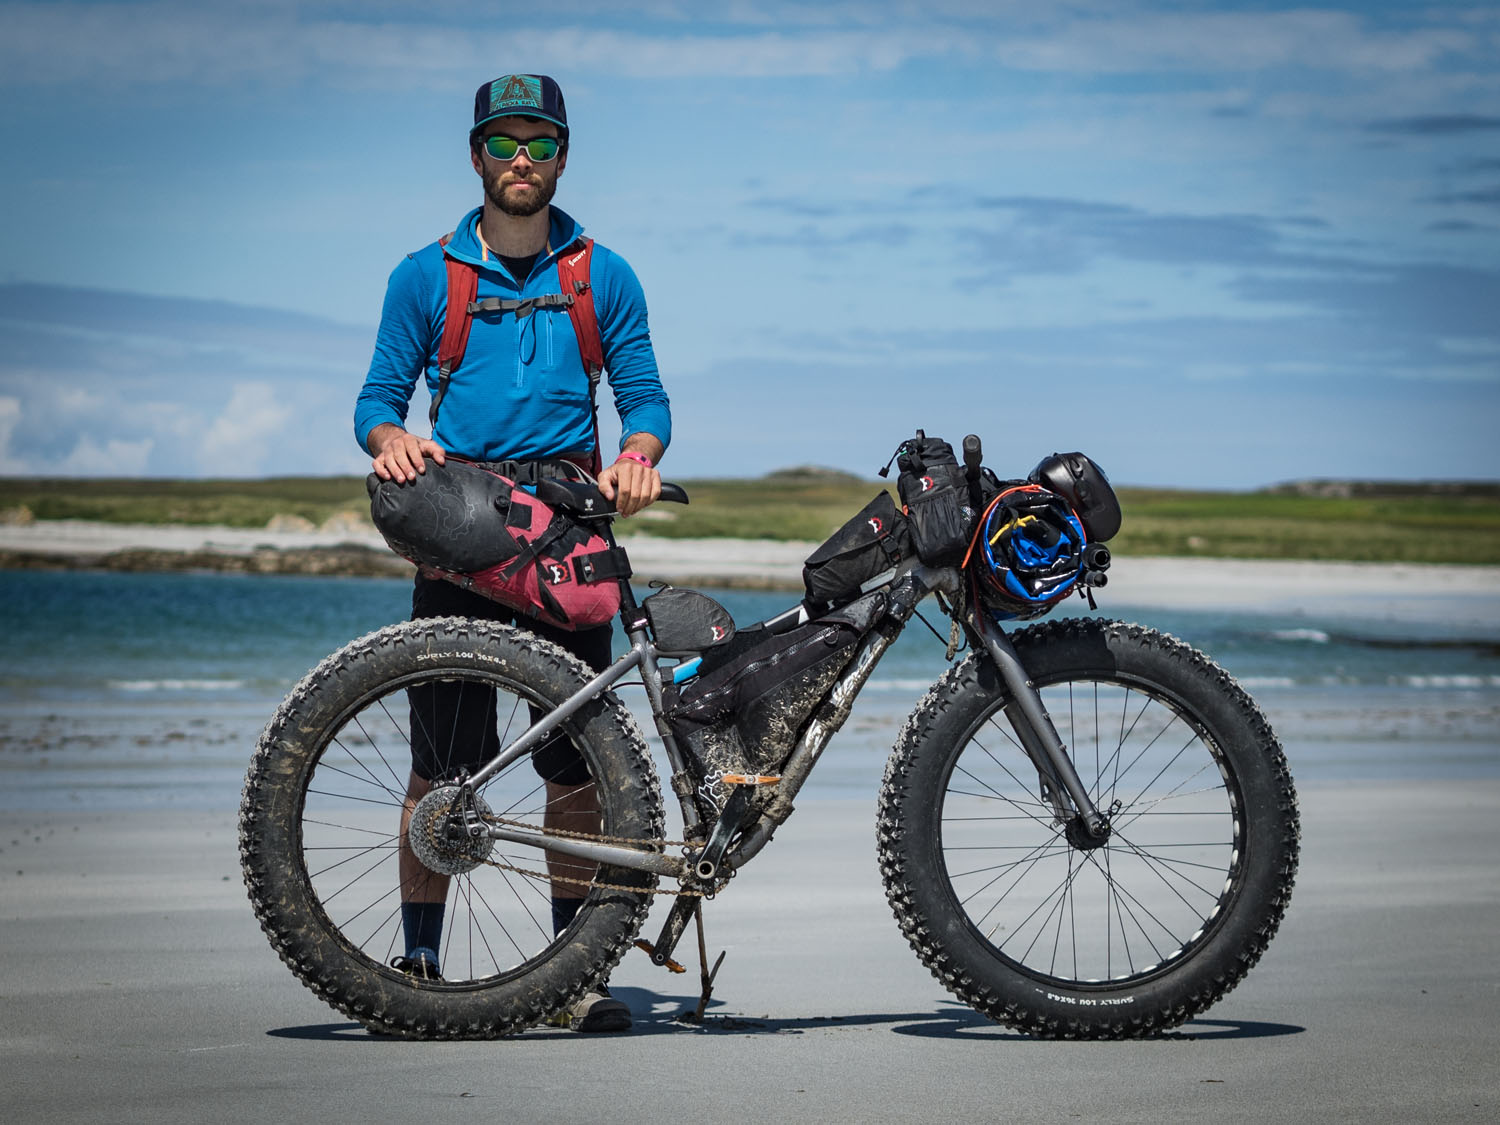
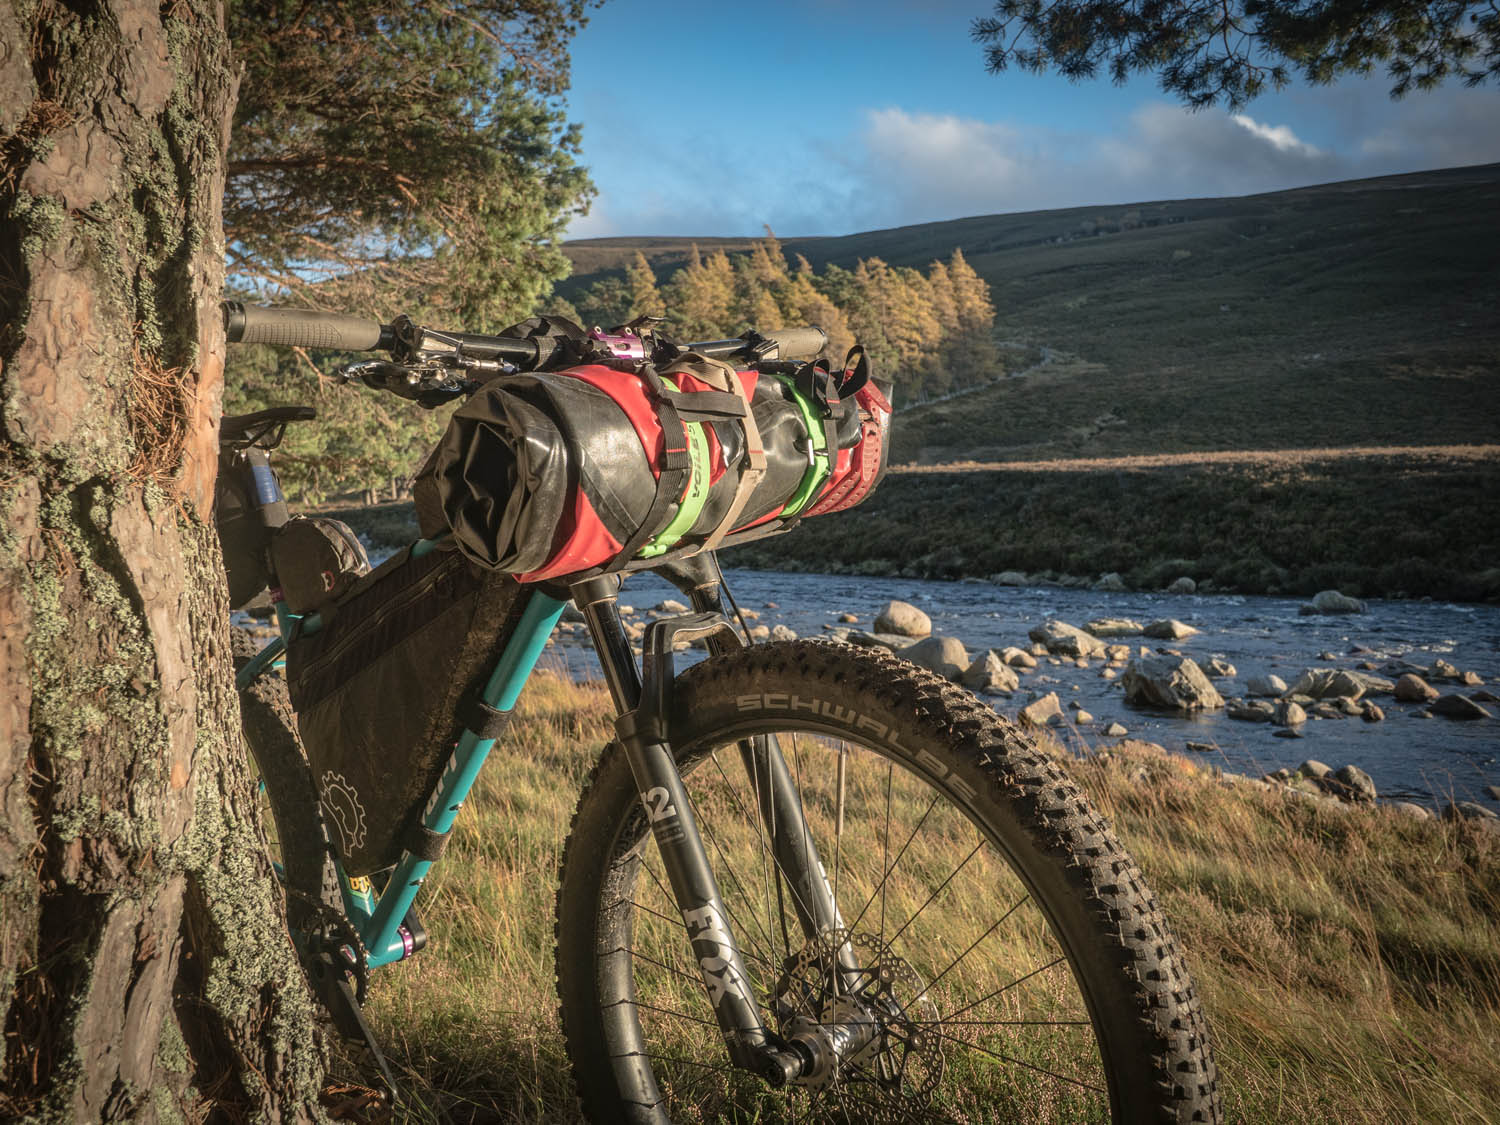
ON THE BIKE
All in all, my packrafting kit weighs around 4 kilograms (8.8 pounds), including boat, paddle, PFD, repair kit and accessories. That is a fair bit of extra weight on top of a normal setup, and so some consideration is needed to make everything fit without ruining your riding experience.
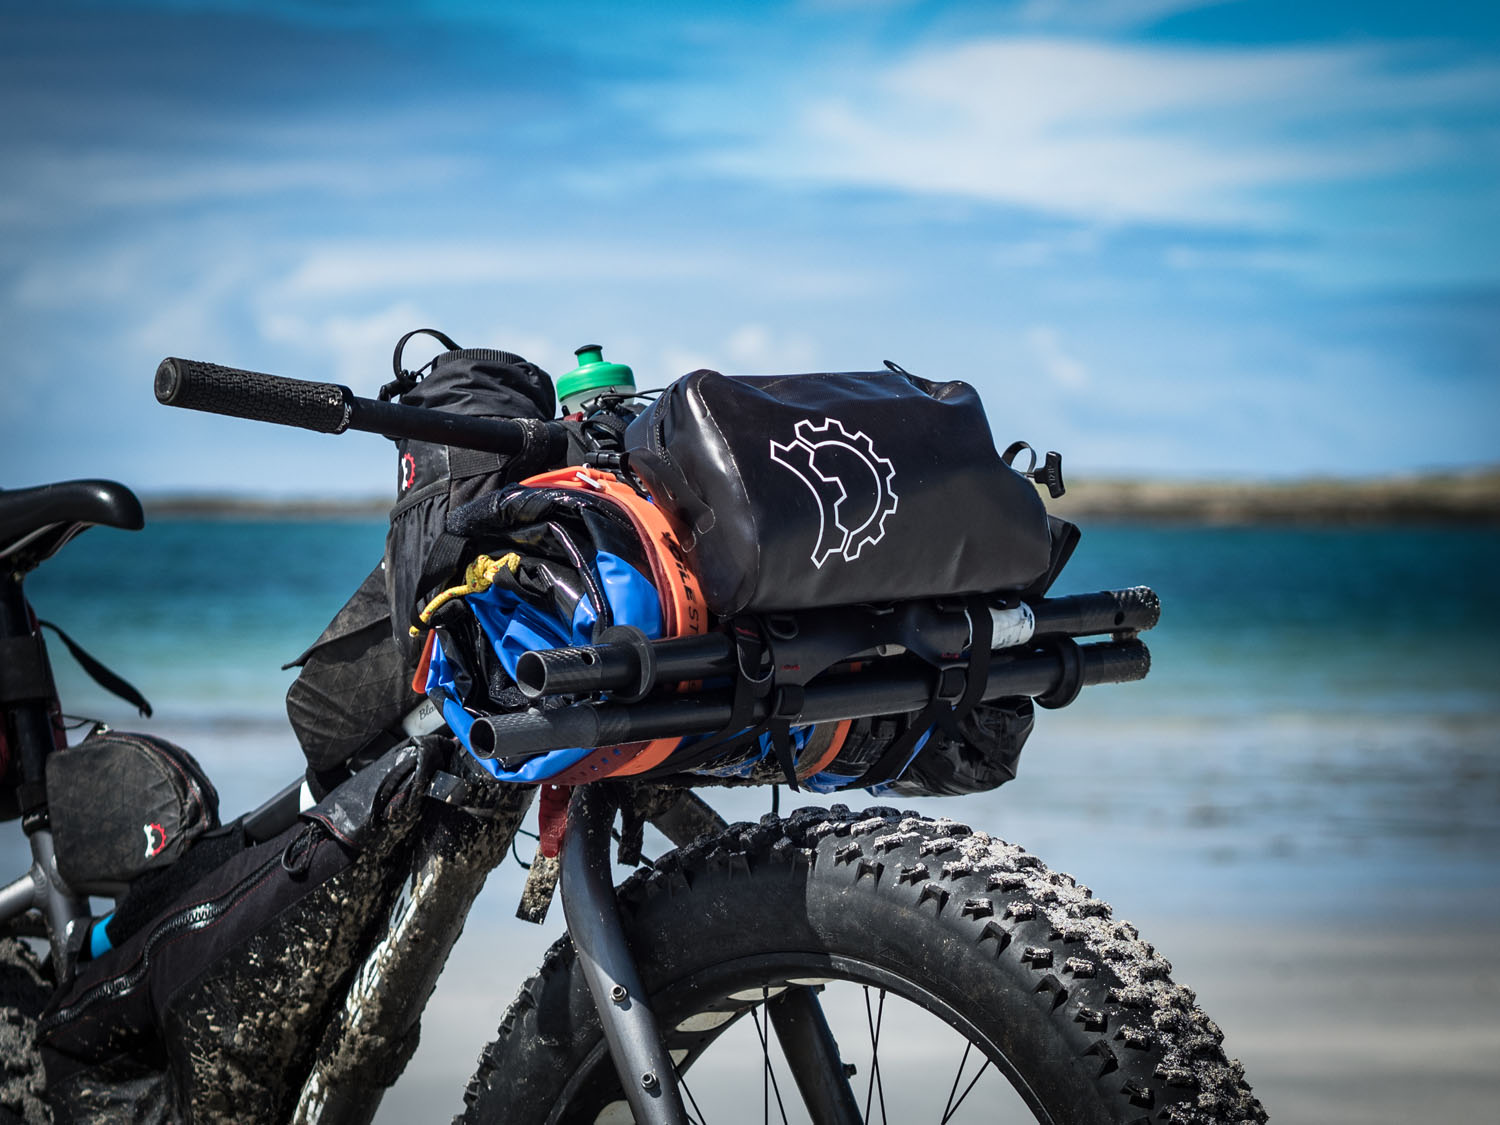
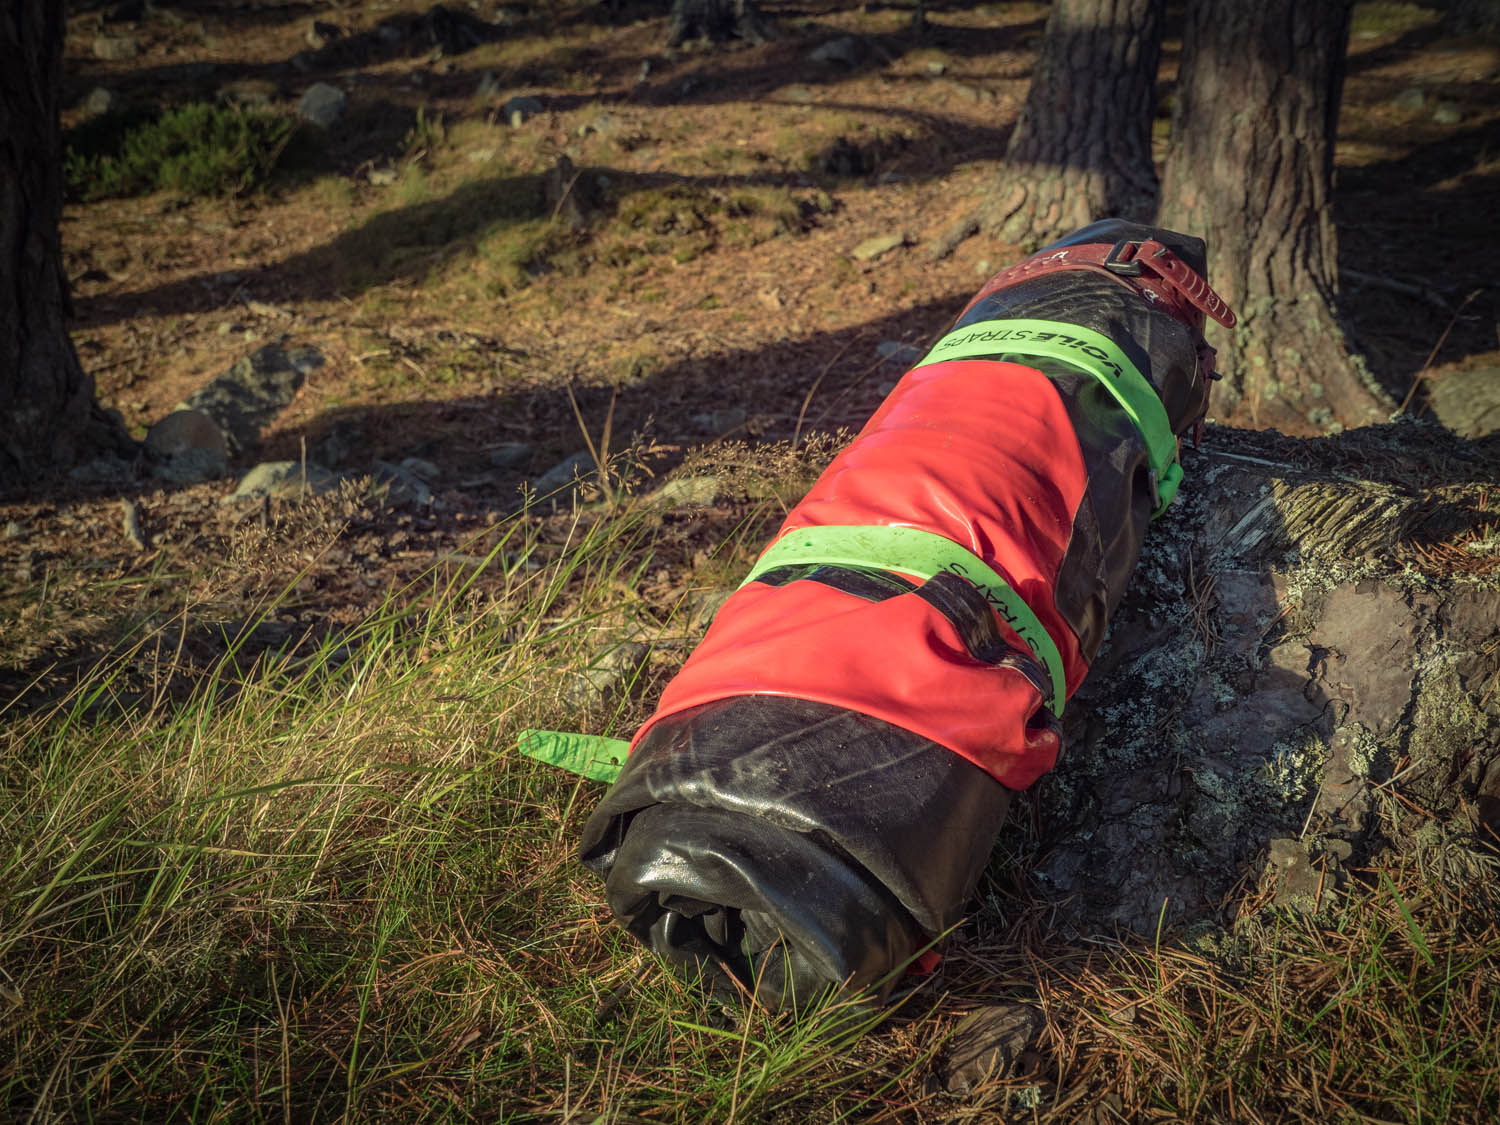
The other option is to use a handlebar-mounted harness to attach the boat, which can be rolled up into a nice, neat tube. The paddle blades and shaft can then be attached to the harness as well. This system allows light but bulky kit like warm clothes, a sleeping bag and the PFD to go on your back. The disadvantage comes in the fact putting so much weight onto the front wheel will affect the handling of the bike to a greater degree. Experiment to find a system that work for your needs.
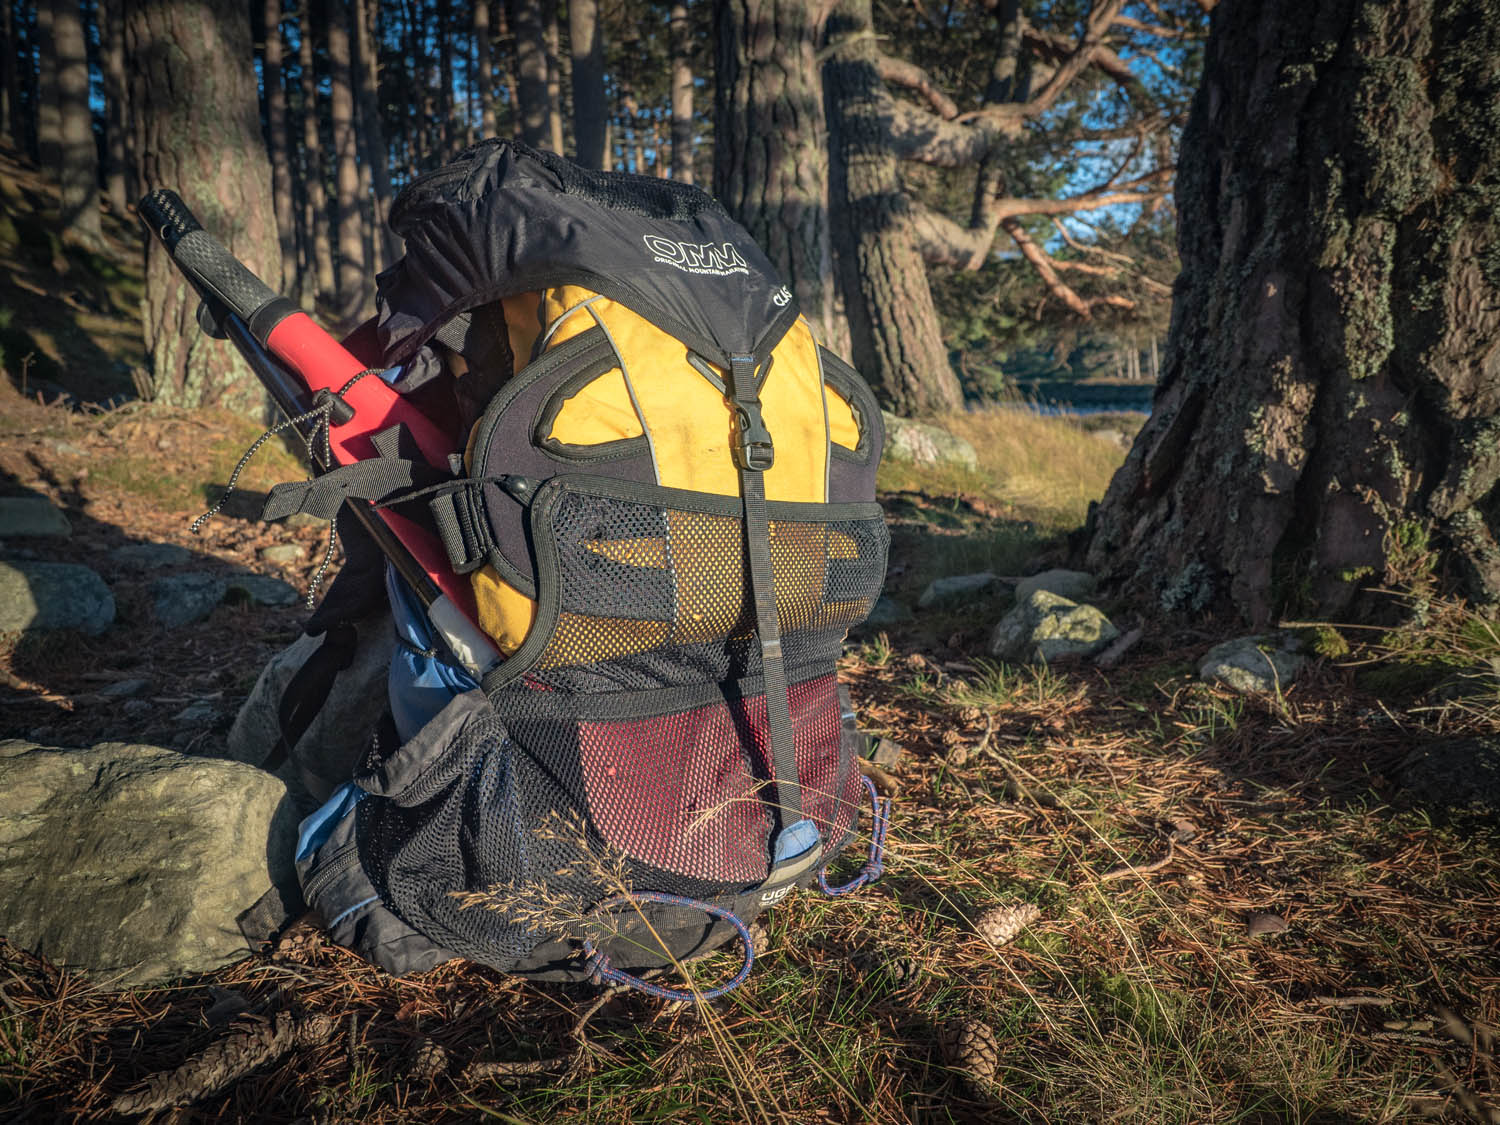

With all of the extra kit demanded by the addition of the packraft, any savings that can be made elsewhere start to look quite appealing. This is no different to bikepacking in general – who wants to carry more kit? – but if you have bulkier camp kit you may start to struggle for room. Don’t let that stop you from giving bikerafting a go though: could you just try a shorter trip? Would bivvying be an option to ditch the tent? Do you really need a spork each, and why haven’t you drilled out the handle of your toothbrush? Whatever you do, don’t skimp on food or clothing. By travelling on water the risk of hypothermia is inherently nearer, and carrying the extra weight of kit all day is going to make dinnertime highly anticipated. These are all standard facts of bikepacking and nothing new, but they become more relevant on a bikerafting trip.
Full Equipment List
- Packraft: Alpacka Yak, cruiser deck, cargo fly.
- Paddle: Celtic custom packraft 4-piece, lightweight shaft with whitewater blades, 205 – 215cm
- PFD: Yak High-back PFD
- Inflation Bag: included with packraft
- Straps: 32” Voile (2), 20” Voile (4)
- Raft Repair Kit: Fabric patches, rubber glue, Tyvek tape, Aquaseal sealant, Tenacious Tape
- Waterproof accessories: Revelate Yakataga Pocket, dry bags.
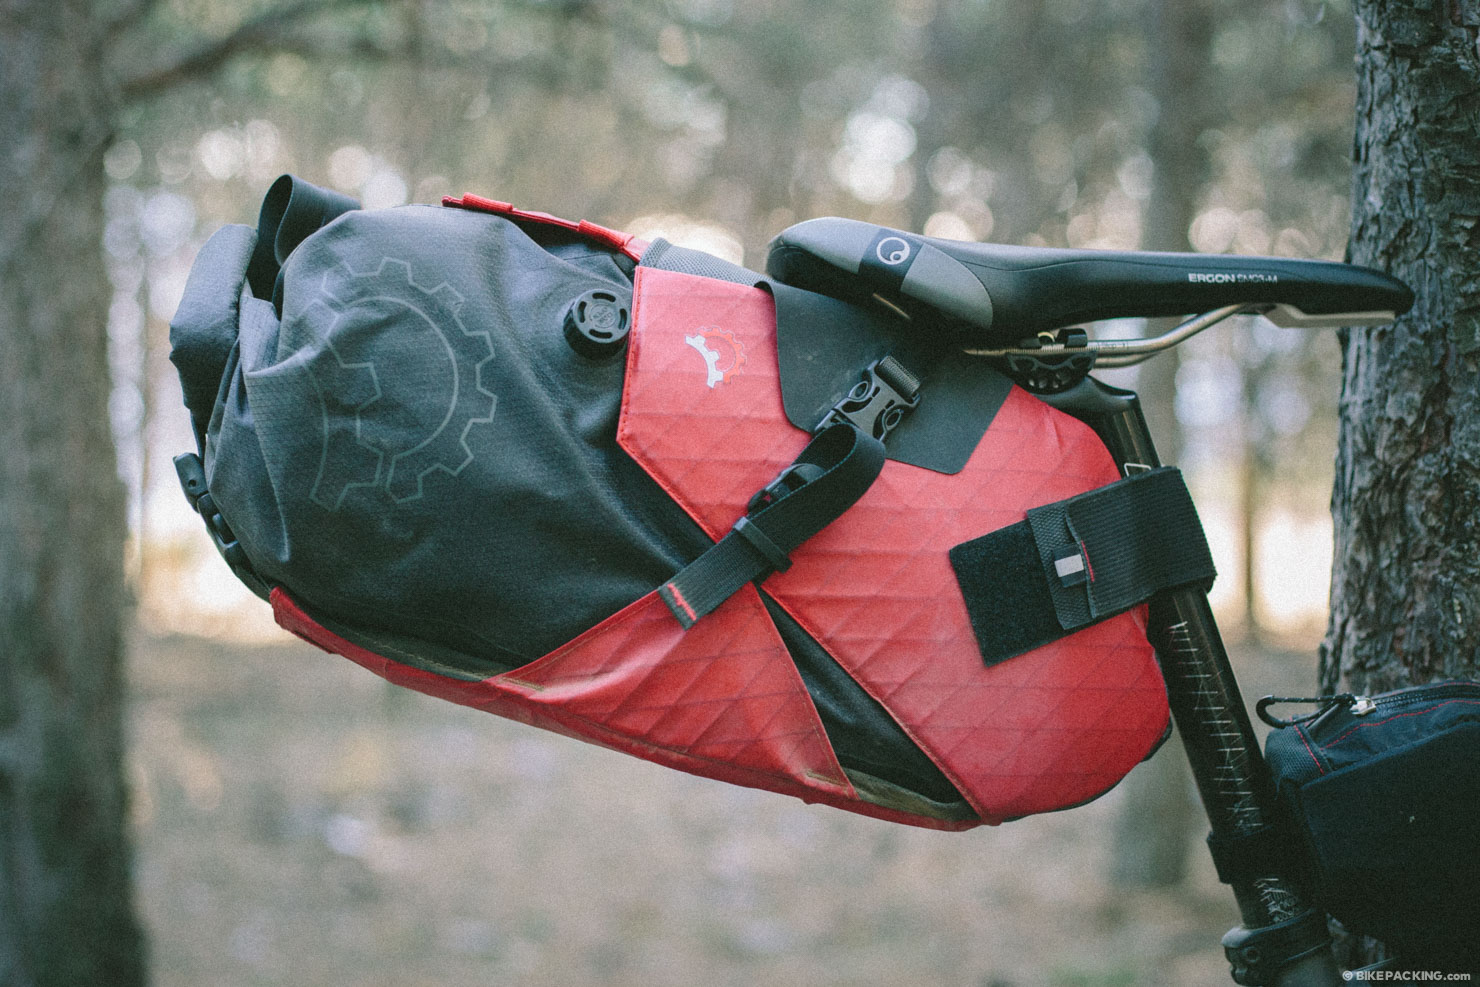
RAFTING WITH A BIKE
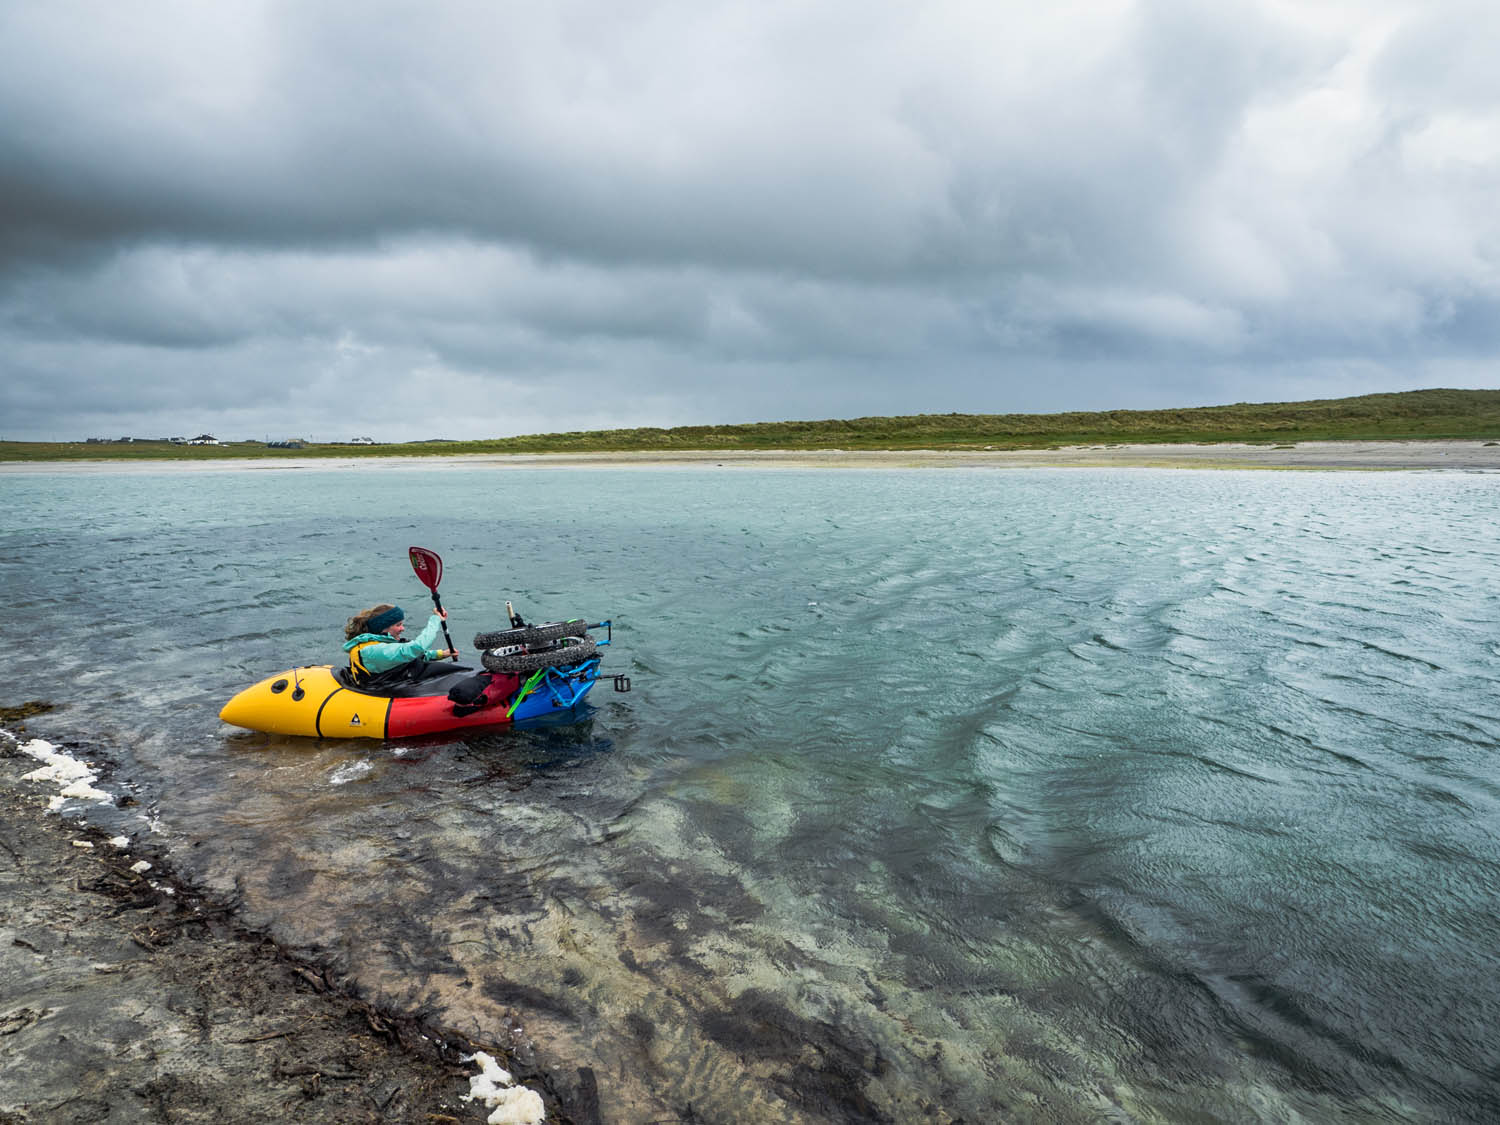
There are three key things that you’re looking for when packing your bike: stability, waterproofing and space for a good paddle stroke. These all become more important the longer you spend on the water, or the more serious that water is.
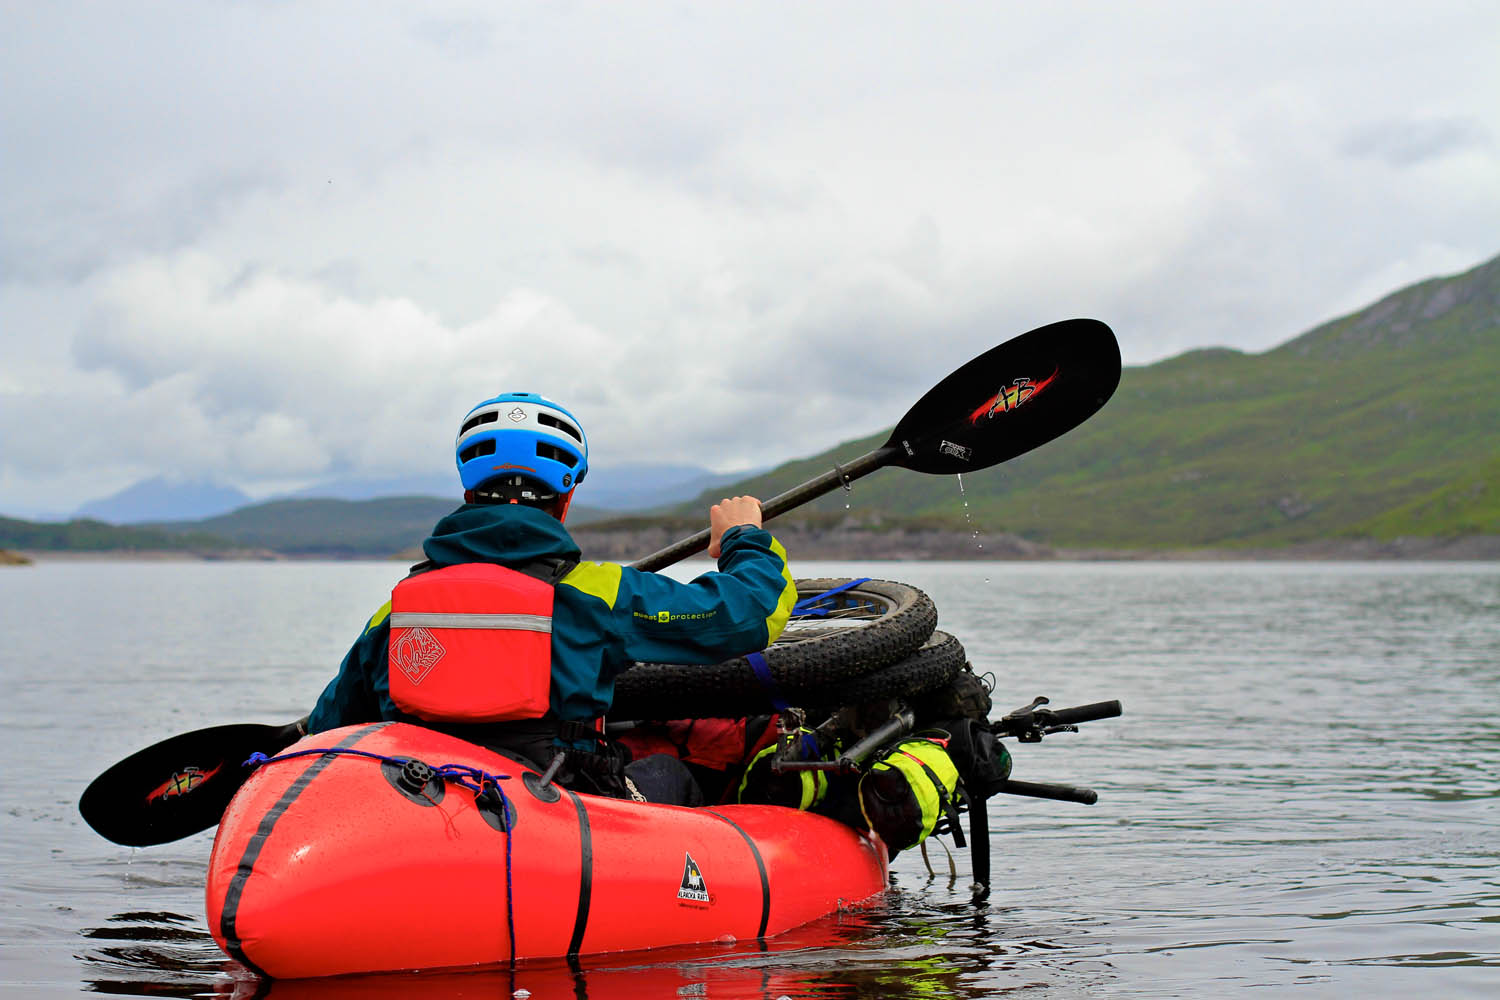
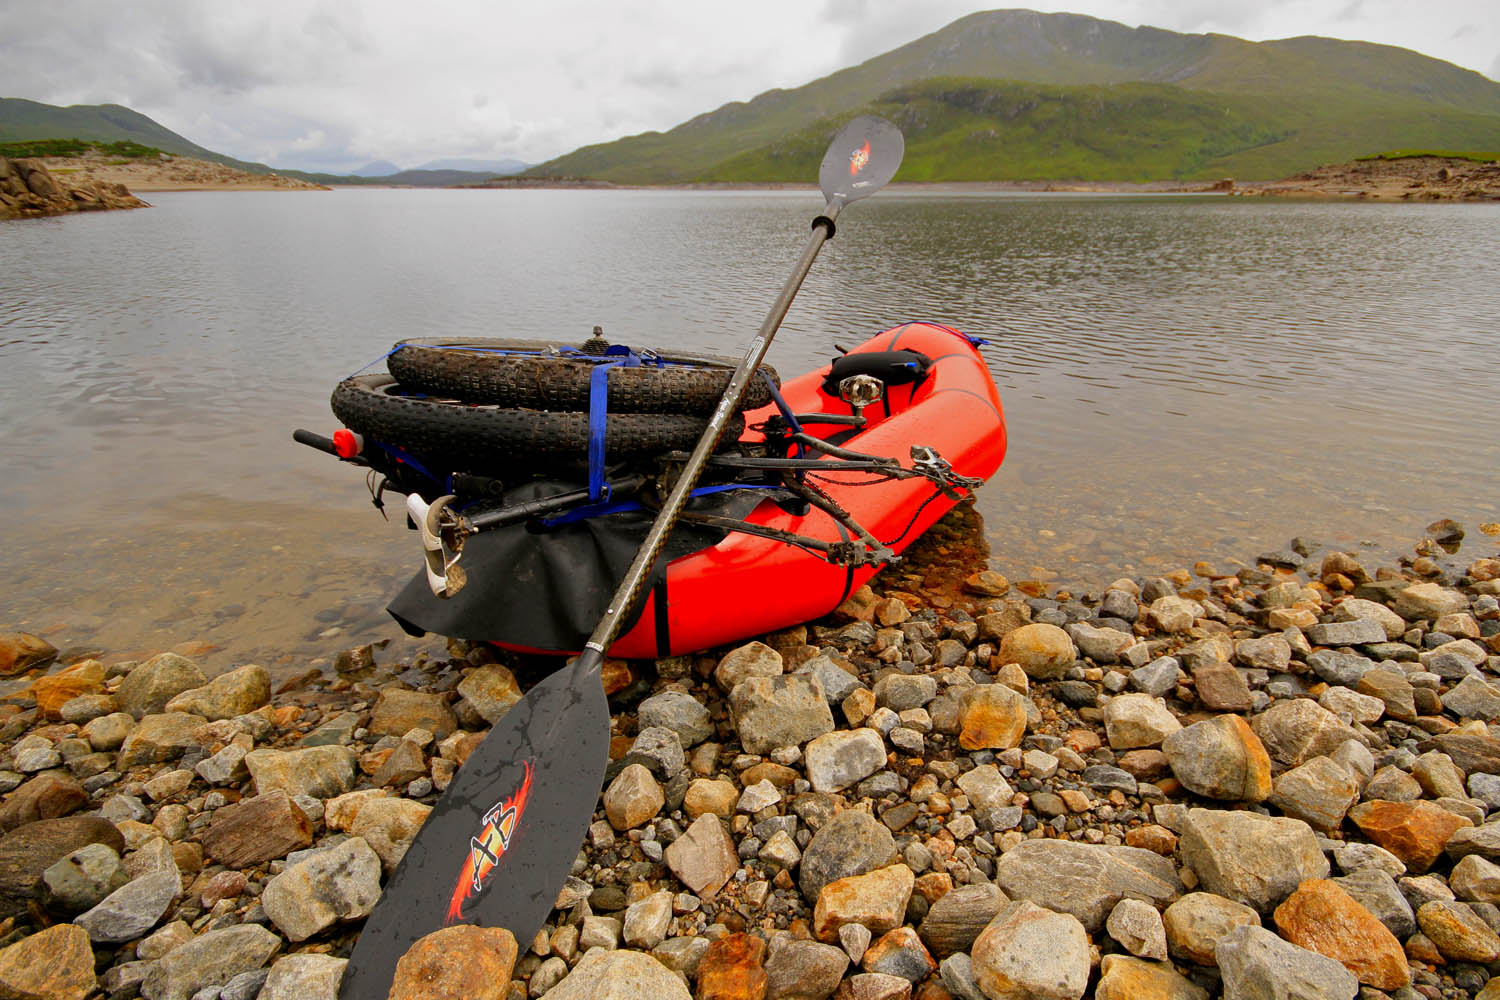
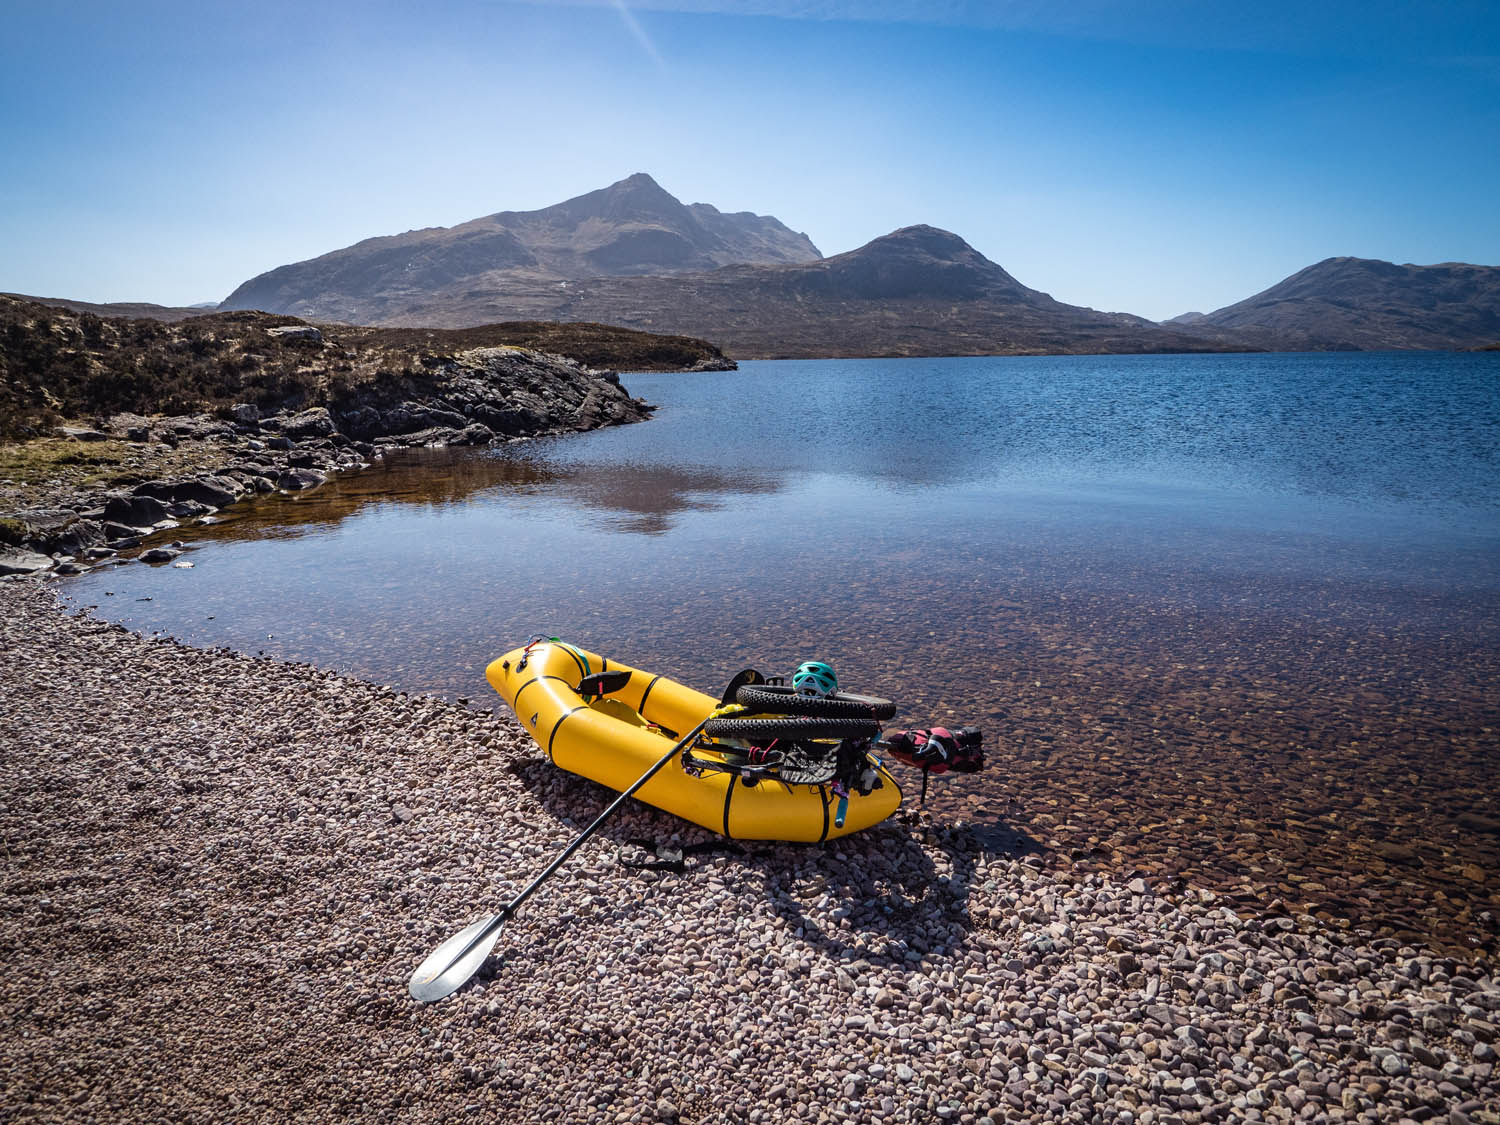
A stable load is one that doesn’t move around, as well as one that puts the weight in the right place. For very short crossings on flat water, I will just lay the bike across the bow of the boat, and I usually turn the seat post round 180 degrees so that the weight is placed more centrally, and the bag is out of the way of my paddle stroke. This setup is quick to assemble and disassemble, but the weight isn’t that well distributed and I can’t put in the strong paddle strokes needed in wind or quick-moving water. For longer or rowdier crossings, remove the wheels and put the frame onto the bow first, followed by ‘stacking’ the wheels on top.
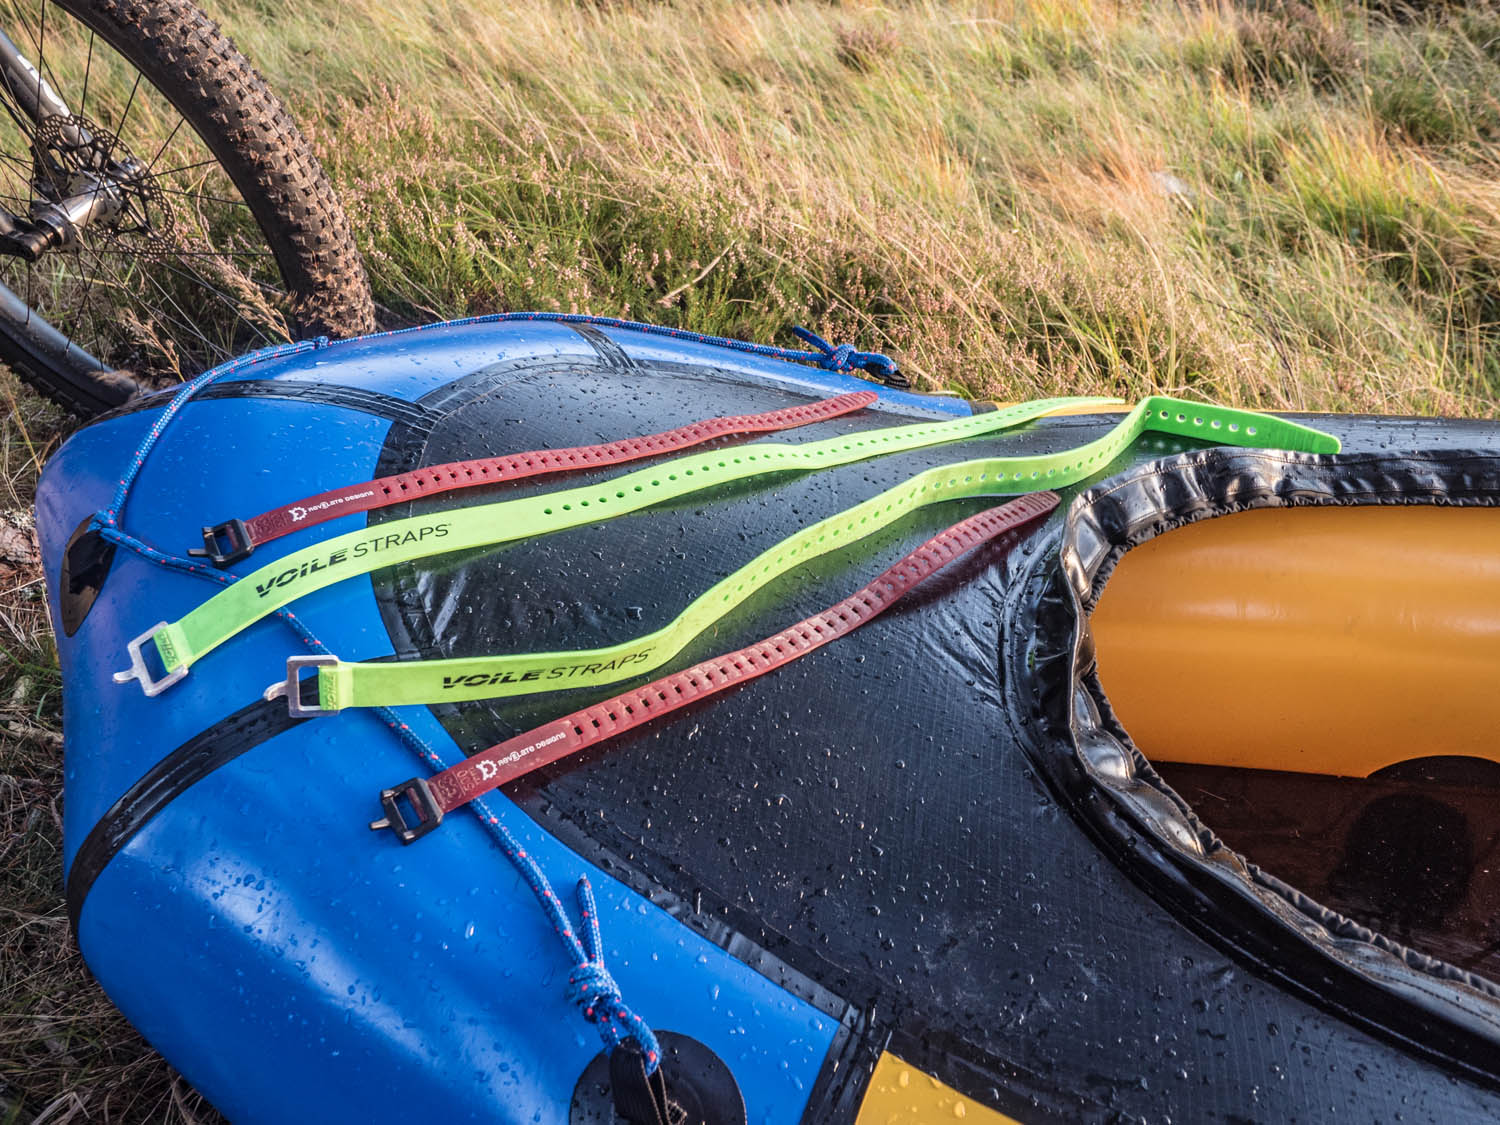
When I first tried bikerafting I lashed the bike to the boat using floating line, which is horrendously time-consuming and always results in some slack creeping in, allowing the boat to flop about like a sad fish. Voile ski straps changed my life – I use them for everything. Two of the 32” versions are perfect for securing a rolled up packraft and then double in use to strap the frame to the boat. I then use a few smaller 20” straps to then lash the wheels to the frame. If you can get a strap to pass through both frame and wheels, then great, the more solid you can get the connection between bike and boat, the better.
It’s too late to decide that you should have put your spare layers in a drybag after they get wet, so give waterproofing a thought while packing the boat. Your frame bag will be exposed to any spray while side-up on the bow, so assume that water will get in unless it’s seam-welded. I usually assume that anyway, but waterproofing the contents is a good idea, and the same goes for your saddle bag if it doesn’t have an integrated dry bag.
It’s very easy to get a nice, solid attachment, everything waterproofed in its proper place, and then realise that you’ve attached the bike too far back and can’t reach forwards with the paddle! To an extent, you can ensure plenty of space by attaching your gear in the right place, but choice of boat is also a factor. Go with a longer boat than you would for standard paddling applications, as mentioned above.
PLANNING A ROUTE
On the Bike
Before you get to the boating, consider the fact that you’re going to be hauling more weight than usual, and the physical exertion required to unpack, inflate, secure a bike, and repeat. When trying bikerafting for the first time, choose a bike route that is well within your comfort zone in order to allow you to focus on and enjoy the unfamiliar aspects that will demand your attention and energy. Remember, too, that as you experiment with different systems and get to grips with a new mode of travel, time will seem to evaporate. Be conservative with your mileages and take the time to become proficient.
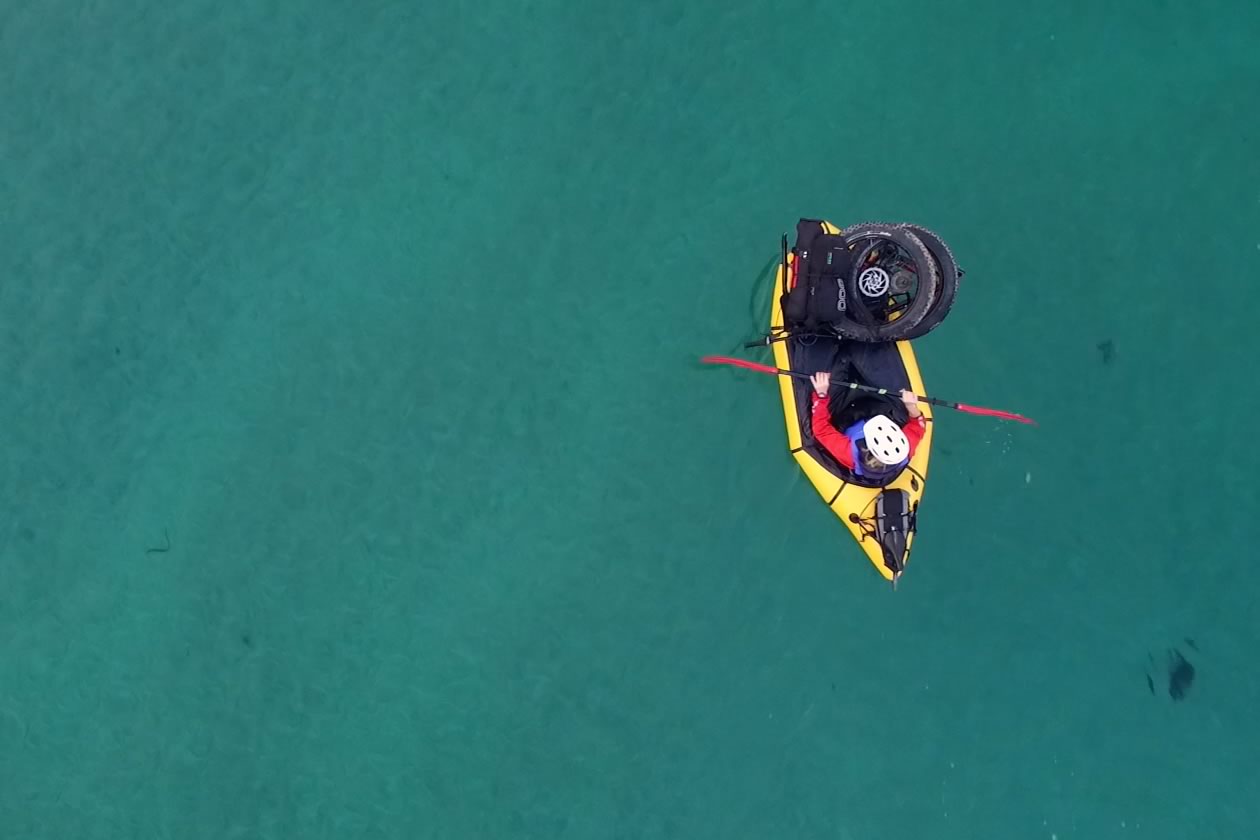
On the Water
Start small. Learn the ins and outs of a packraft on flat water, without the bike. Fall out of the boat. Get back in. Have some fun. Before paddling moving water, it is a very good idea to take a whitewater safety course. They are generally easy to find, cheap, and a great way to take ownership and responsibility for your safety on the water. Moving water is a specialised, dynamic and inherently risky environment, and in the end the right knowledge is of far more value than shiny kit. Alpacka Raft have also started adding some introductory safety information on the resource section of their website.

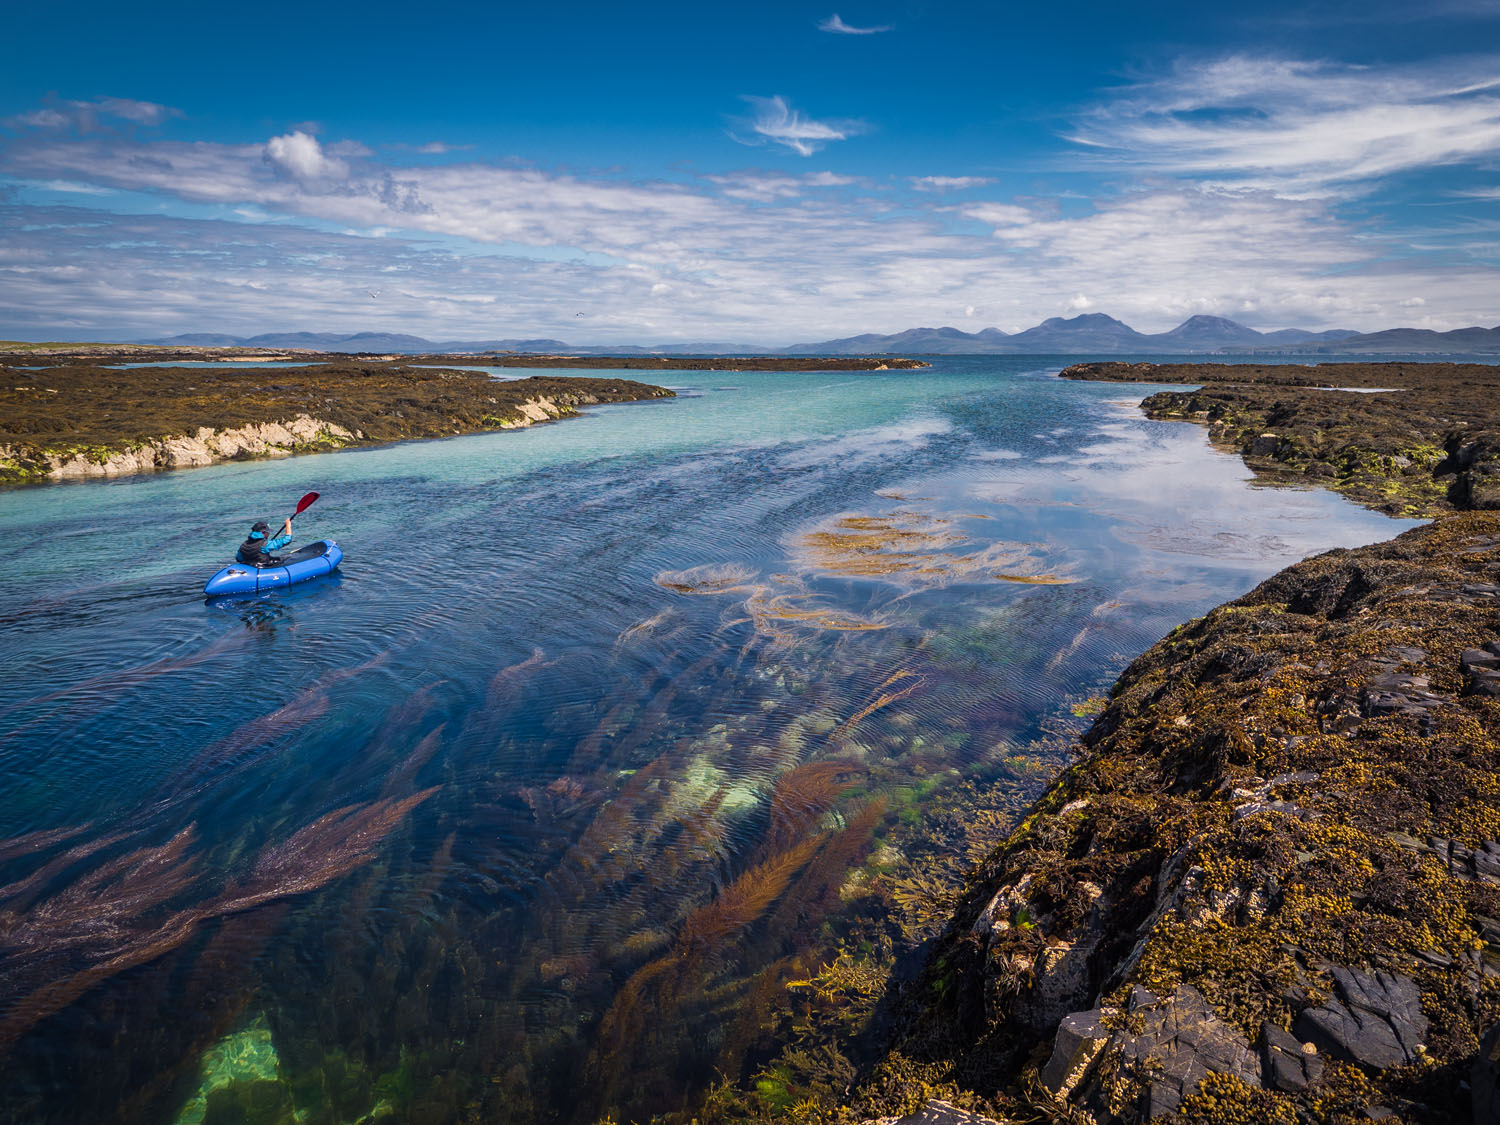
When planning a route, remember that the joy of packrafting lies in new perspectives. A classic local introductory route for us in the Highlands starts at a pub, takes in some beautiful singletrack travelling upriver, and returns to the start (and beer) with a lovely float down a slow-moving river among Scots pine forest and leaping salmon. What could be better? Using boats to cross lakes and unbridged rivers is another way to unlock their potential. Be creative! The paddlers of this world love their route guides just as much as we do, so ask google (or better yet, a real paddler) and you will come across a wealth of information giving inspiration for canoe touring routes, which are often useful for prospective packrafters. Popular rivers often have detailed route guides listing potential hazards, as well as access and logistics information. Access issues in many places are just as much of a hot topic for paddlers as they are for cyclists; make sure to do your homework in this area to avoid undoing other people’s hard-fought access work.
Finally, remember that a new environment brings new risks, and we have to make conscious decisions on how to mitigate and tackle them – we do this all the time when cycling, even if it is as simple as taking a more extensive first aid kit on a more remote route. The ‘extra’ risks of a bikerafting trip centre around the increased risk of hypothermia from immersion, the dangers of moving water, and the fact that distances covered are likely to be less than anticipated. Make sure that you have an answer to the ‘what if…’ scenarios beforehand, remember that two people are a lot safer than one.
RESOURCES
It might be new, but already there are some fantastic resources out there to introduce you to packrafting generally, and it’s special-interest cycling sub-genres. Here are just a few:
- Packrafting! An Introduction And How-To Guide, by Roman Dial
A must-read book written by one of packrafting’s authorities. It doesn’t contain a huge amount of practical advice on how to get yourself started, but as an overview and a source of general inspiration it can’t be beaten. - Packraft.org is possibly the largest online packrafting resource, with a busy forum that is a good source of discussion and inspiration.
- Luc Mehl has completed a host of amazing journeys, many featuring packrafts. His website contains a mixture of trip reports and solid packrafting advice.
- Bjorn Olson’s bikerafting journeys in Alaska epitomise for me what these blow-up boats are all about. Pure, unshackled journeys for the love of it. Brilliant reading.
- AlpackaRaft.com has some useful inflatable inspiration, mixed with practical information about packrafting safety.
- Our #Bikerafting tag here on BIKEPACKING.com contains quite a few inspiring stories as well as routes. Plus there are several incredible films and videos to help build the stoke.
For more of Huw and Annie’s bikeprafting photos, check out their Machair Coast route. Also, if you are new to bikerafting and have any additional questions — or if you are an experienced packrafter and have any tips or thoughts to share — start the discussion below.
Please keep the conversation civil, constructive, and inclusive, or your comment will be removed.