


Panniers vs Bikepacking Bags

Thinking of converting from a traditional bike touring setup to bikepacking bags? Here’s how it went for Franzi and Jona mid-trip during their around-the-world journey. Plus, weight and volume analysis for ‘panniers vs bikepacking bags’, as well as a detailed insight into transforming your overweight bike touring kit to a slimline bikepacking rig and why you might consider such a metamorphosis…
PUBLISHED Feb 14, 2018
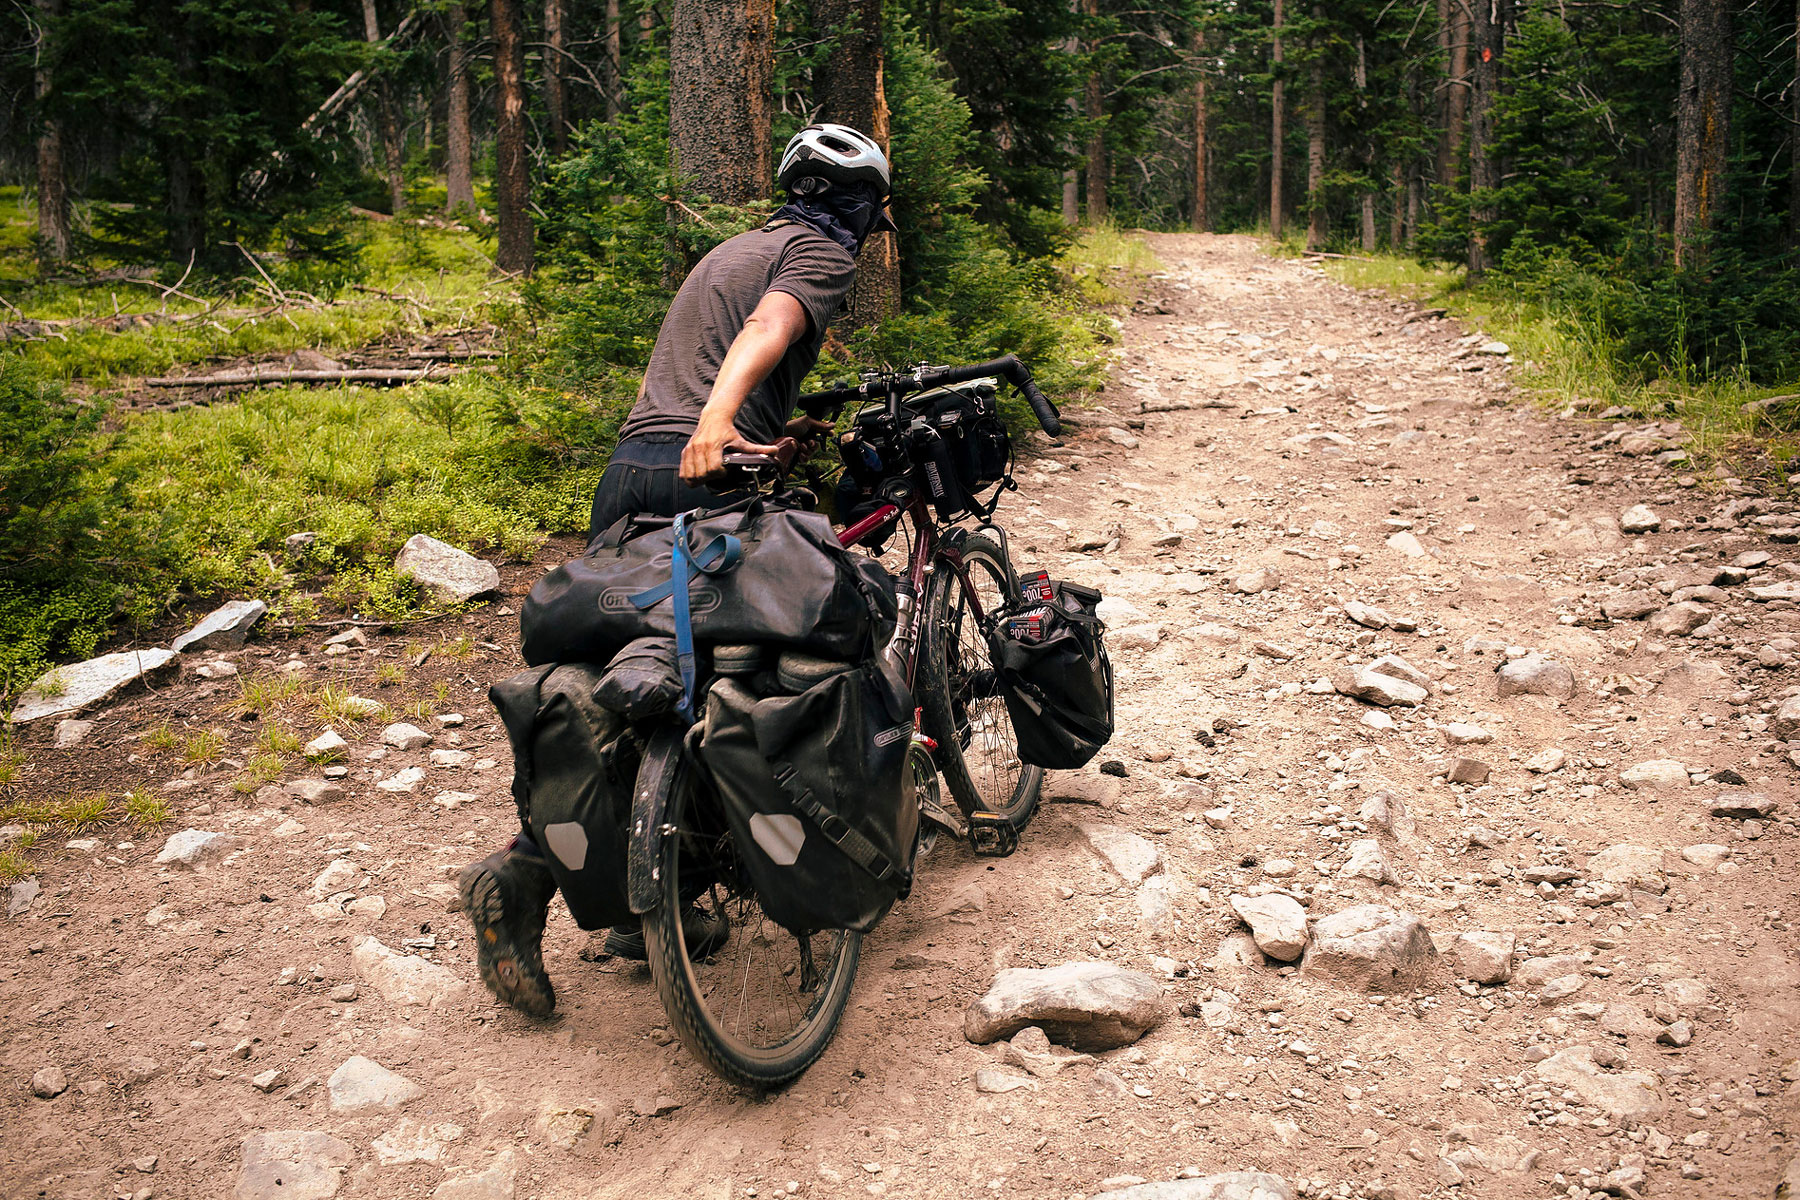
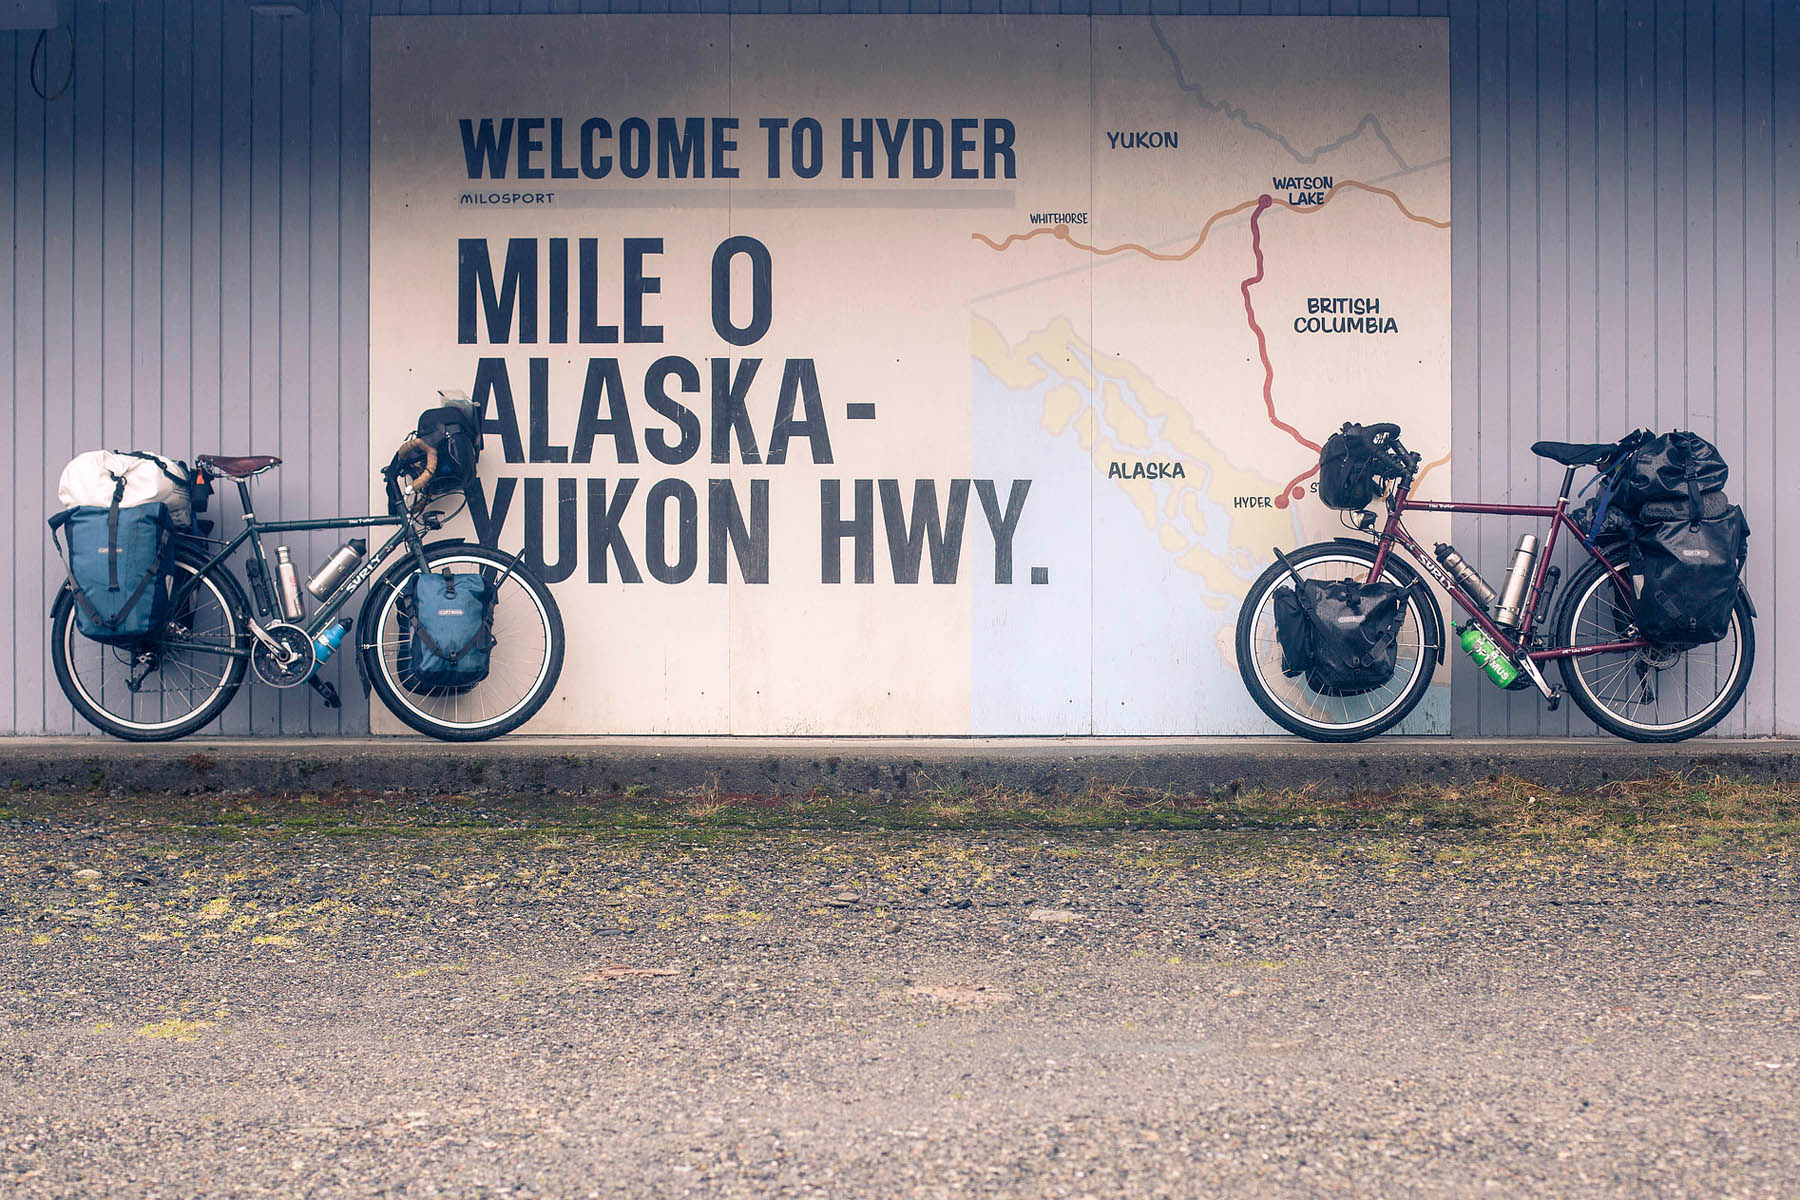
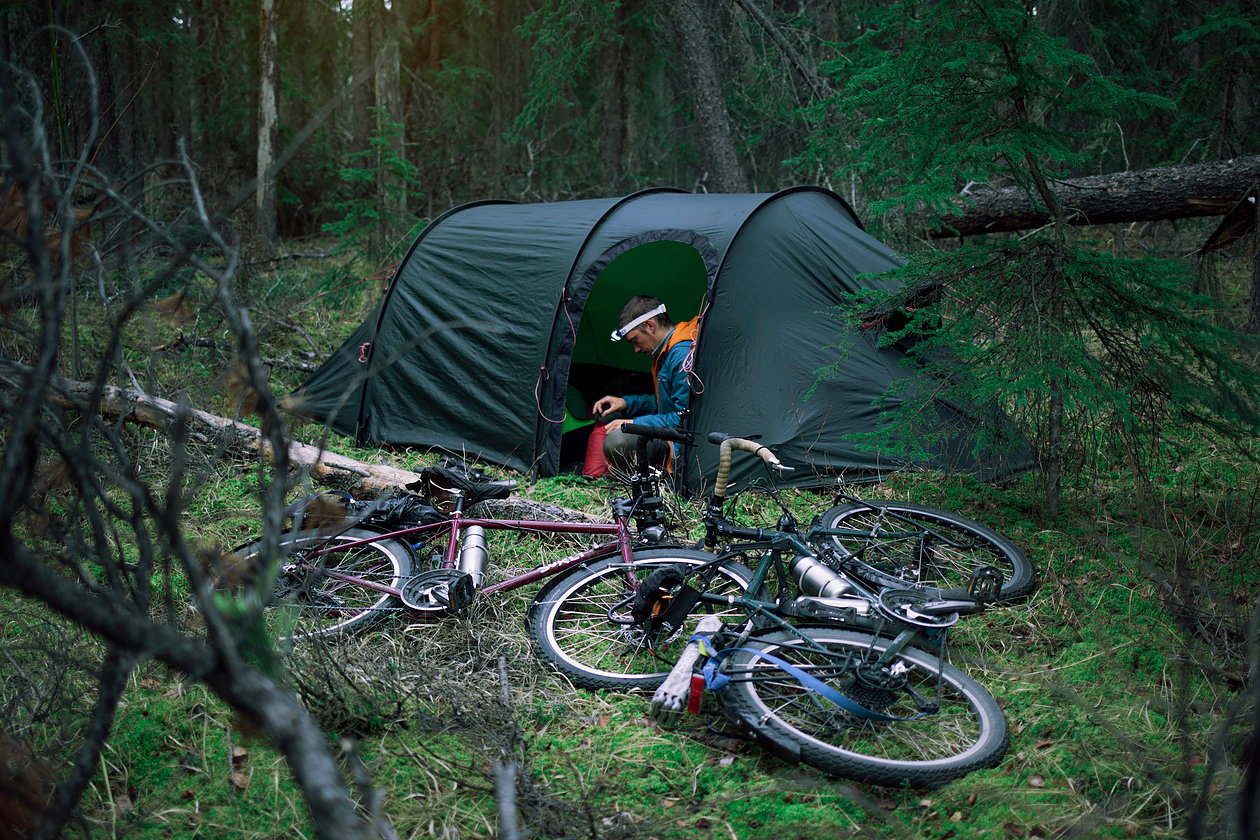
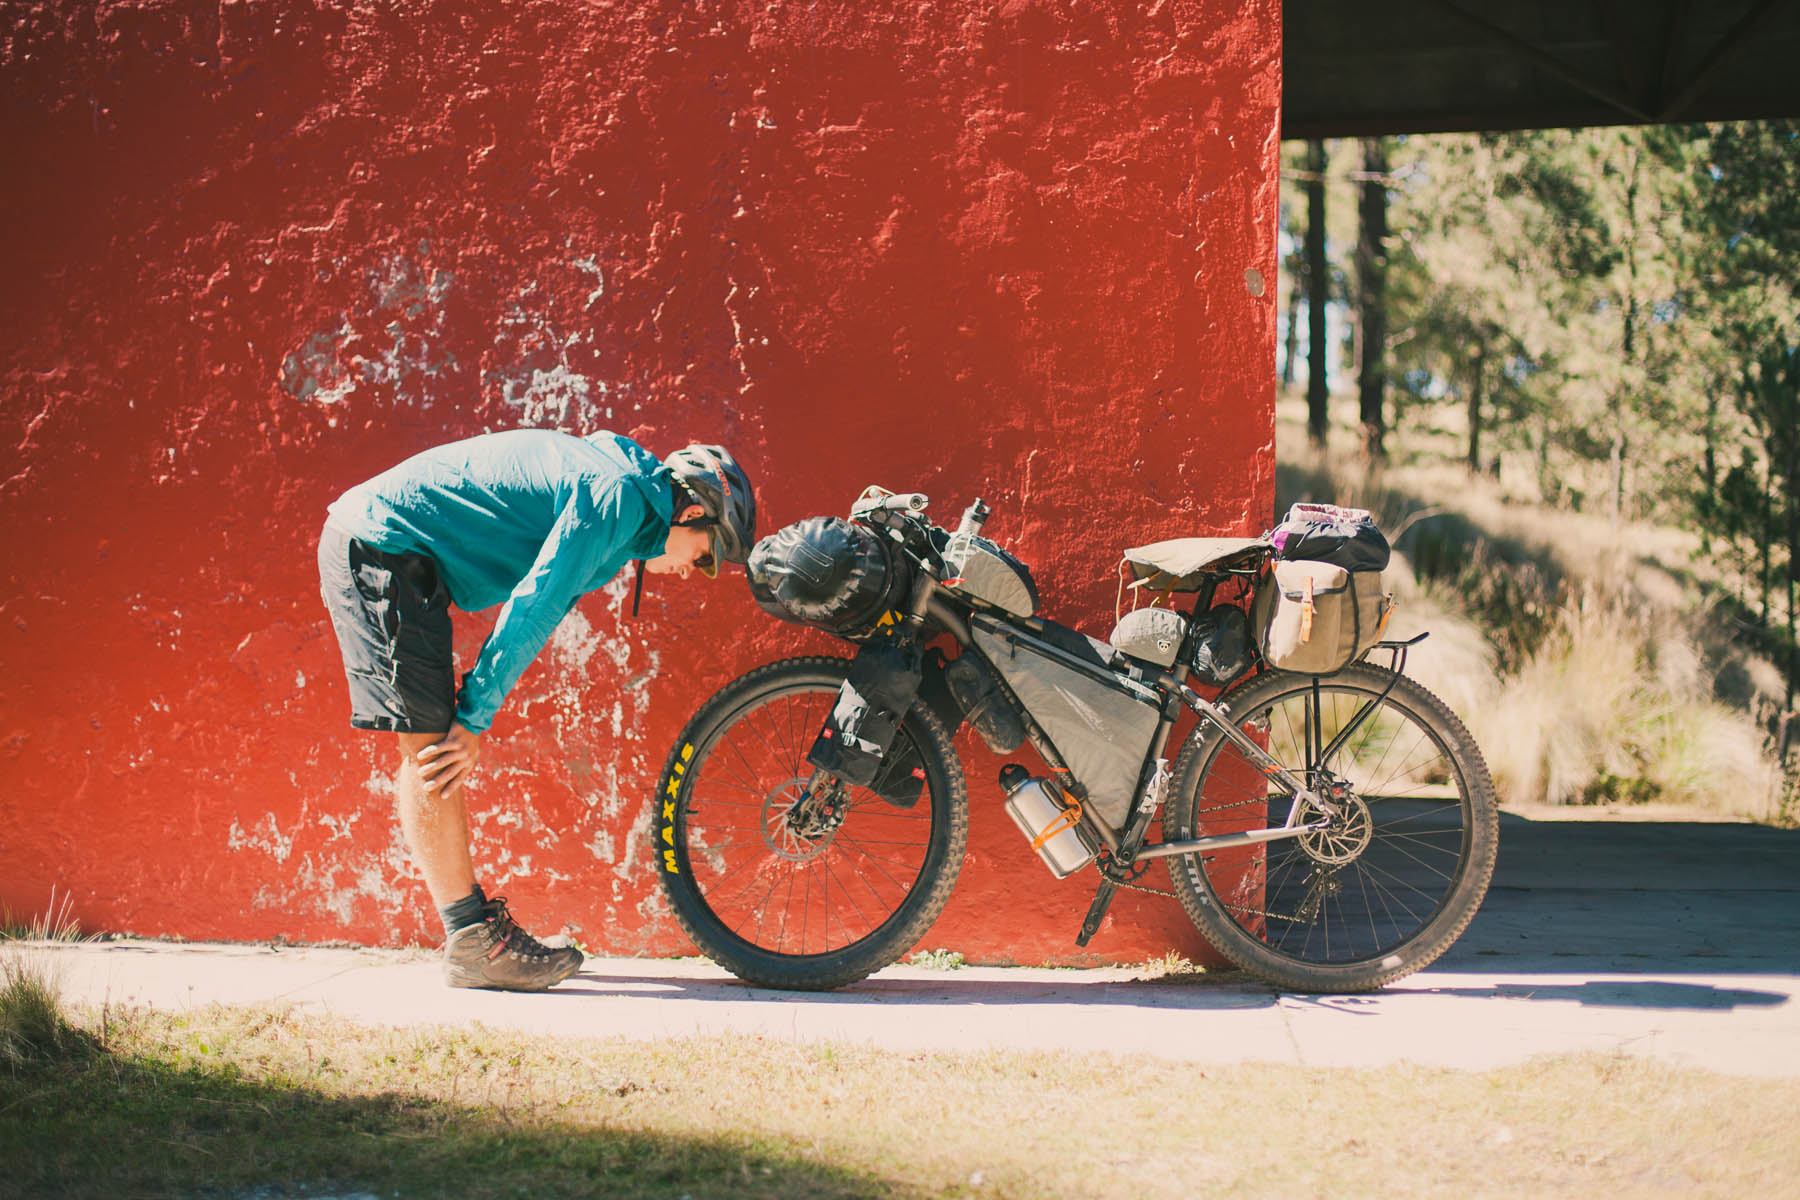
“So, what do I gain by exchanging my panniers for bikepacking bags? And will I still be able to fit everything I need on my bike?” These were the exact questions we asked ourselves half-way through our bike ride from Alaska to Chile. We were tired of riding along highways and paved roads and felt intrigued to venture deeper off the beaten path. But when we found ourselves pushing and dragging our heavy-loaded road bikes along the Great Divide Mountain Bike Route in the USA, we wondered if there was an easier way to explore those outlying places by integrating lighter bikepacking bags and gear innovations into the world of bike touring.
Most round-the-world or long distance cyclists tend to opt for a traditional steel-framed road bike equipped with the familiar four-pannier racks and baggage setup. This long standing, well-approved configuration makes a reliable and durable choice. Especially, when you plan for a few months to make ‘life on the road’ your home and need to carry all your necessities with you. And no doubt, adventurous folks have always traveled on rough roads and in remote places regardless of their heavy-loaded bicycles. But for us, after traveling over a year with a bikepacking setup across Mexico and South America, we are confident in claiming that this has probably been one of the best decisions we made during our trip. For anyone who is interested in a similar transformation, this is how we went about it…
What and why is bikepacking?
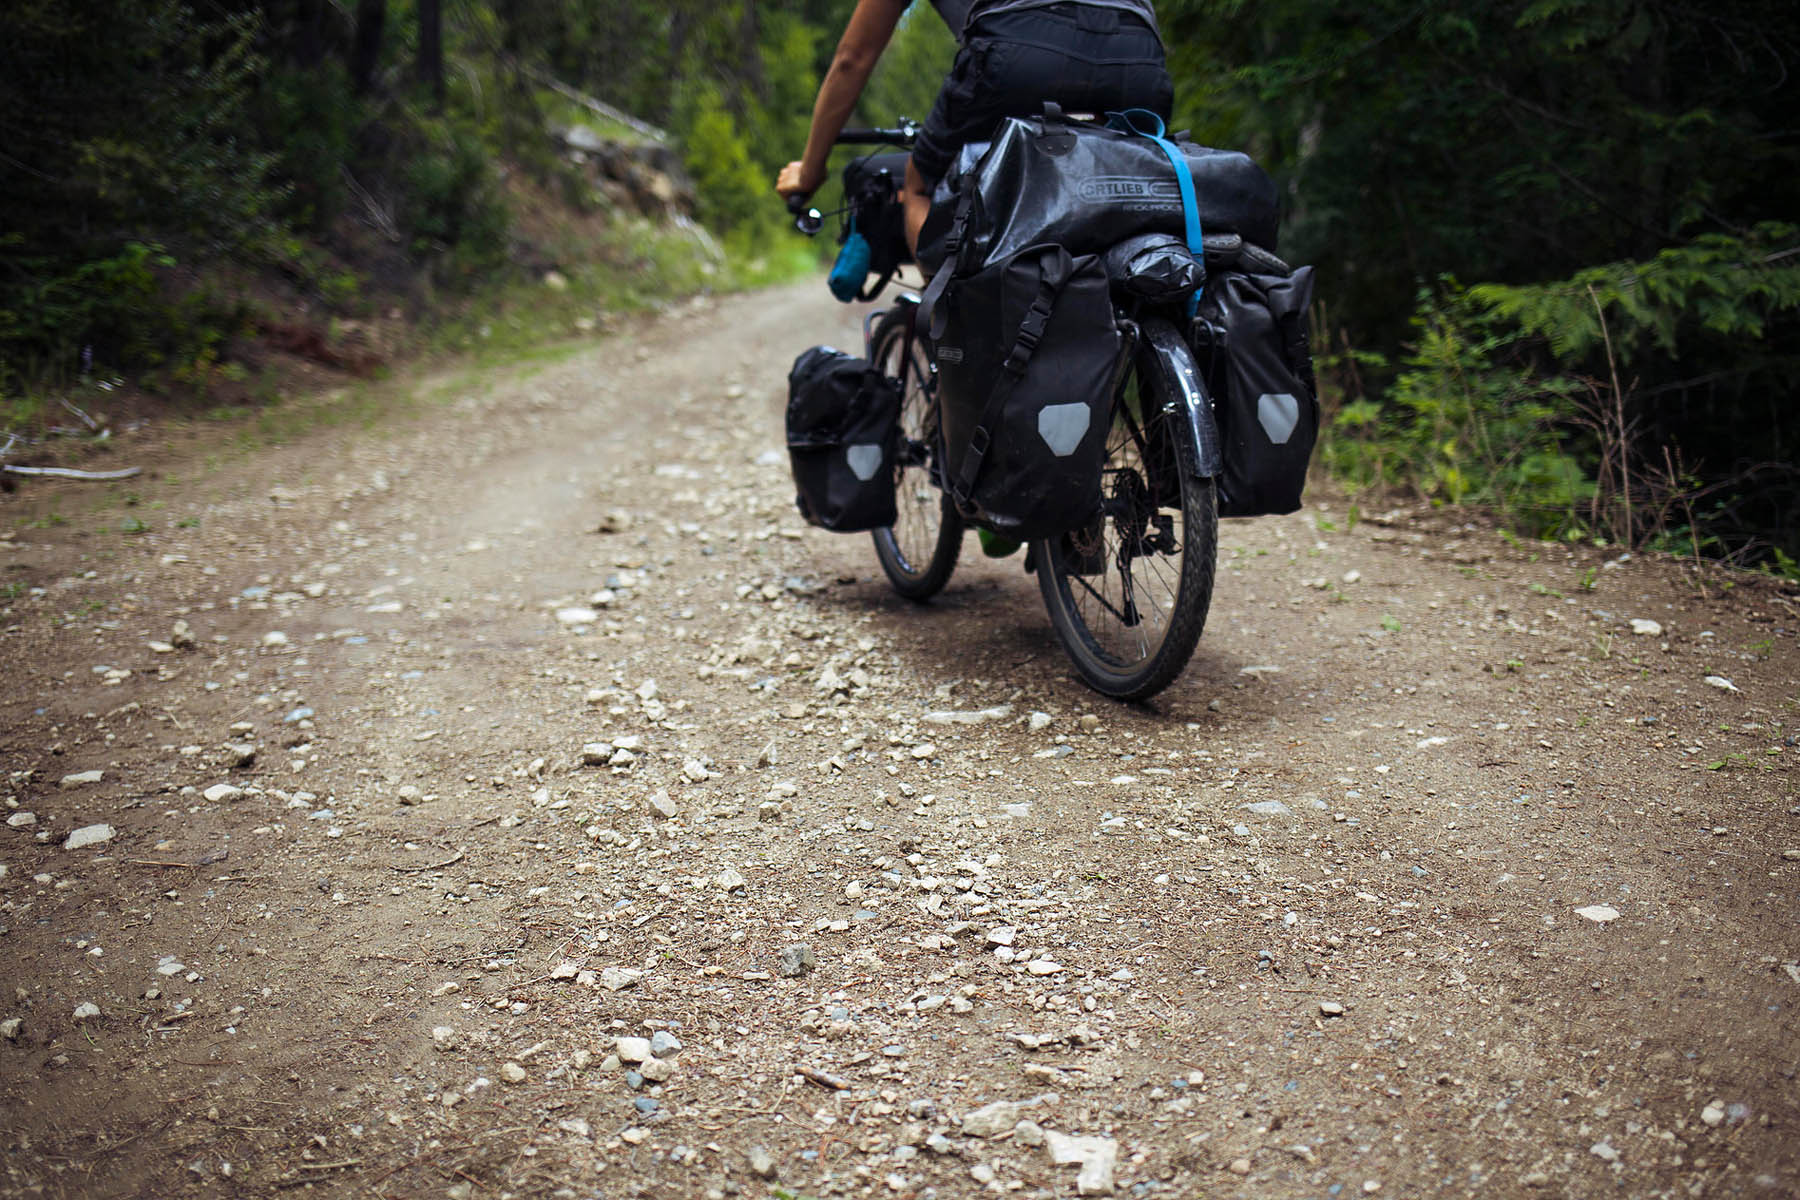
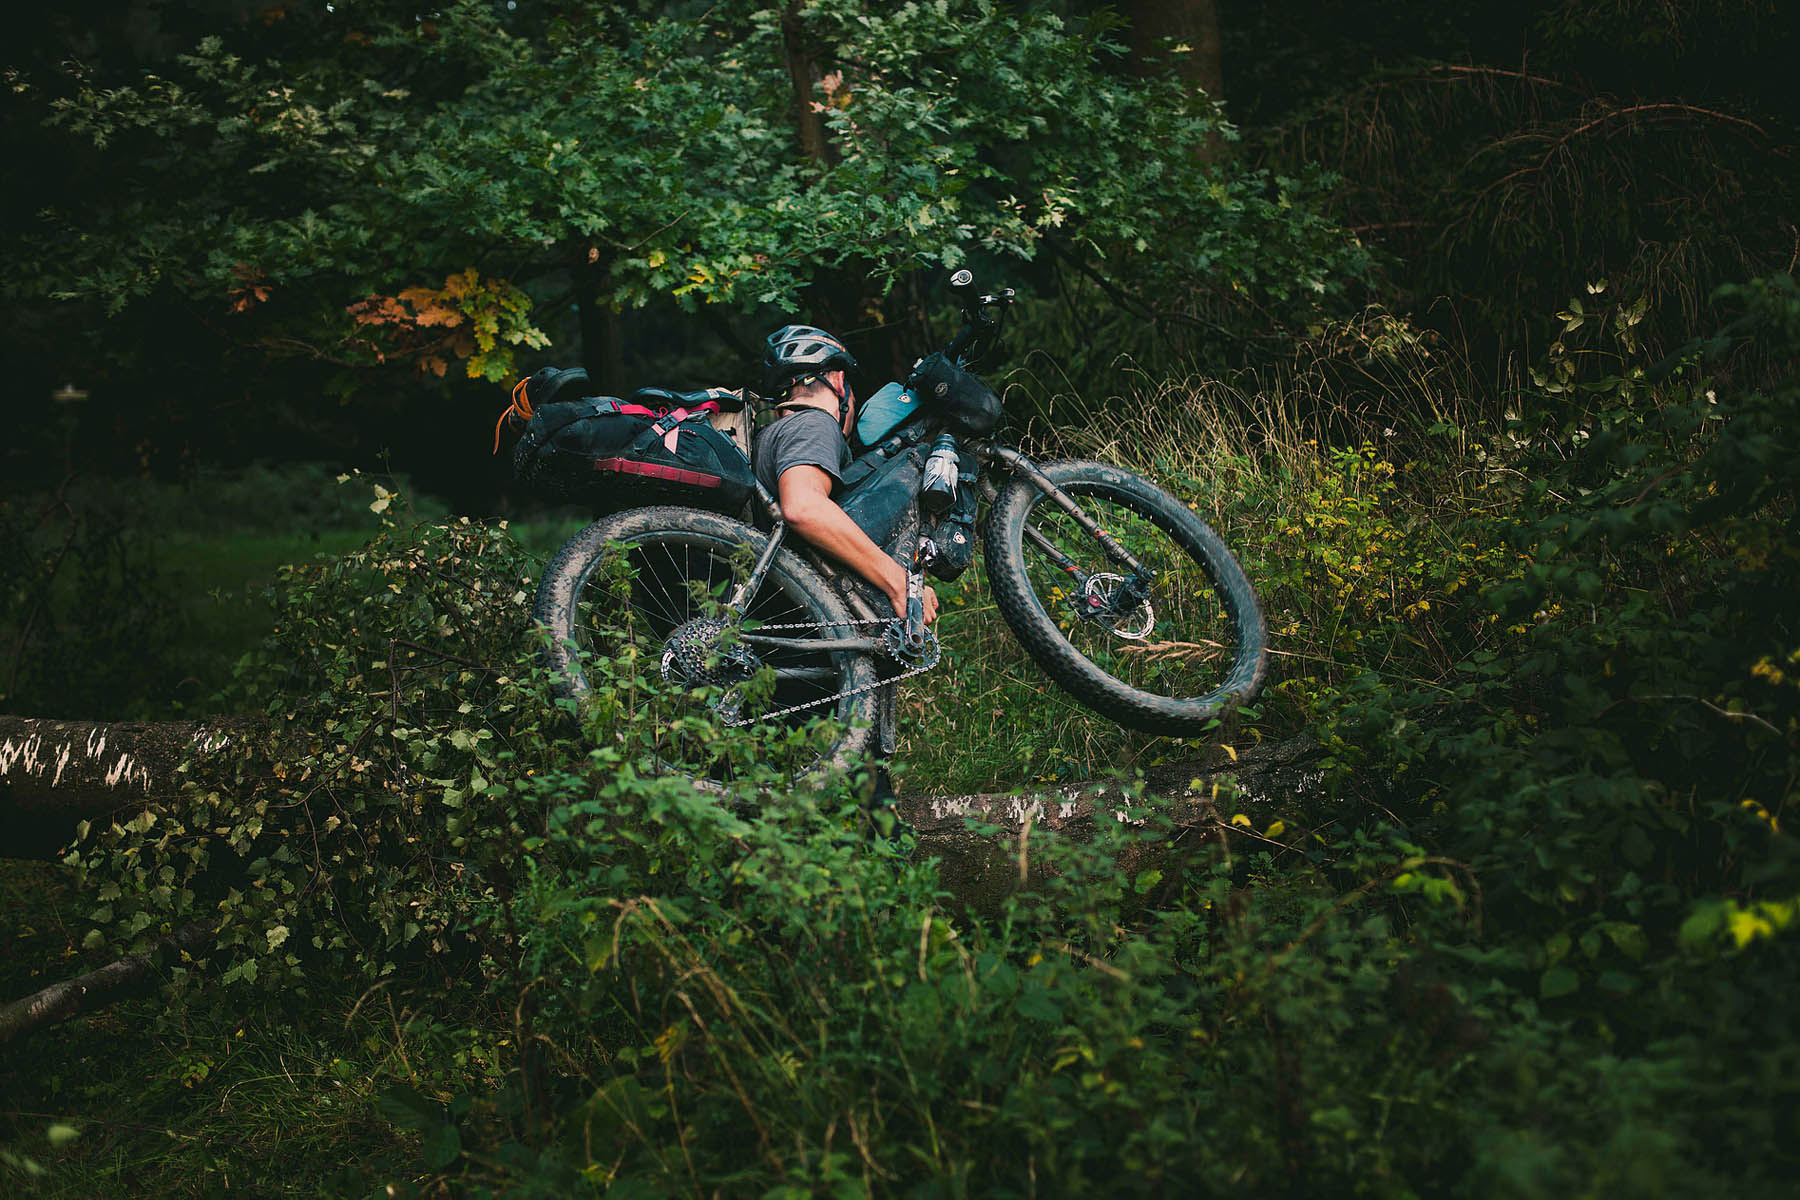
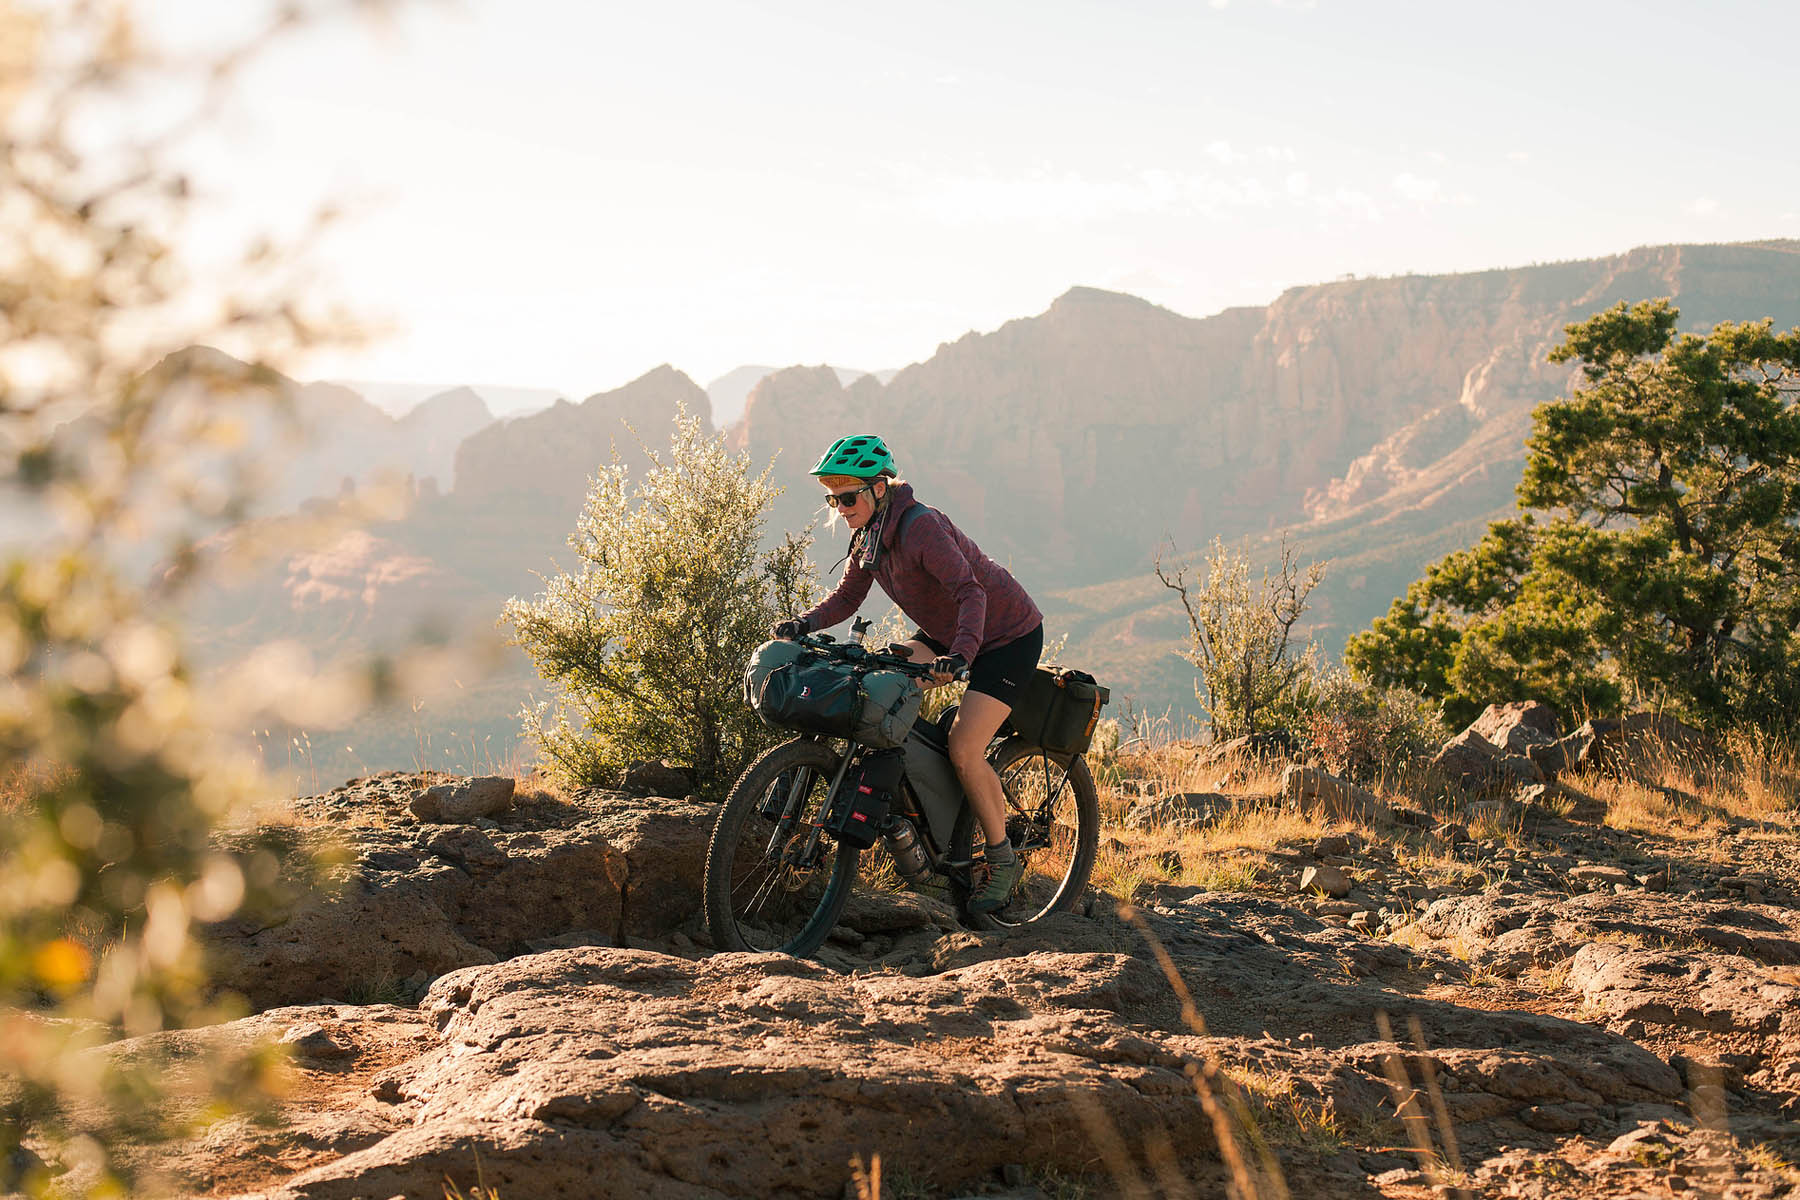
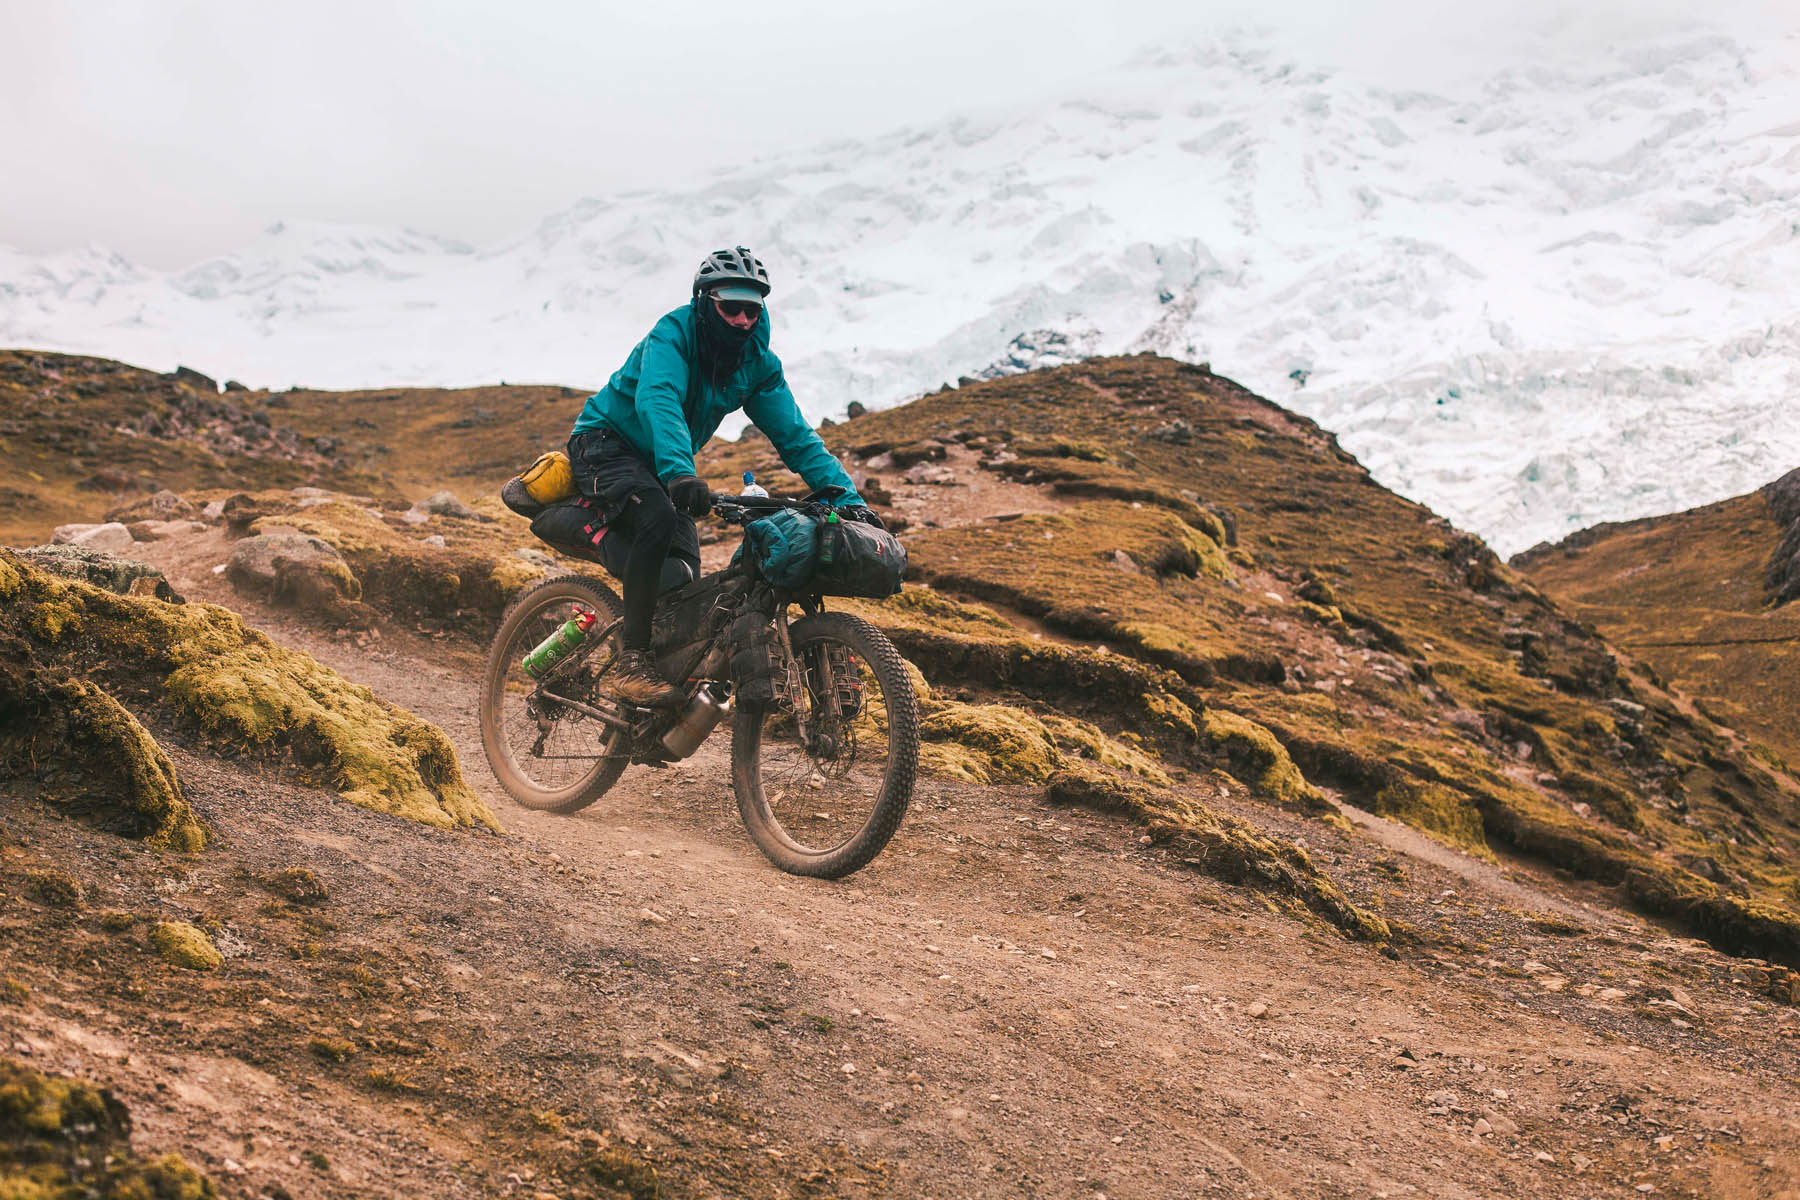
While bicycle touring has existed since time immemorial, bikepacking has come to define a style of travel favoring routes that are predominantly off-pavement, featuring significant stretches of gravel, rough dirt roads, and even singletrack. Routes that by their very nature, tend to demand lighter weight setups than the traditional four-pannier bike-touring setup — at least to be enjoyed to the full. As such, bikepacking bags came from a dedication to this way of riding, and can be credited to folks racing long off-road routes such as the Tour Divide. The name of the game was smaller and lighter luggage that allowed a mountain bike to still feel agile and fast when loaded with supplies and gear. This has since been adopted by dirt road tourers, gravel grinders, and even some road cyclists.
Inspired by the many fellow riders along the Great Divide Mountain Bike Route, we decided to take the leap. We’d sell our trusty, heavily laden bikes in exchange for more agile mountain bikes. Of course, we had our doubts regarding the durability, capacity and comfort of our new bikepacking setups. But now, after traveling over a year with them across Mexico and South America, we are confident in claiming that this has probably been one of the best decisions we made during our trip. It fundamentally changed the way we traveled, and it encouraged us to explore places which were far beyond our reach before. Over the last year we received many questions about our transformation, so we decided to put together this guide for all of you who are interested in downsizing, changing, and modifying your touring bicycle to make it a lighter and more off-road suitable rig.

The Stuff
This whole business probably should begin with a ruthlessly frugal attitude that says, “If I am in doubt, I’ll leave it out.” You won’t be able to fit as much gear into bikepacking bags as you would into four panniers. That means you’ll have to streamline your gear and strip away a few of your beloved luxuries. Actually, I remember how devastated I was when I packed my bike for the first time, counting my remaining possessions still lying on the floor while the space on my bike was already stuffed to the brim. To add to the heartbreak, Jona kept reminding me to leave enough room for food and water. I literally can’t remember how many times I packed, shifted everything around, unpacked and packed again.
To end this seemingly everlasting game, we decided to systematically evaluate the purpose of every piece of gear we owned at the time. To do so we created three piles. In one we added all the gear we needed for camping — our tent, sleeping bags and pads, cooking utensils as well as our camping stove. In the second pile, we placed what we thought necessary for staying safe — rain gear, a set of extra clothes, our first aid kit, spare parts and our toolkit. Ans in the very last jumble, we tossed everything which wasn’t crucial to our survival, but rather a luxury like the medium sized travel towel, soap, our beloved camping egg carrier box and those clothes for days spent off the bike. It’s necessary to resist the notion to bring something “just in case”; instead, ask yourself if you really need it.
“One Per Day”
by Joe Cruz
I was packed and itching with anticipation for a seven month fat bike trip the length of South America on remote tracks. I owned a full set of Revelate bikepacking bags, but I thought my trip would require more space, so the Pugsley was set up with racks and four panniers. Literally the day before leaving, I had a rethink crisis. I gathered the Old Man Mountain racks and mounting hardware, put them on a scale with the four panniers. Then I weighed the bikepacking bags and a rucksack. The difference was over 11 lbs/5kg. That clobbered me, and I set out to fit everything I had into the soft bags by ruthless elimination.
Five weeks later nearing the border of Peru, I couldn’t deal with the backpack anymore. The often static position of dirt touring left me with sore shoulders, a sweaty back and vows to change. My favorite adventure book is Journey to the Centre of the Earth by the Crane cousins. They recount reducing their load as they are about to set off from Dhaka to Western China, the eponymous center of the earth in the sense of being the place furthest from the open ocean:
“After a careful half-hour scrutinizing our bikes, we decided that four different Allen keys were usually needed. However, two adjusted everything except the pannier racks and bottle-cages. So, at the risk of needing our heads examined, we left the other two behind. We finished cutting the labels off our clothes. …which pair of underpants? [Nick] had alternated between two pairs in the past few days to test them. Now one pair had to go. Our map had been cut down to size before starting, with the result that Bartholomew’s 1:4,000,000 of the Indian subcontinent was reduced to a small dog-eared corner of the north-west. This must have saved about as much weight as cleaning the dirt off our shoes, but it made us feel as though we were trying” (Chapter 2).
Thinking back to Journey, I set out to cut my load by something every day for a month. It could be shortening the velcro straps on the frame bag, or snipping the drawstring on the hood of my jacket, or stopping at a bike shop to trade all the #4 bolts on my bike for #5’s so that I could then get rid of the #4 Allen key. I felt triumphant when I got rid of bigger things like all the stakes for my tent, since I was always able to use rocks instead. If three days went by and there was something I didn’t use, I got rid of it.
I’ve never looked back from this liberation from panniers and a backpack and extra stuff. These days my packing amusement is against the dangle, all those things secured outside the bags that make the bike look like a traveling garbage circus. I never want anymore little stuff sacks, flip flops, ti cups, nor a jacket under a bungee. It’s not an entirely serious self challenge, but, like the Cranes, it does make me feel as if I’m trying. It’s somewhere between aesthetic and ascetic to travel lighter and faster and less materially burdened.
The Big Three
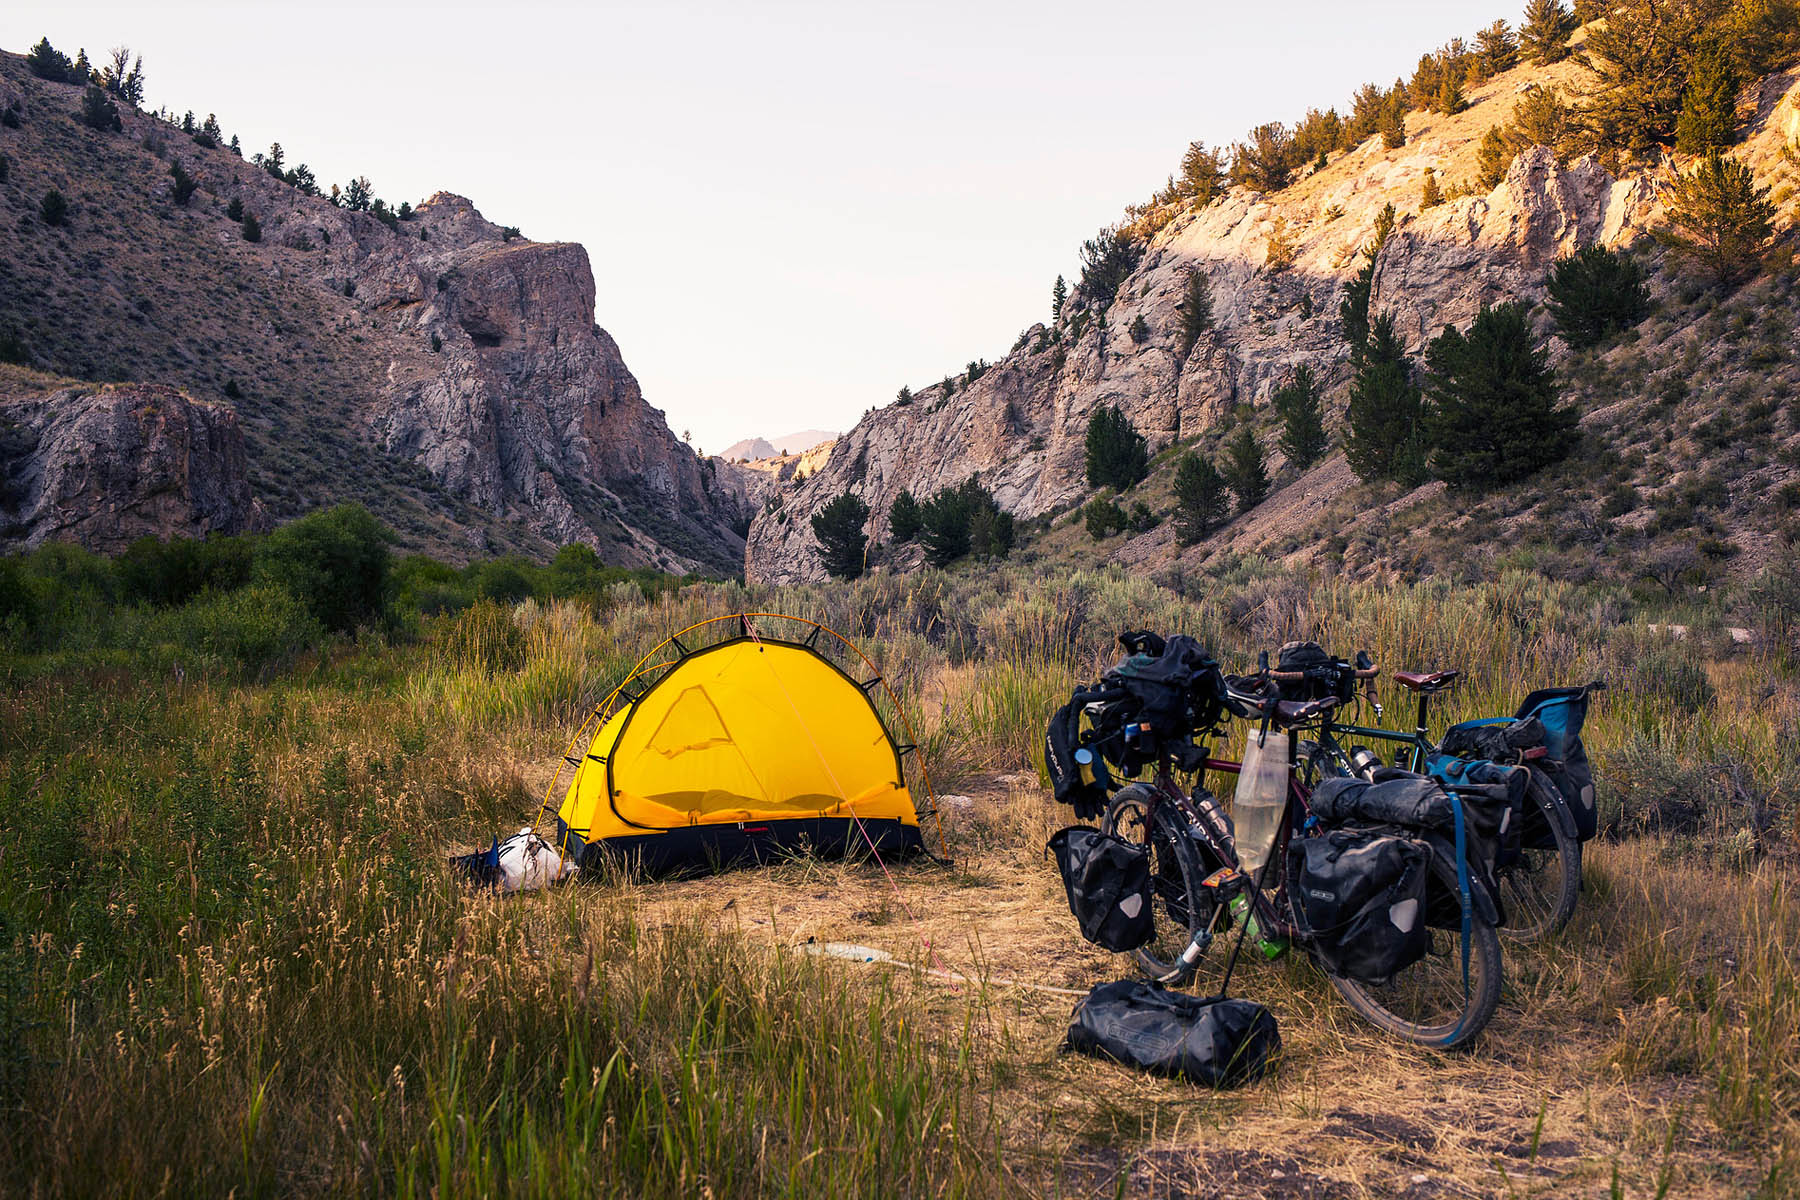
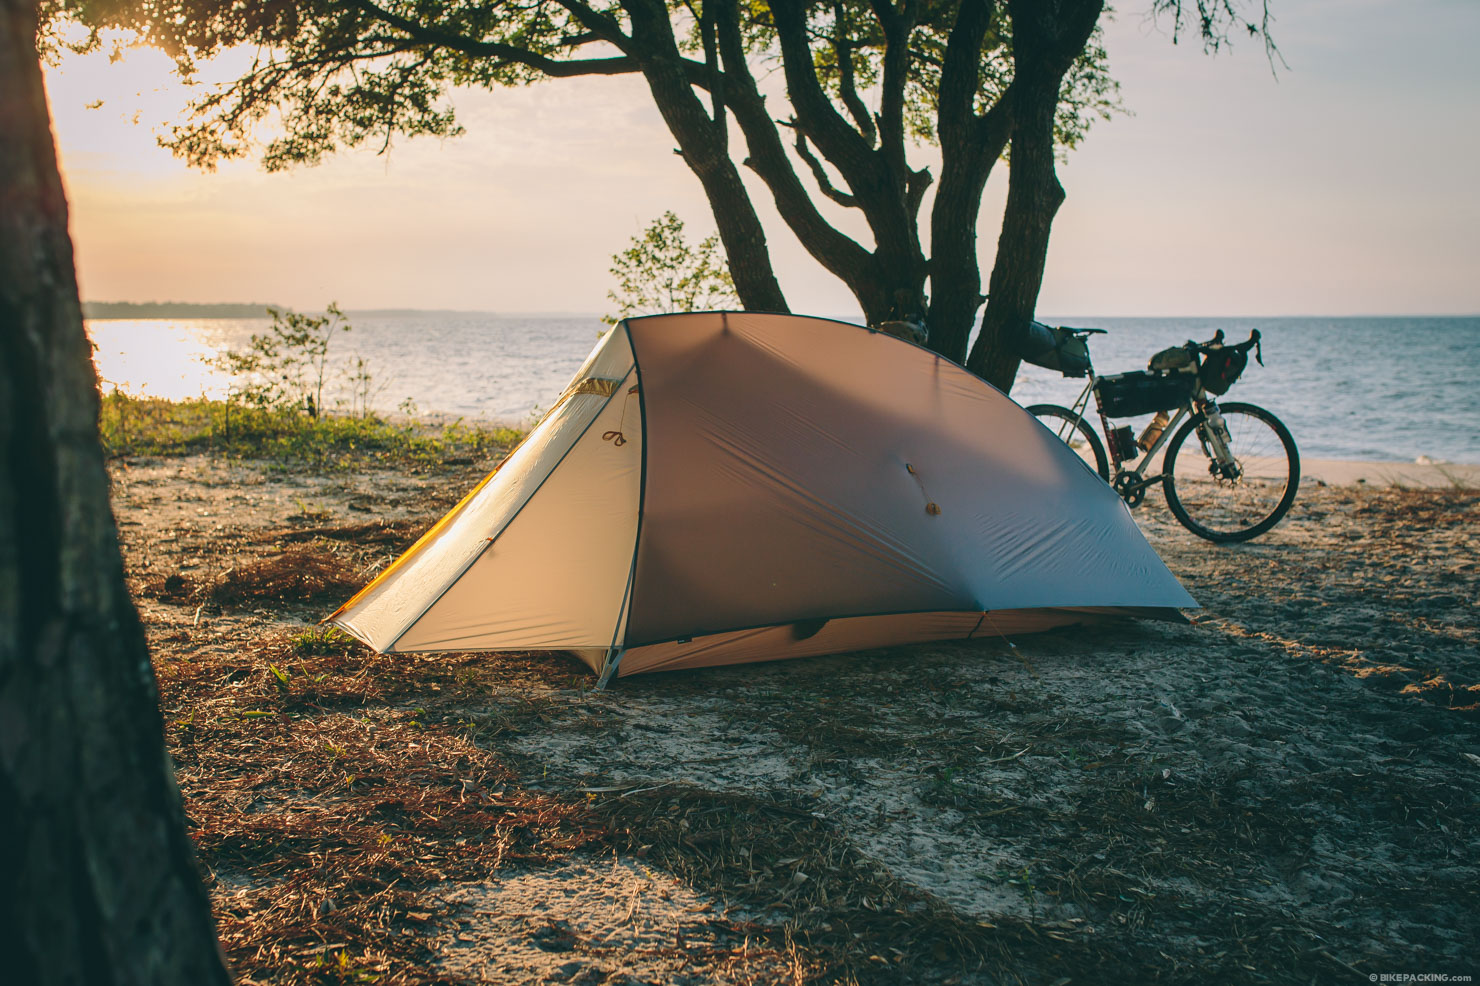
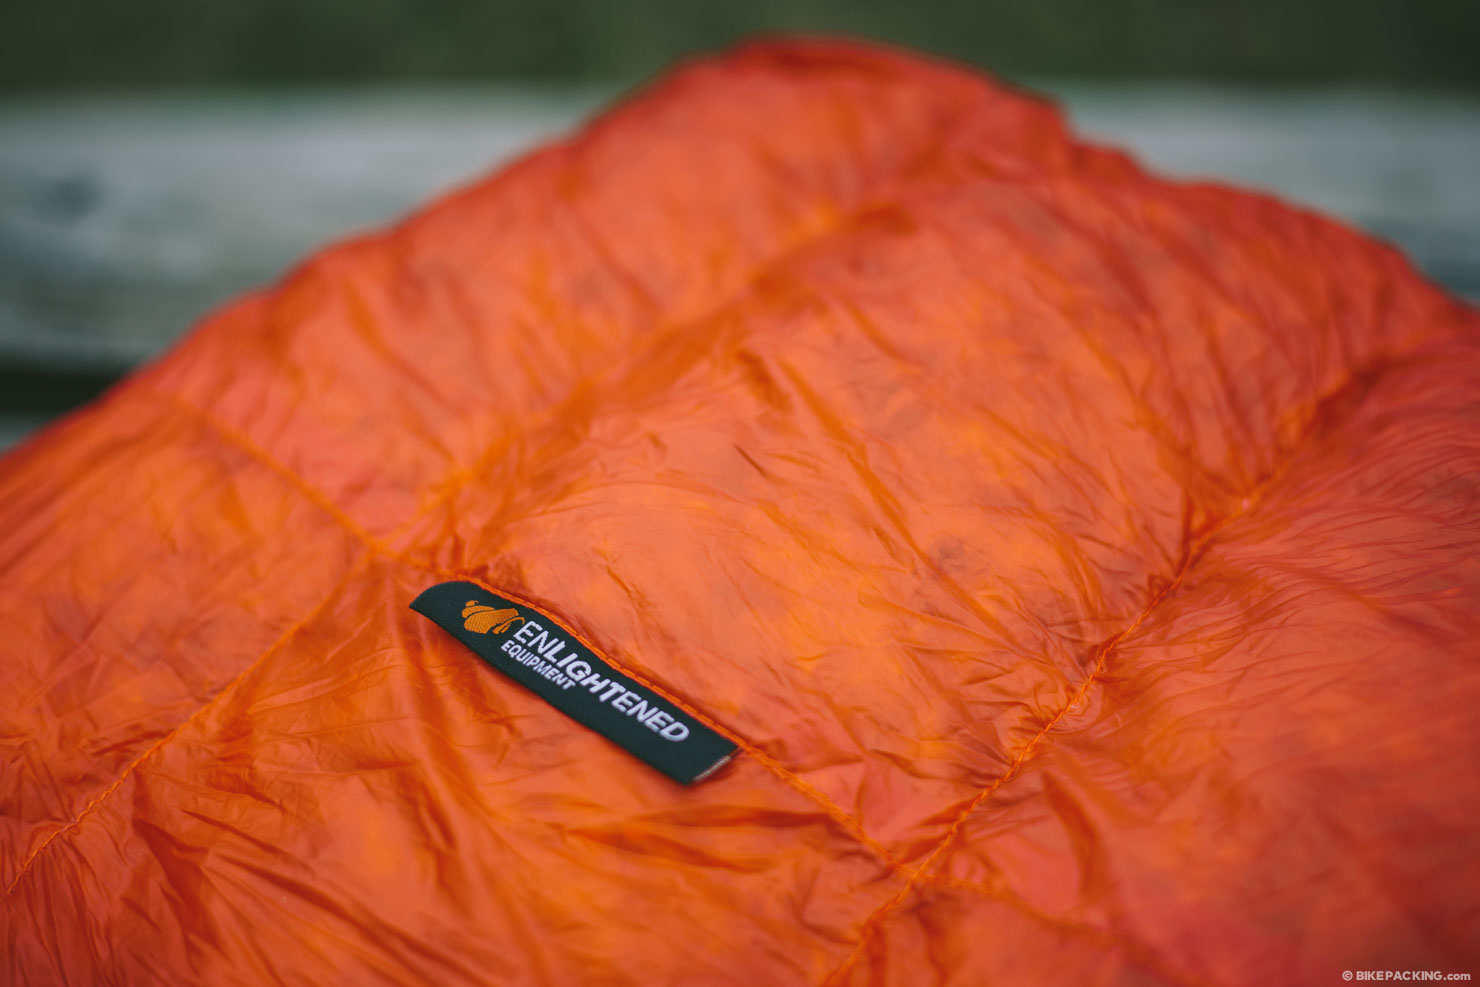
By moving to a bikepacking-style setup, you don’t need to completely reinvest in new gear. But there are three core pieces of gear that are worth reevaluating which can help make the transition easier — your tent, sleeping bag, and sleeping mat. In order to do so, you will have to look at the more high-end and ultra-light gear selection at your outdoor shop. In our case, we replaced our heavy and roomy all-season tent for the lighter and smaller three season version. Additionally, we traded our bulky, 1.8kg (4lb) sleeping bags for down-filled quilts, weighing no more than 0.9kg (1.9lb) and packing way smaller. For our sleeping pads, we kept the ones we already had, simply because we did not want to invest more money, and they fit just fine. Because gear can be more expensive the lighter and smaller it packs, a smart approach might be to reduce your load over time by replacing one piece at a time or only replace those items which really make a big difference.
What was eliminated
the following shows Jona’s packing list as well as our shared items with eliminated items crossed out:
BIKE BAGS
2 Ortlieb Sport Roller Classic Rea Panniers Revelate Designs Handlebar Harness plus Drybag
1 Ortlieb Ultimate 6 Plus Handlebar Bag Revelate Designs Handlebar Pocket
2 Ortlieb Back-Roller Classic Custom Bikepack (PL) Seatpack
Tubus Logo rear Rack
Tubus Tara lowrider rack
Ortlieb Rack Pack
2 Salsa Anything Cages
Rogue Panda Rolltop Framebag
Rogua Panda Alamogordo Top Tube Bag
Rogue Panda Rincon Top Tube Bag
Rogue Panda Oracle Downtube Bag
Durango Sewing Solutions Handlebar Bucket
TOOLS AND PARTS
Topeak Mini 18 Multi-Tool
Leatherman Squirt PS4Parktool MT-1
T25/T10 (for Avid BB7)
Topeak Chain Hook & Wear Indicator
Brooks Tension wrench
Stans Valve Core Tool
Mini Phillips Screw driver
Tire Lever
Spokey
Stein – Hypercracker
Lezyne Micro Floor Drive High Volume Mini Pump
Curved Needle
Tube Seamgrip
Chain Lube
Prime Lok Threadlocker
Optimus Grease
Camplast Cement
Vulcanizing Fluid
Gorilla Super Glue
some Gorilla Tape and Tenacious Tape
2x Spare AA Battery
2x Spare CR 2032 Battery
2x Thin strong rope
2x Pieces of old sidewall
Patch Kit
Set of Tire plugs + Tool
Dental floss
2x Tubeless Valves
2x Spare tubes
1x Spare Tire
A few Bolts/washers/nuts
Spare cleats + bolts
3 x 11-sp quicklinks
Piece of 11-sp chain
2x Shifting cable
2x Brake cable
Optimus Stove Maintenance Kit
4x Pairs of BB7 brake pads
Rag
Chain Brush
4x Spokes (2 lengths)
several cable ties
SLEEPING AND CAMPING
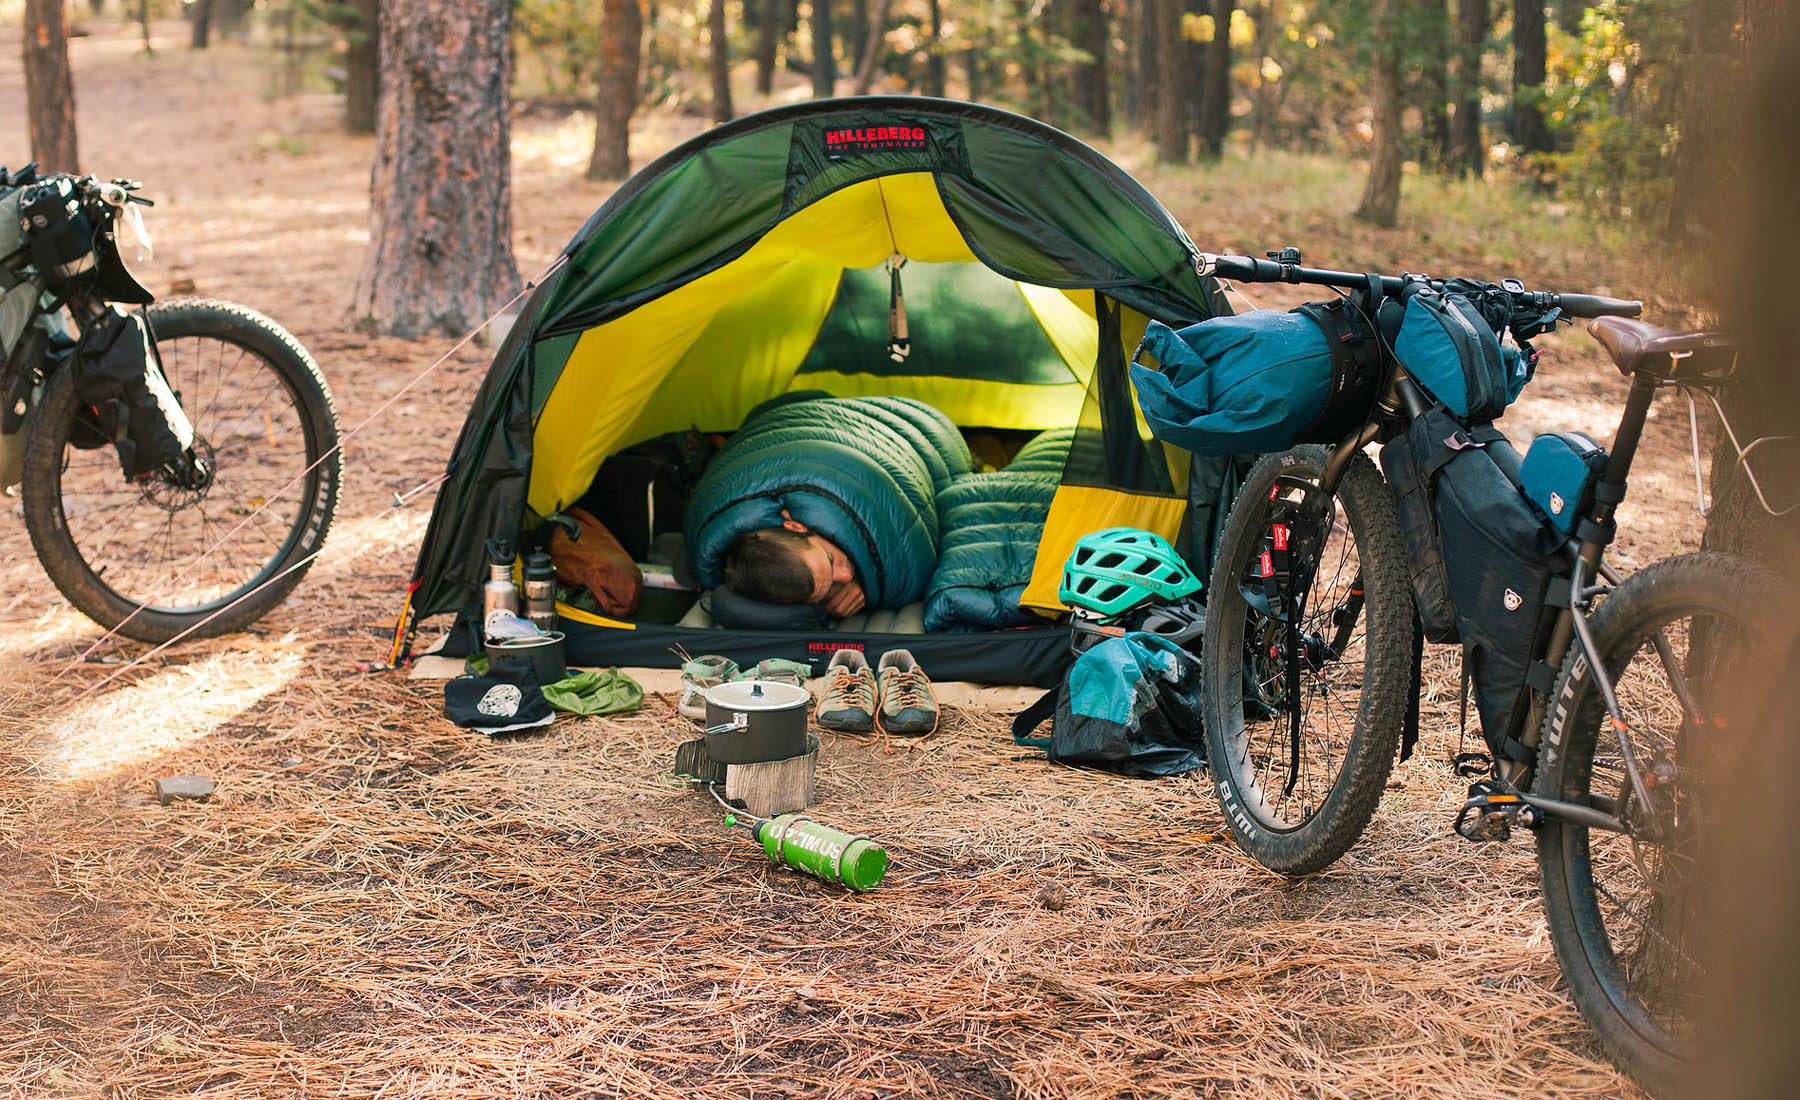
Hilleberg Tarp 10 UL
Hilleberg Nallo 3 GT Hilleberg Anjan 3
Exped dreamwalker Duo Syn160 Plus
Zpacks Down Sleeping Bag Katabatic Gear Flex 15F
Exped DownMat Lite 5 Air Pad
Exped Mini Pump
Ortlieb Folding Bowl
Spare Exped Mini Pump
Hand brush for cleaning the tent
Vapor liner
CLOTHING AND FOOTWEAR
Fleece Sweater
Smartwool 250 Merino Longjohns | sleeping
Smartwool 250 Merino Longsleeve | sleeping
Thin Merino Longjohns | for colder weather
Merino Underwear
Kuhl Casual Pants
Cycling Shirt
Casual Shirt
Patagonia Houdini Windbreaker
Arc’teryx Atom LT Hoodie
Casual Shorts
Cycling Shorts
Merino Shirt
2x Pair Thin Merino Socks
Pair Warm Merino socks
Marmot Minimalist Rainjacket
Marmot Minimalist Rainpants
Gore-Tex Thermo Overshoes
OR Windstopper Gloves
Vapor liner socks
Shimano MT91 Cycling Boots
Croqs
Sunglasses
Cycling Cap
Helmet
Sun hat
KITCHEN
Optimus Polaris Optifuel Stove
MSR Quick Pot set | We use only one pot, 2 bowls and the cups
Gerber Knife
Titanium Spork
Spatula
2x 2L Platypus Water Bottles
1x 4L Platypus Gravity Works Water Filter System
1x 750ml Sigg Sports Aluminum Bottle
HYGIENE
Toothbrush
Toothpaste
Packtowel XSmall
Nail Clipper
Nail file
Campsoap | It’s a little bottle we keep refilling wherever we find a soap dispenser.
Pocket Mirror
First Aid Kit
Body Lotion
Vaseline
Sun cream
PHOTOGRAPHY AND ELECTRONICS
Mix of different USB cables
Anker Powerbank 10000 (will be replaced with Limefuel 6000 soon)
Anker USB Charger Plug
Tan Generator
Multi Card Reader
2 TG Harddrive (Backups)
16 GB USB Stick
Micro SD Cards | 32/64/128 GB
CF Cards | 2x 32GB 1x 64GB
Canon Battery Charger
Macbook Pro Macbook incl. Charger
Gopro 4
Canon 5D Mark II
Nikon F3 Filmcamera
Nikon 50mm Prime Lens
Nikon 65mm Prime Lens
Canon 35mm Prime Lens
Canon 50mm Prime Lens
Canon 85mm Prime Lens
Spare battery
Basic Camera Cleaning Kit | Includes a brush, lens wipes and a dust blaster
IPod Nano
Garmin eTrex 20
Petzl Headtorch | Rechargeable through USB.
LedLenser Headtorch | Rechargeable through USB
1x Samsung Phone
OTHER
Book | Always had one book on board which we would read.
Passport
Vaccine Pass
Paper Maps | Mexico and Central America. It’s a nice way to show people who are interested where you come from and where you going. Also practical for locals to point out route recommendations.
Small Note Book | For sketches and thoughts
Pen
Clickstand
SeaToSummit Traveling Light Backpacks
Oben TT100 Tripod
Set of cards
Abus Bordo Lite small Cable lock
Lonely Planet South America
Journal
2x Ultralight Hammocks
Little bits and pieces collected along the road
The Bike
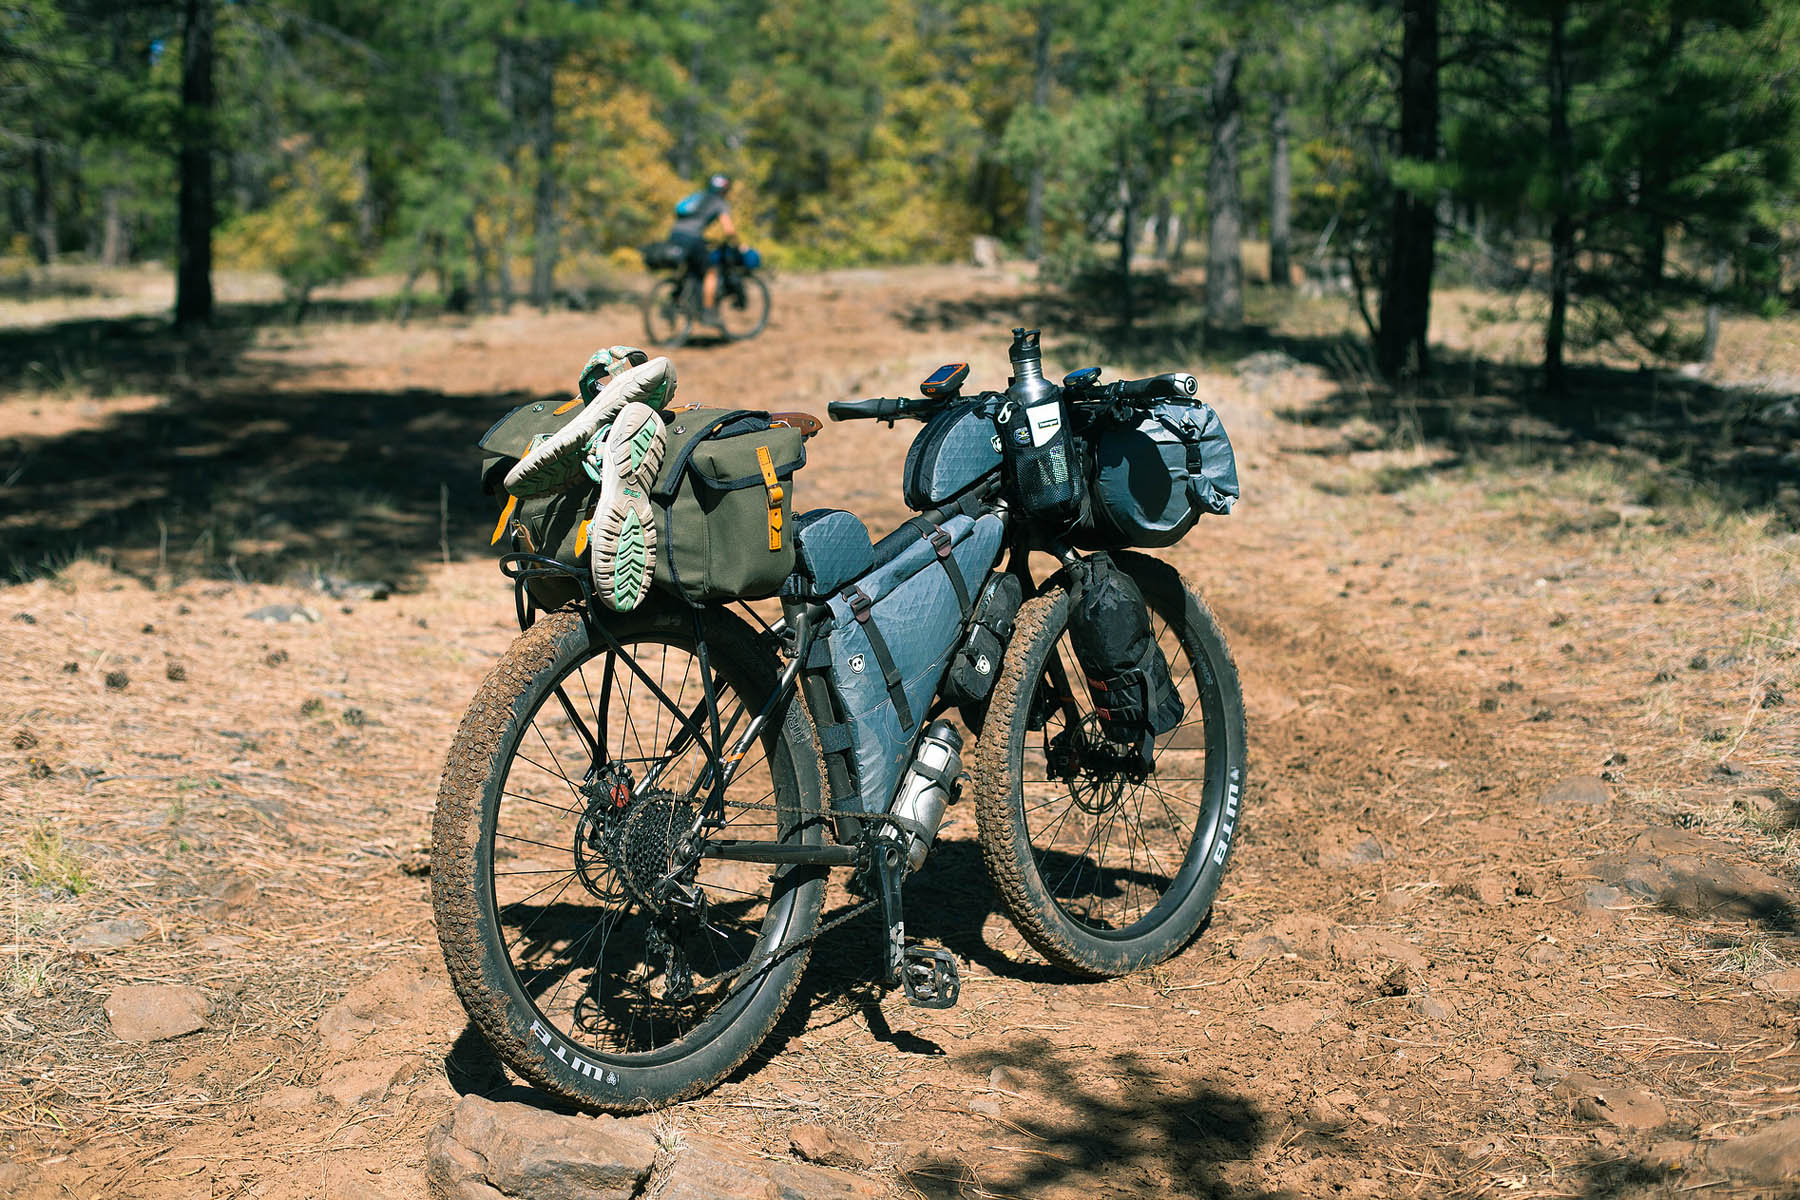
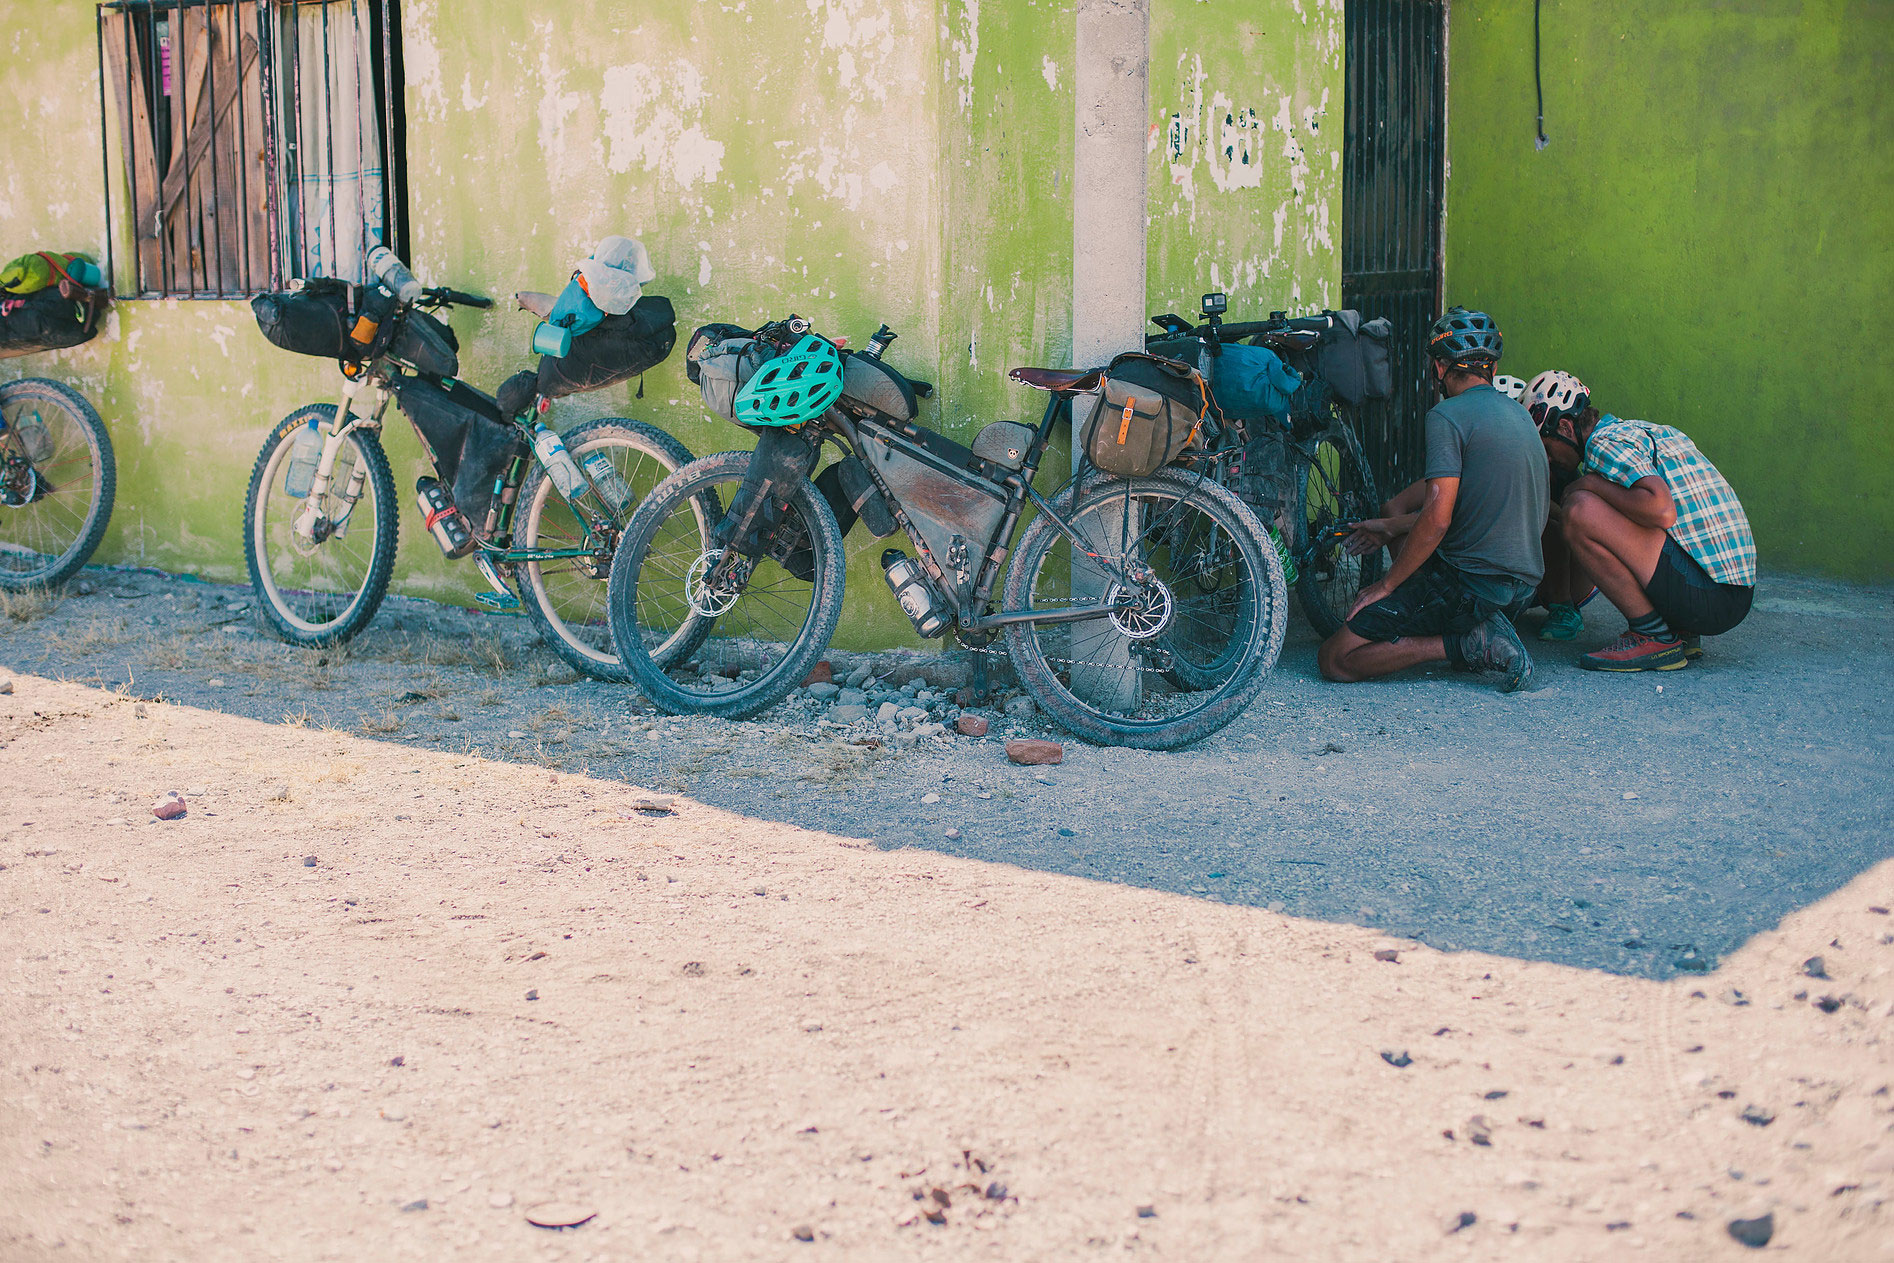
Depending on whether you are already on the road or planning to transform to a bikepacking setup for your next trip, you will probably end up asking yourself if you also need to exchange your bike. The beauty of a rackless bikepacking setup is the fact that you can use any bike to carry such a kit. Not to mention, with less gear, that means less wear and tear on the bike. As such, bikepacking doesn’t require a bike built with extra heavy-duty tubing specced to carry racks and great loads, as many touring/trekking bikes are.
However, bikepacking is just as much about exploring unpaved and often rugged terrain. When we reached the point of wanting to leave the well-maintained roads for the more adventurous tracks, we debated back-and-forth about selling our bikes and getting new ones. To that point, our bikes felt comfortable on dirt and gravel roads but we didn’t want to be limited by the ability of our bike when choosing a route. Instead we wanted absolute freedom to follow even the faintest trails into the backcountry. We had our doubts that our Surly Disc Truckers could live up to our expectations. After substantial research, we learned we would need to be able to run larger volume tires and that a maximum tire clearance of 2” just wasn’t enough. Not only do wider tires offer more floatation — which makes them better suited for riding on sand, mud and snow — but they also provide a great amount of suspension and comfort when riding over rough ground…without requiring the maintenance of an air shock or fork. After all, there is a limit of how many hours of bone-rattling one can endure. After jolting down some rocky downhills on the Great Divide on our narrow tires we really came to appreciate the cushioning effect of plus-sized tires. Hinging on your ultimate travel plans and your budget, a second-hand mountain bike with 2”+ tires might be sufficient to get you off the highway. Though, make sure it has disc-brakes and optimally features a steel frame. Check out the extensive list of bike reviews for more inspiration and more helpful insight for choosing the right bike.
Panniers vs Bikepacking Bags (By The Numbers)
By Logan Watts
Gin and I used the typical four pannier setup on our first tour. We found that we just didn’t need that much space. I literally tossed things in at the last minute just to come close to filling the bags. The bike’s handling offroad suffered as a result. It was a tank. We were mountain bikers long before we set out on that trip so we knew what we were missing. Upon return from that trip I ditched the panniers and started experimenting with strapping dry bags to my full-suspension rig and bounding down my favorite singletrack. It was like an epiphany, really.
We’ve since progressively lightened our loads on longer trips. I’ve tinkered with saddlebags and anything cages and have since landed on a very minimal bikepacking setup. She’s gone from a ‘middle way’ with two front panniers mounted to a rear rack plus a frame pack and handlebar roll, to her current setup, a slim seat pack, frame pack and handlebar roll. The lighter and more nimble we get, the more comfortable we feel.
When switching to bikepacking bags, the obvious weight savings is a result of eliminating racks. And then there is the weight savings in the bags. Let’s have a look. On the left it a standard lightweight bike touring kit and on the right a bikepacking kit:
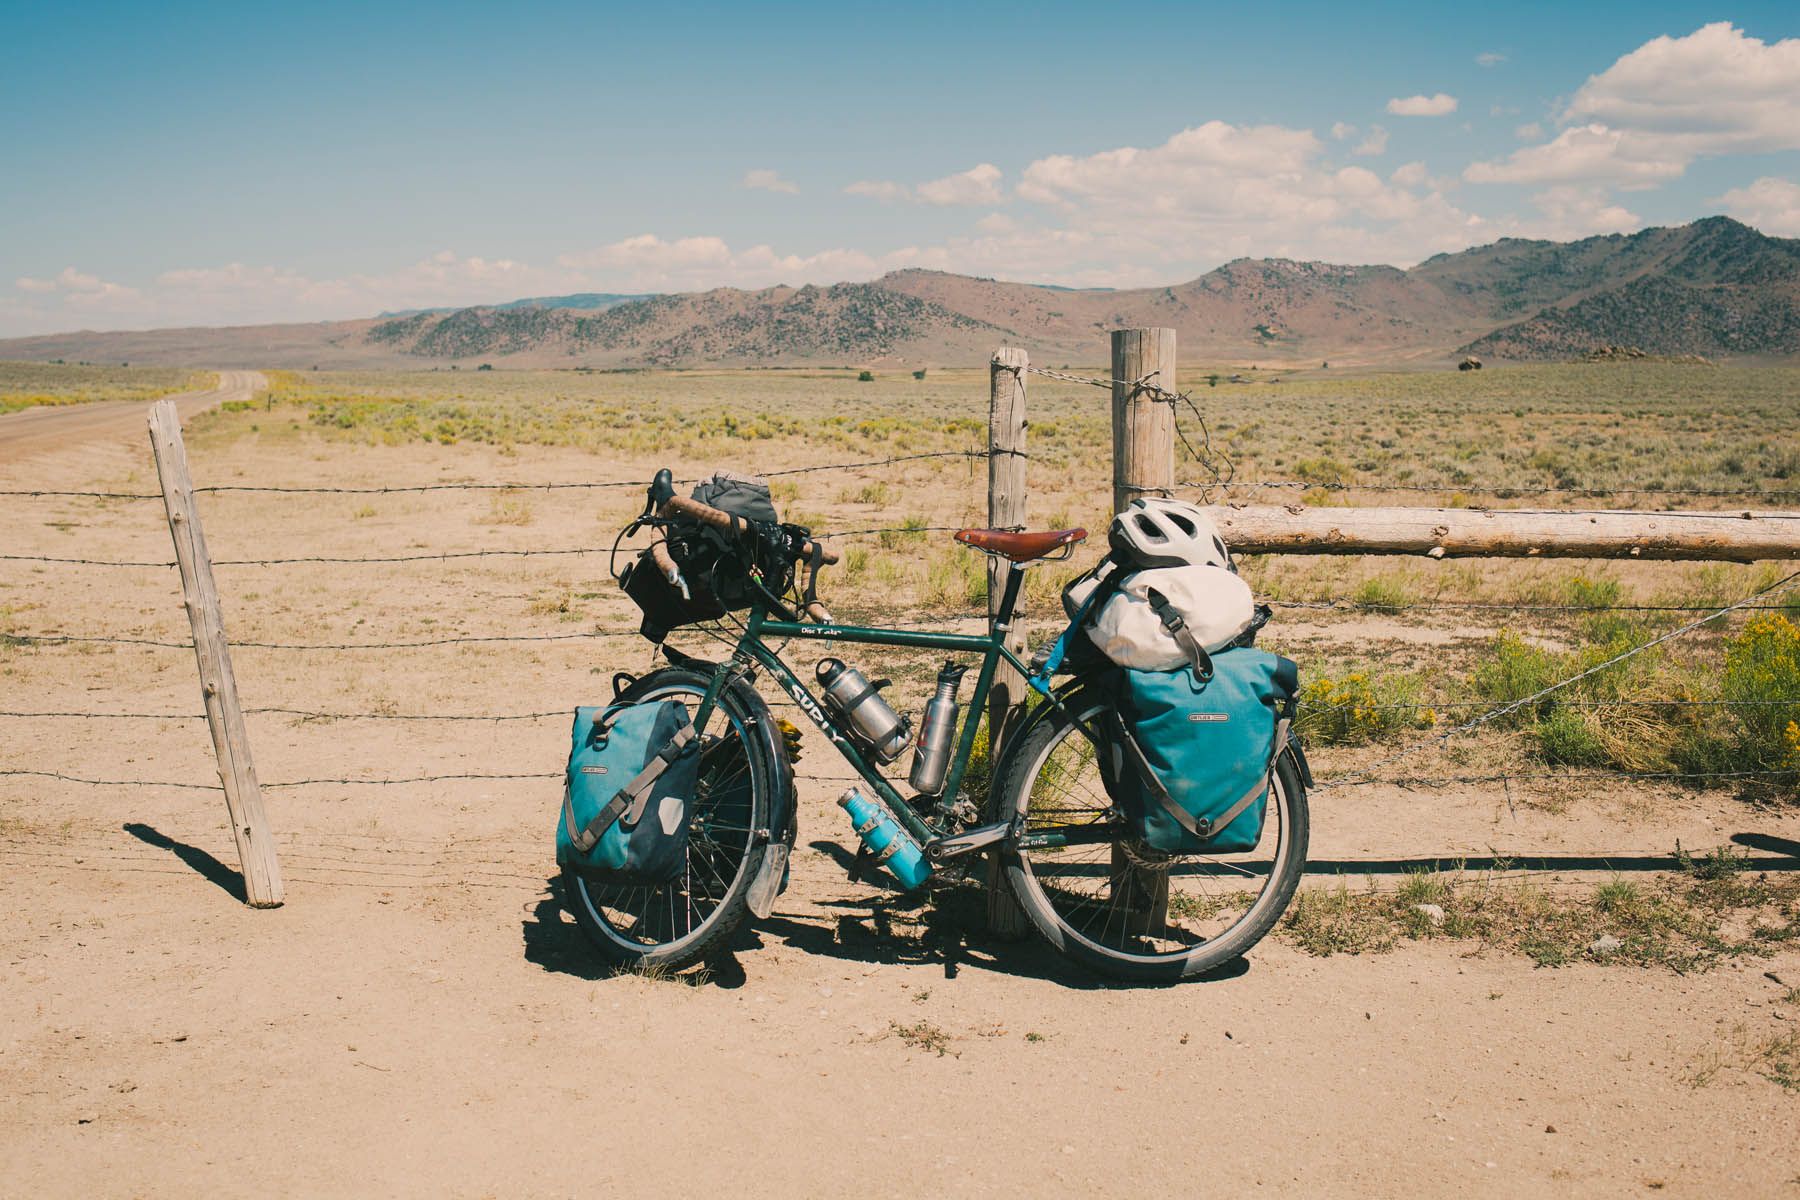
Traditional Touring Kit (bags and racks)
Tubus Logo Rear Rack: 730 kg (25.7oz)
Tubus Tara Front Rack: 311 g (11.5oz)
Ortlieb Back Roller Plus (pair): 70L 1680 g (59.3 oz)
Ortlieb Sport Roller (pair): 25L / 1590 g / 56.1 oz
Ortlieb Ultimate 6 Classic-M: 7L / 708 g (25 oz)
—————-
Total Volume: 102 Liters
Total Weight: 5019 g (177 oz or 11 lbs)
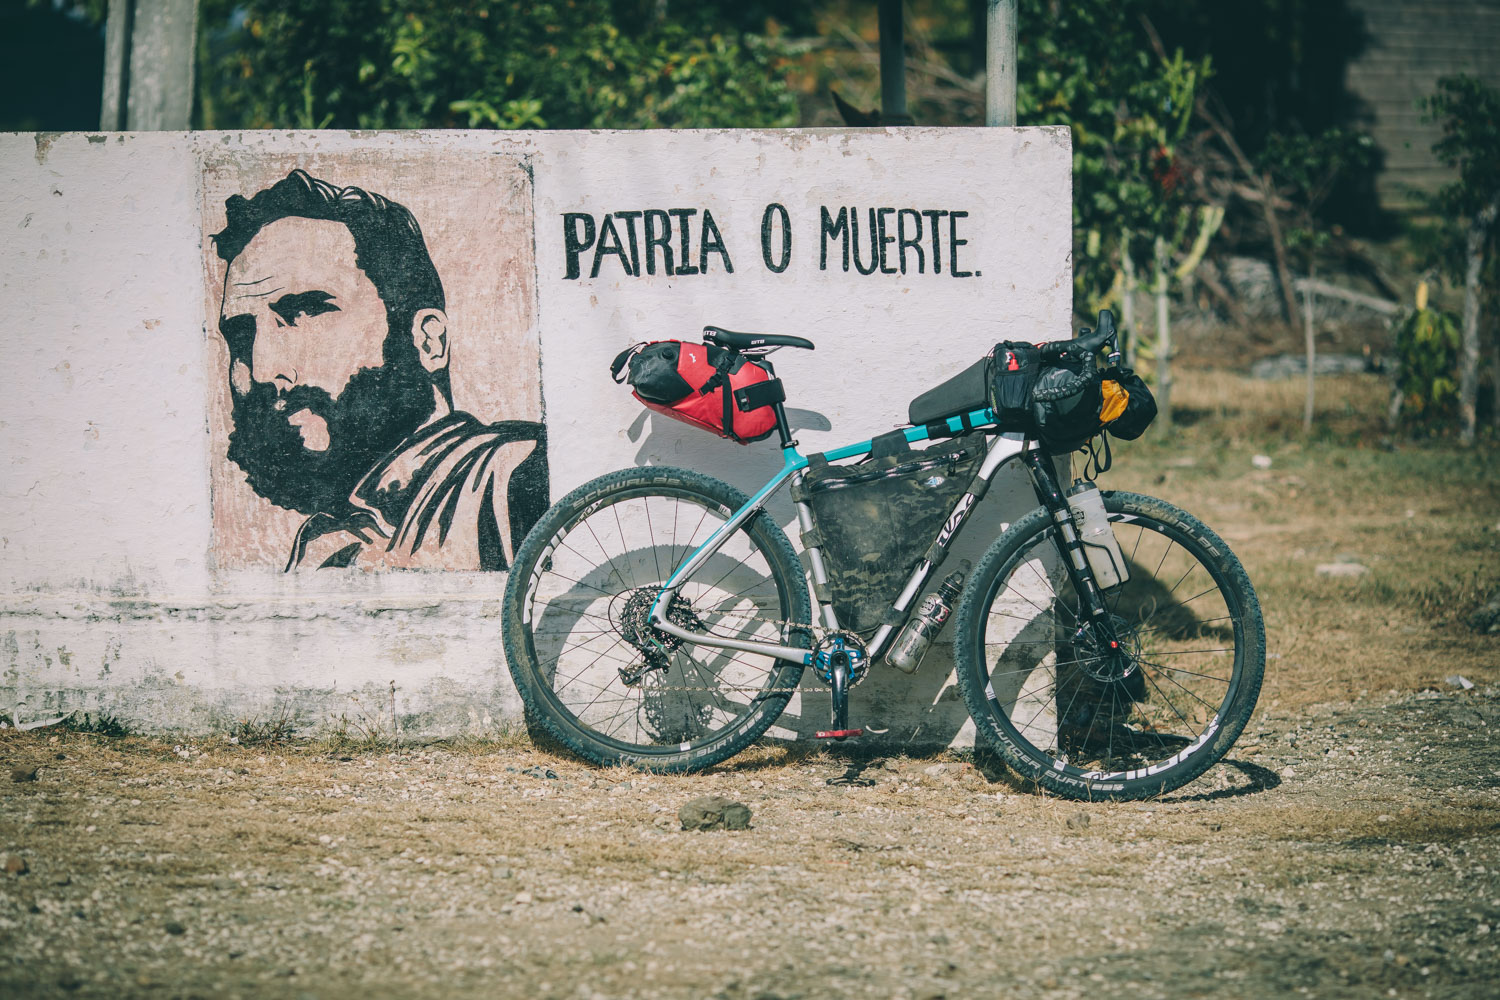
Standard Bikepacking Kit
Revelate Ranger Frame Bag (Large): 8.6L / 425g (15oz)
Revelate Terrapin Seat Pack: 14L / 496g (17.5oz)
Ortlieb Handle-bar Pack: 15L / 426g (15oz)
Ortlieb Accessory Pack: 3.5L / 206g (7.3oz)
Oveja Negra Snack Pack XL: 0.8L / 119g (4.2oz)
Revelate Mountain Feedbag: 0.8L / 107g (3.7oz)
—————-
Total Volume: 42.7 Liters
Total Weight: 1779 g (62.75 oz or 3.9 lbs)
So as you can see, there are big number differences between the two setups. For starters, there is close to 4kg (8lb) weight savings in just the bags. Then, as mentioned, the biggest saving is what you can’t fit into them. Let’s say you average 500 g (1.1 lbs) of gear per liter. By cutting the space available from 102 liters to 43, you are also cutting your load from a potential 51 kg (112 lbs) to 21.5 kg (65 lbs)… then if you factor in the weight of the bags, you could save a whopping 33.5 kg (74 lbs). That’s a lot of weight to be lugging around.
Of course, you also have less room to carry food and water… but given how much easier the bike becomes to ride, you can cover more ground without pushing yourself as hard.
Realistically, you’re unlikely to full carry the weight we’ve hypothesised above on a regular basis, but we’ve met enough tourers on the road to know that if you have the space… you’ll likely fill it! We’ve seen plenty of rigs that weigh 70-80kg, including the bike, which simply isn’t possible on a bikepacking setup.
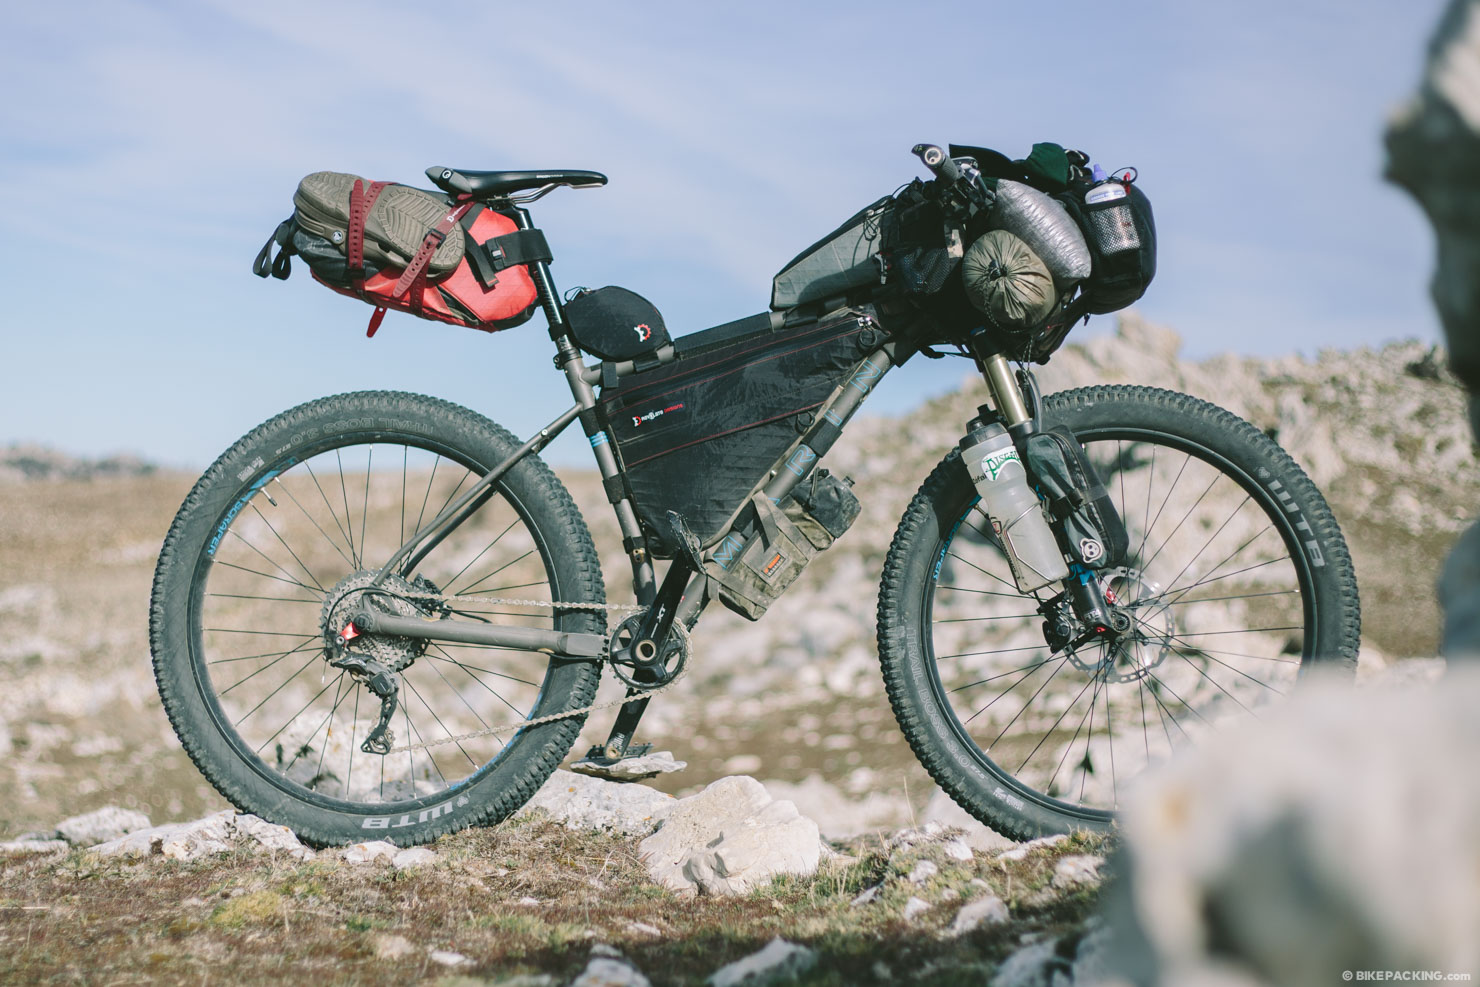
The Bags
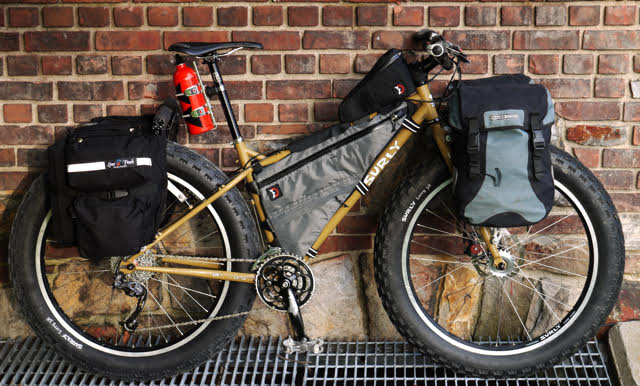
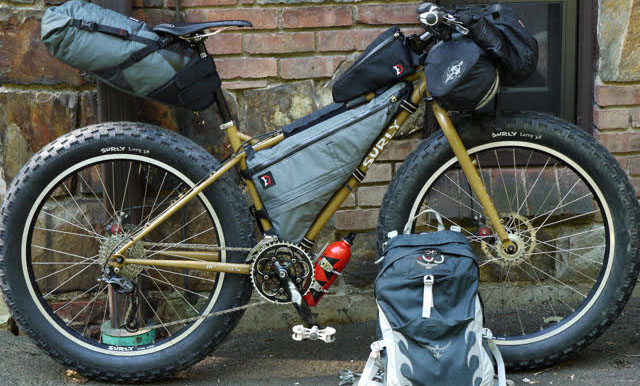
There is a wide range of bikepacking bags available on the market. So much that it might feel a bit overwhelming to make a choice. It’s worth looking for bags that allow you to keep your load flexible. For example, a handlebar harness is more versatile than a handlebar roll, simply because it allows you to strap various size dry bags. But at the same time, handlebar rolls have their perks as well; some can be packed very long and narrow, which might be beneficial if you are running a suspension fork.
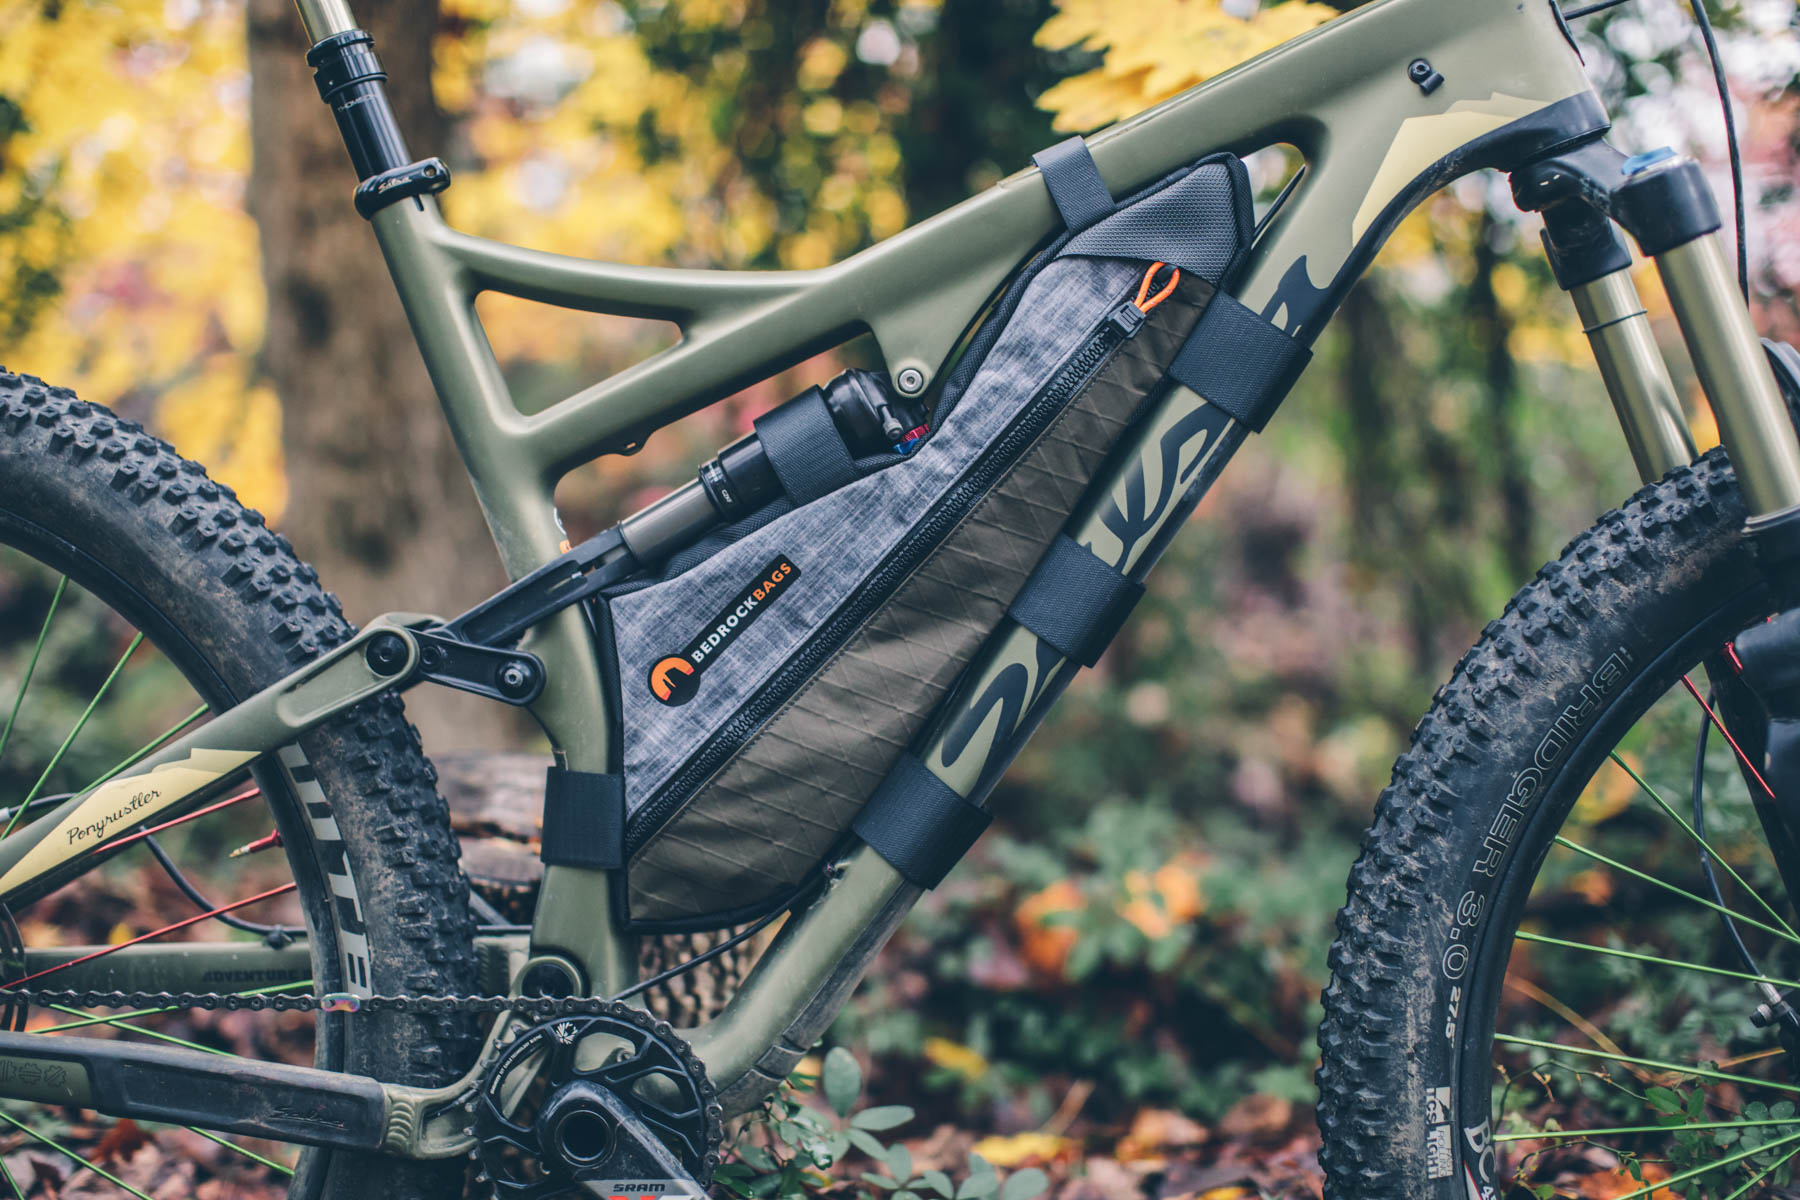
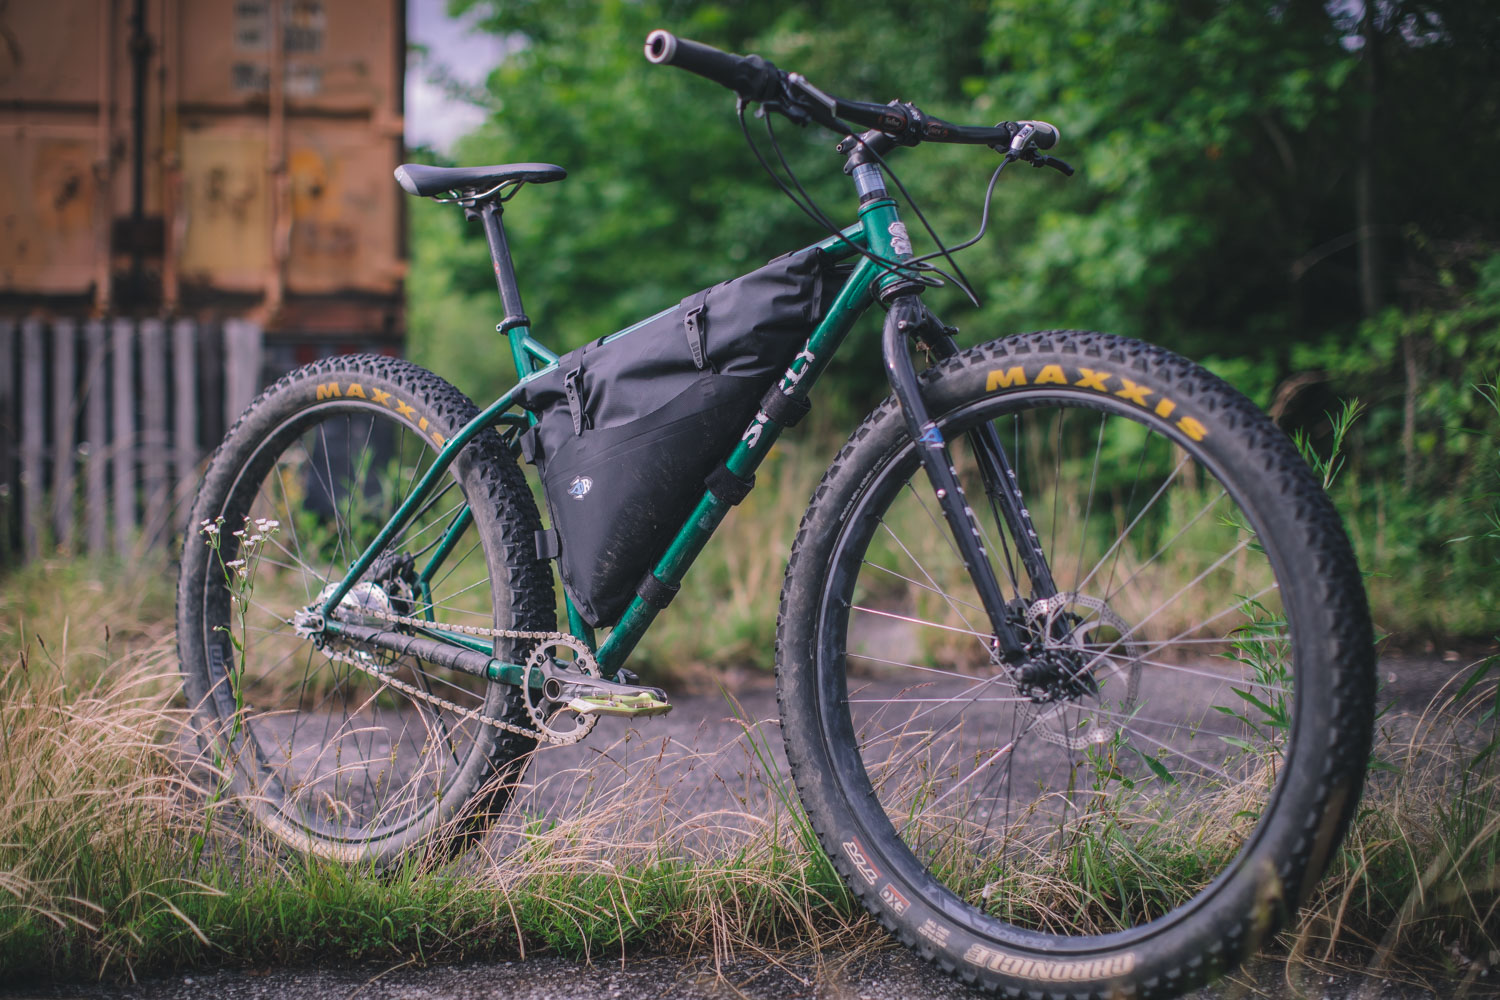
Frame Packs
For the frame bag, while there are some great premade options on the market, consider investing in a custom made bag to optimize the space within the frame triangle of your bike. Zippered frame bags are the norm, and very convenient and durable, but roll-top versions exist as well and don’t risk zipper failure on longer trips. If you fill your frame bag up to its limits, the pressure you have to apply to the zipper to close it shut puts some immense strain on it and very likely will bring it to fail sooner or later.


Seat Packs and Saddlebags
For the rear end of your bicycle, there are several options to keep to a light and nimble bikepacking style setup. The most popular and streamlined is the seat pack, but a more traditional saddlebag or a set of small panniers might be more your cup of tea. The seatpack is attached to the seatpost and saddle of your bike where saddlebags work with a similar attachment system but often require the support of a small rack in addition. Keep in mind that a sleek seat pack will be the most light and nimble for singletrack exploits. They are also the only option that don’t require additional hardware.
Although they are slightly awkward, the traditional saddlebag offers a little more packing capacity than newer bikepacking seat packs. As such, they are a nice option when it comes to bringing more cumbersome pieces of gear which don’t seem to really fit anywhere else. For carrying my bulky DSLR camera I decided to use the retro-style Carradice Longflap Saddlebag instead of a more streamlined seatpack. As the name already suggests the flap can be unfolded twice its usual length and this way can provide some spontaneous extra packing space under the lid if needed.
More bags!
We have built quite a collection of bag roundups and reviews over the years. Here’s a list of links that might help. Also, make sure to check out our Complete Guide to Bikepacking Bags.
Seat Packs
Grab a basic seat pack. They essentially strap onto your seat rails and around your seatpost. There are several readily available for under $100. One easy and available option worth noting is the Revelate designs Viscacha Seat Pack.
On the Frame
There are also frame packs designed to work within the bike’s frame triangle… variations for both full-suspension and hardtail. The most obvious and universal type is a half frame pack. These are especially usable on a hardtail or rigid bike.

Cockpit
As mentioned, it’s pretty easy to strap a dry bag to the handlebars, but you can also get a purpose built bag or harness. There are also various accessory bags that can add peripheral packing space to your kit.
Laptops
A lot of long distance bike travelers carry a laptop. This was one of the biggest challenges we faced during our transformation to bikepacking bags — where to fit our laptop in a safe manner. One option was to carry it in a small backpack. However, this didn’t seem like the ideal solution for us. Alternatively, we managed to get a custom seat pack made by bikepack, which snugly fitted our 12’’ Macbook. Many smaller bag-makers are offering custom solutions to fit your gear and are more often than not, willing to experiment with their designs.
Often, when a laptop is involved and you are transforming from a touring setup to a bikepacking one on the fly, simply moving your small front panniers in the back, might be more favorable than investing into a new bag. The only downside is, that you will have to listen to their uninterrupted rattle when riding off-road. There are also panniers which attach with velcro straps to the rack, in case you don’t want to give up some of that luxury space. Otherwise, in many cases XL frames or gravel bike frames can accomodate a large frame bag that easily fits a small laptop. In addition, big long-flap saddlebags, such as the Carradice Camper and Ultra-Swift Fabio’s Chest, can fit small laptops too.
The Middle Way
There is no cut and dry right way to go about bikepacking. Many riders have different styles of setups and different tastes in bags. And that’s part of what makes it fun. If you are keen on lightening your load but want to keep a little more packing space, perhaps a super lightweight rear rack and a pair of front panniers or ‘micro panniers’ is the ticket. There are also plenty of cage mount bags that serve as ‘mini front panniers’ such as the Bootlegger from Oveja Negra or ATM’s Manythings Sack.
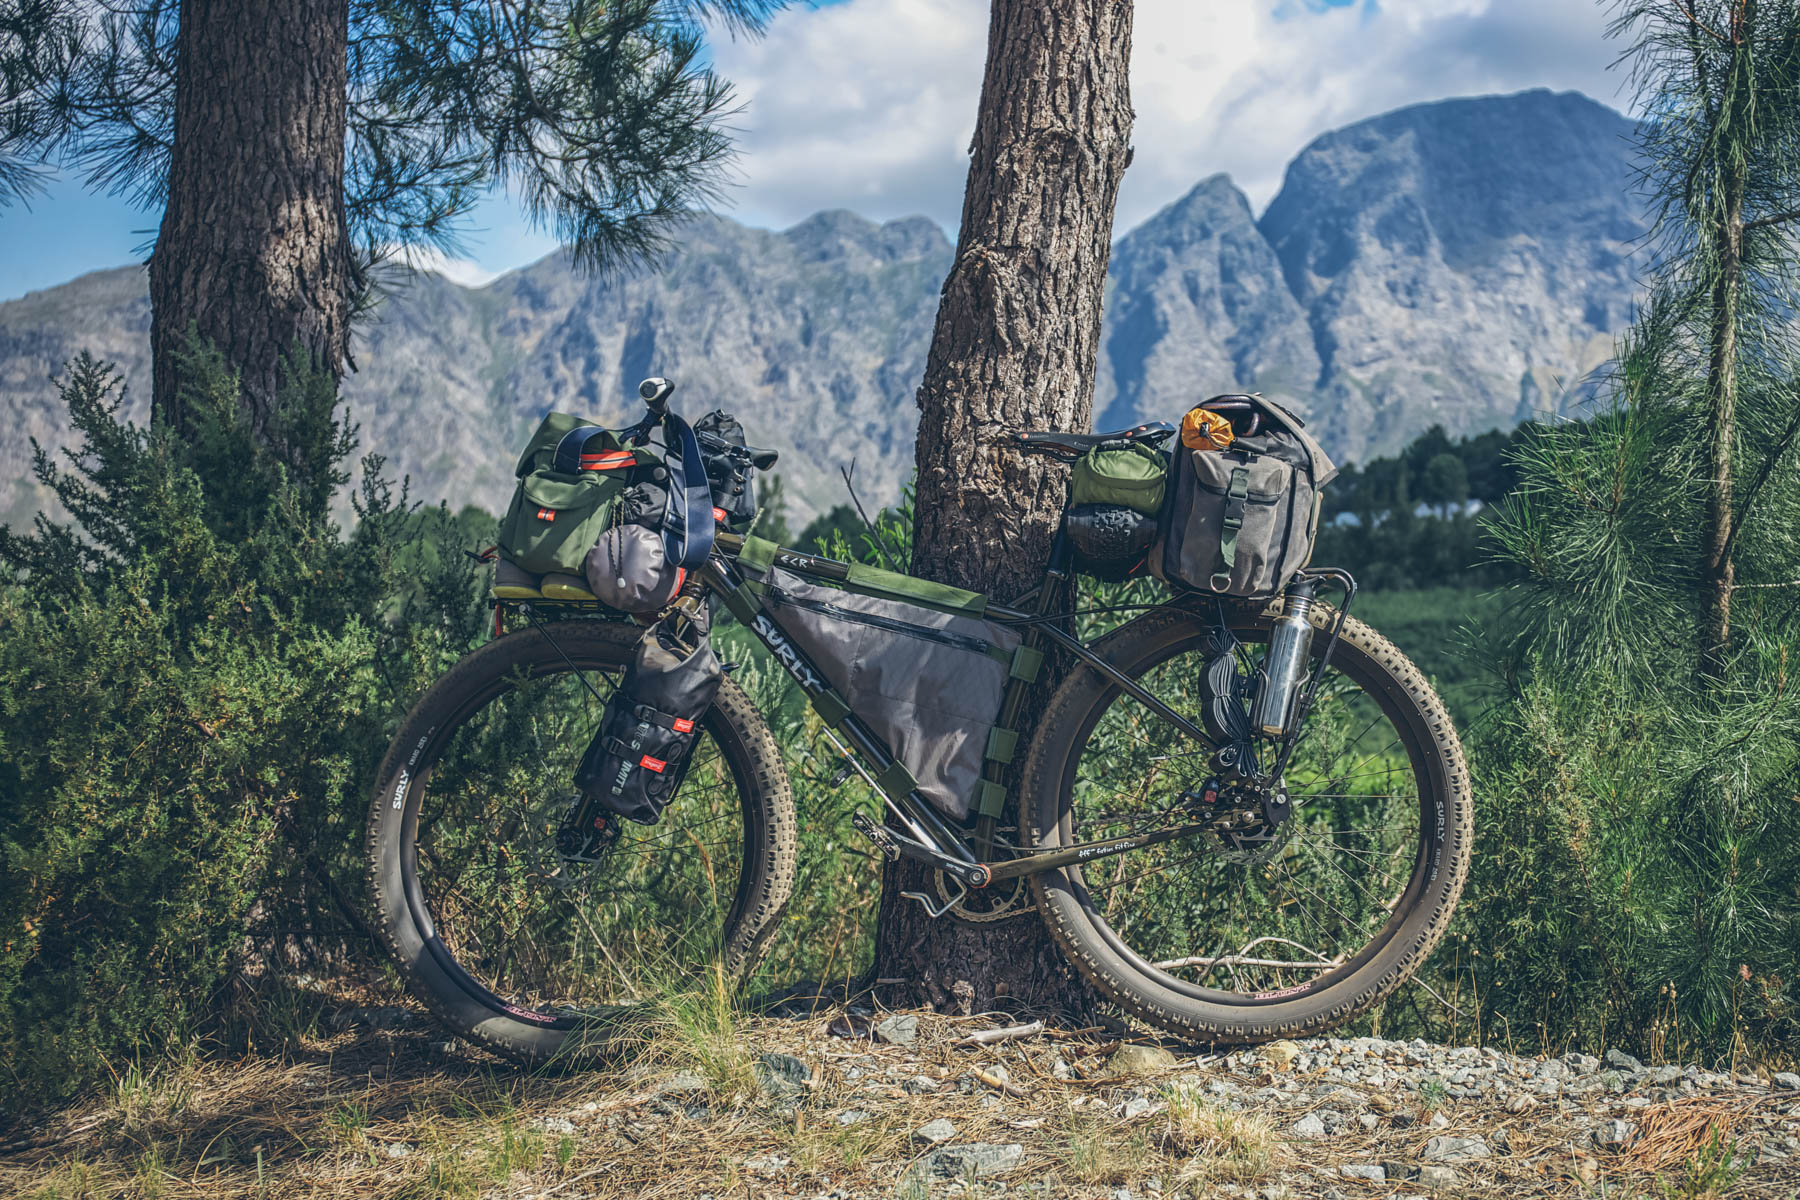
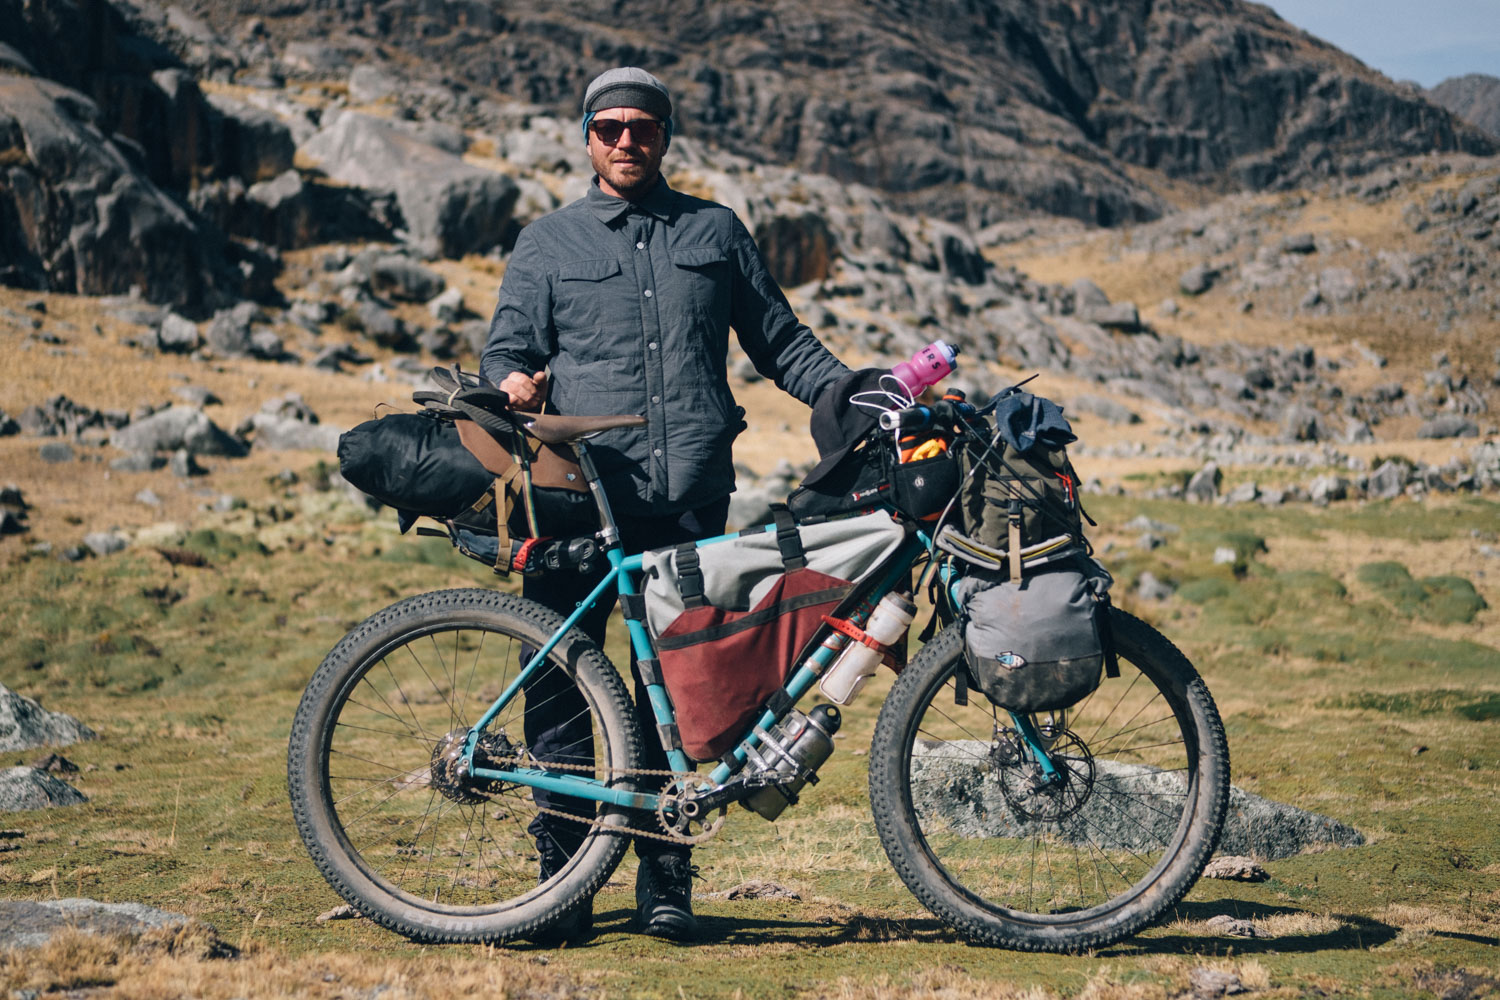
Overflow
Besides the basic three bikepacking bags, there are several other options to add a little bit of extra space. If your bike features bottle bosses on the fork and downtube, you can attach oversized Anything or Manything cages.These are considerably bigger than the average bottle cage and rely on two straps with which you can secure dry bags, large bottles, or anything that’s cylindrical in nature. On our setup, we used three Anything Cages, two on the fork stuffed with rain gear and our sleeping pads and one on our downtube, holding a 1900ml Klean Kanteen Bottle, in which we either filled with water or stored extra food. In the case that you don’t have any bottle bosses on your fork, you can still attach cages with a hose clamps or electrical tape (link)… For even more accompanying accessories, there are top tube bags, stem bags, slingers and pouches. Each is an excellent addition as they allow you to quickly access regularly needed items while riding. If have enough tire clearance, the Oracle Down Tubebag from Rogue Panda is also great way to store your biketools and have them handy when needed. Check out the Complete Guide To Bikepacking Bags for some more ideas and options.
Something Jona and I have found to be a pretty good extension to our overall setup, were our two Ultra-Sil Day Packs from Sea to Summit. When folded together, they are fist-sized and can easily disappear somewhere if not needed. But it is nice to have the possibility to carry some extra food or water for longer and remoter stretches.
The Verdict
Switching to bikepacking bags will not be every cycle tourer’s cup of tea. A few fellow ‘bike tourists’ who skeptically studied our new setups, did not only consider us as spartan but also silently were giving us those pity looks as if we had to suffer under our minimalist approach to bike travel.
For us, all of this never has been about giving up ‘comforts’ but rather about evaluating your priorities. In essence, we are doing this because we enjoy riding our bikes, and we found — unlike a fully laden bike with four portly panniers — a lightweight bikepacking setup brought back the handling and character of the bike itself. Not all creature comforts have to be left by the wayside when bikepacking. It’s more about careful consideration of what gets used and what you need, instead of frivolous extras.
Our lighter, agile rigs have encouraged us to explore more remote and wild places which we could only dream to do before. And in case the promising looking path turns out to lead nowhere, the relatively light bike makes it less painful if you have to push it for awhile. In the long run, for the possibilities we have gained, we don’t miss the luxuries we have given up. Changing from touring to bikepacking can seem risky and chaotic at first, but don’t let yourself be intimidated… like all grand journeys the first step is always the hardest.
Please keep the conversation civil, constructive, and inclusive, or your comment will be removed.